For a brief yet impressing moment in time, I thought about starting a nut butter company. That was certainly one of the biggest curve balls of my life to date: coming out of a year devoted to completing my Masters in Contemporary Art Theory with a desire to become a fancy flavored nut butter entrepreneur.
It made as much sense to me – in context of my life at the time – as it was absolutely crazy. The part that made sense was this: Making nut butter from scratch was one of the most magical endeavors I undertook that year, during which I not only achieved my MA but also taught myself how to cook. Witnessing the nuts transform from solid to liquid astounded me, their natural oils releasing and completely altering their physical composition due to nothing more than an aggressively spinning blade. (Clearly I had no idea how much oil nuts contain.) What's more, it felt empowering. This food product that I had understood comes from a jar at the supermarket much the way an apple comes from the branch of an apple tree, I could make at home?! This meant I could not only control the quality of the nut butter but also the additional ingredients that defined it. The opportunities for creative deliciousness were endless! Maple cinnamon almond butter! Chai spice pecan butter! Or even something sweet and herbal, like...rosemary honey cashew butter.
The part that was absolutely crazy about my nut butter entrepreneur pipe dream was, well, everything else.


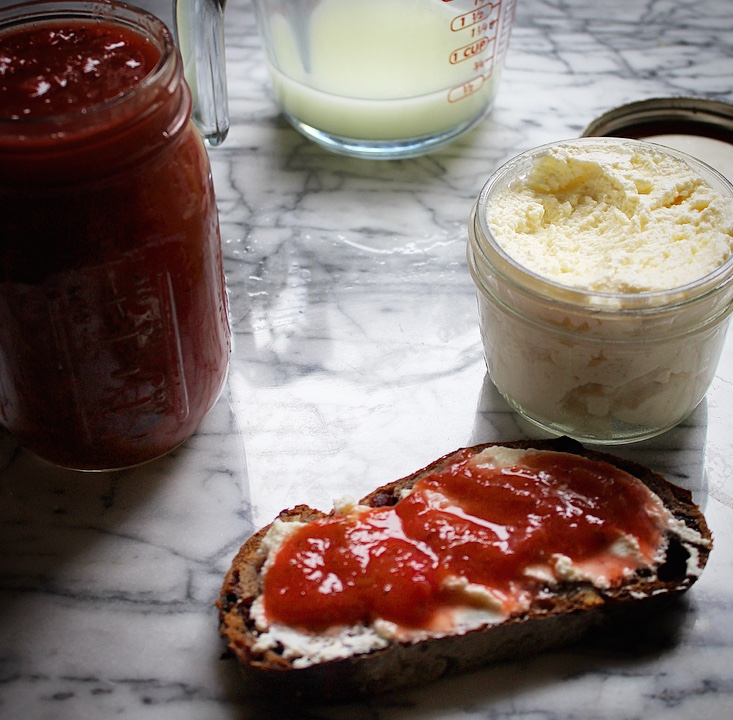
All of the holiday gifts I gave that year were food related. Educational. Homemade. I wrote out instructions for my parents (on graph paper with a wealth of colored pens) on how to make my favorite Oilve Oil and Maple Granola – customizable and refined sugar-free! – along with a "voucher" for a lesson where we would make it together. I made variety after variety of nut butter, some based on my preferences and some based on theirs. The gifts may have taken a bit more time than purchasing things online, but I could tell that they were deeply appreciated and meaningful. Unique. Imbued with creativity and care.
The other great thing about gifting nut butter is that, if you are looking to give small gifts to many people, you can make a big batch with no more effort than making a small batch! Just saying.
While my dream of bringing inspired nut butters to foodies everywhere eventually fell by the wayside, I would be remiss to not mention that when I gave my former housemate a taste of this Rosemary Honey Cashew Butter the first time I made it, she literally freaked out and insisted that I start selling it at farmers markets immediately. Even if you're skeptical and rosemary is not typically your thing, I encourage you to approach this one with an open mind. You may just find yourself surprised.
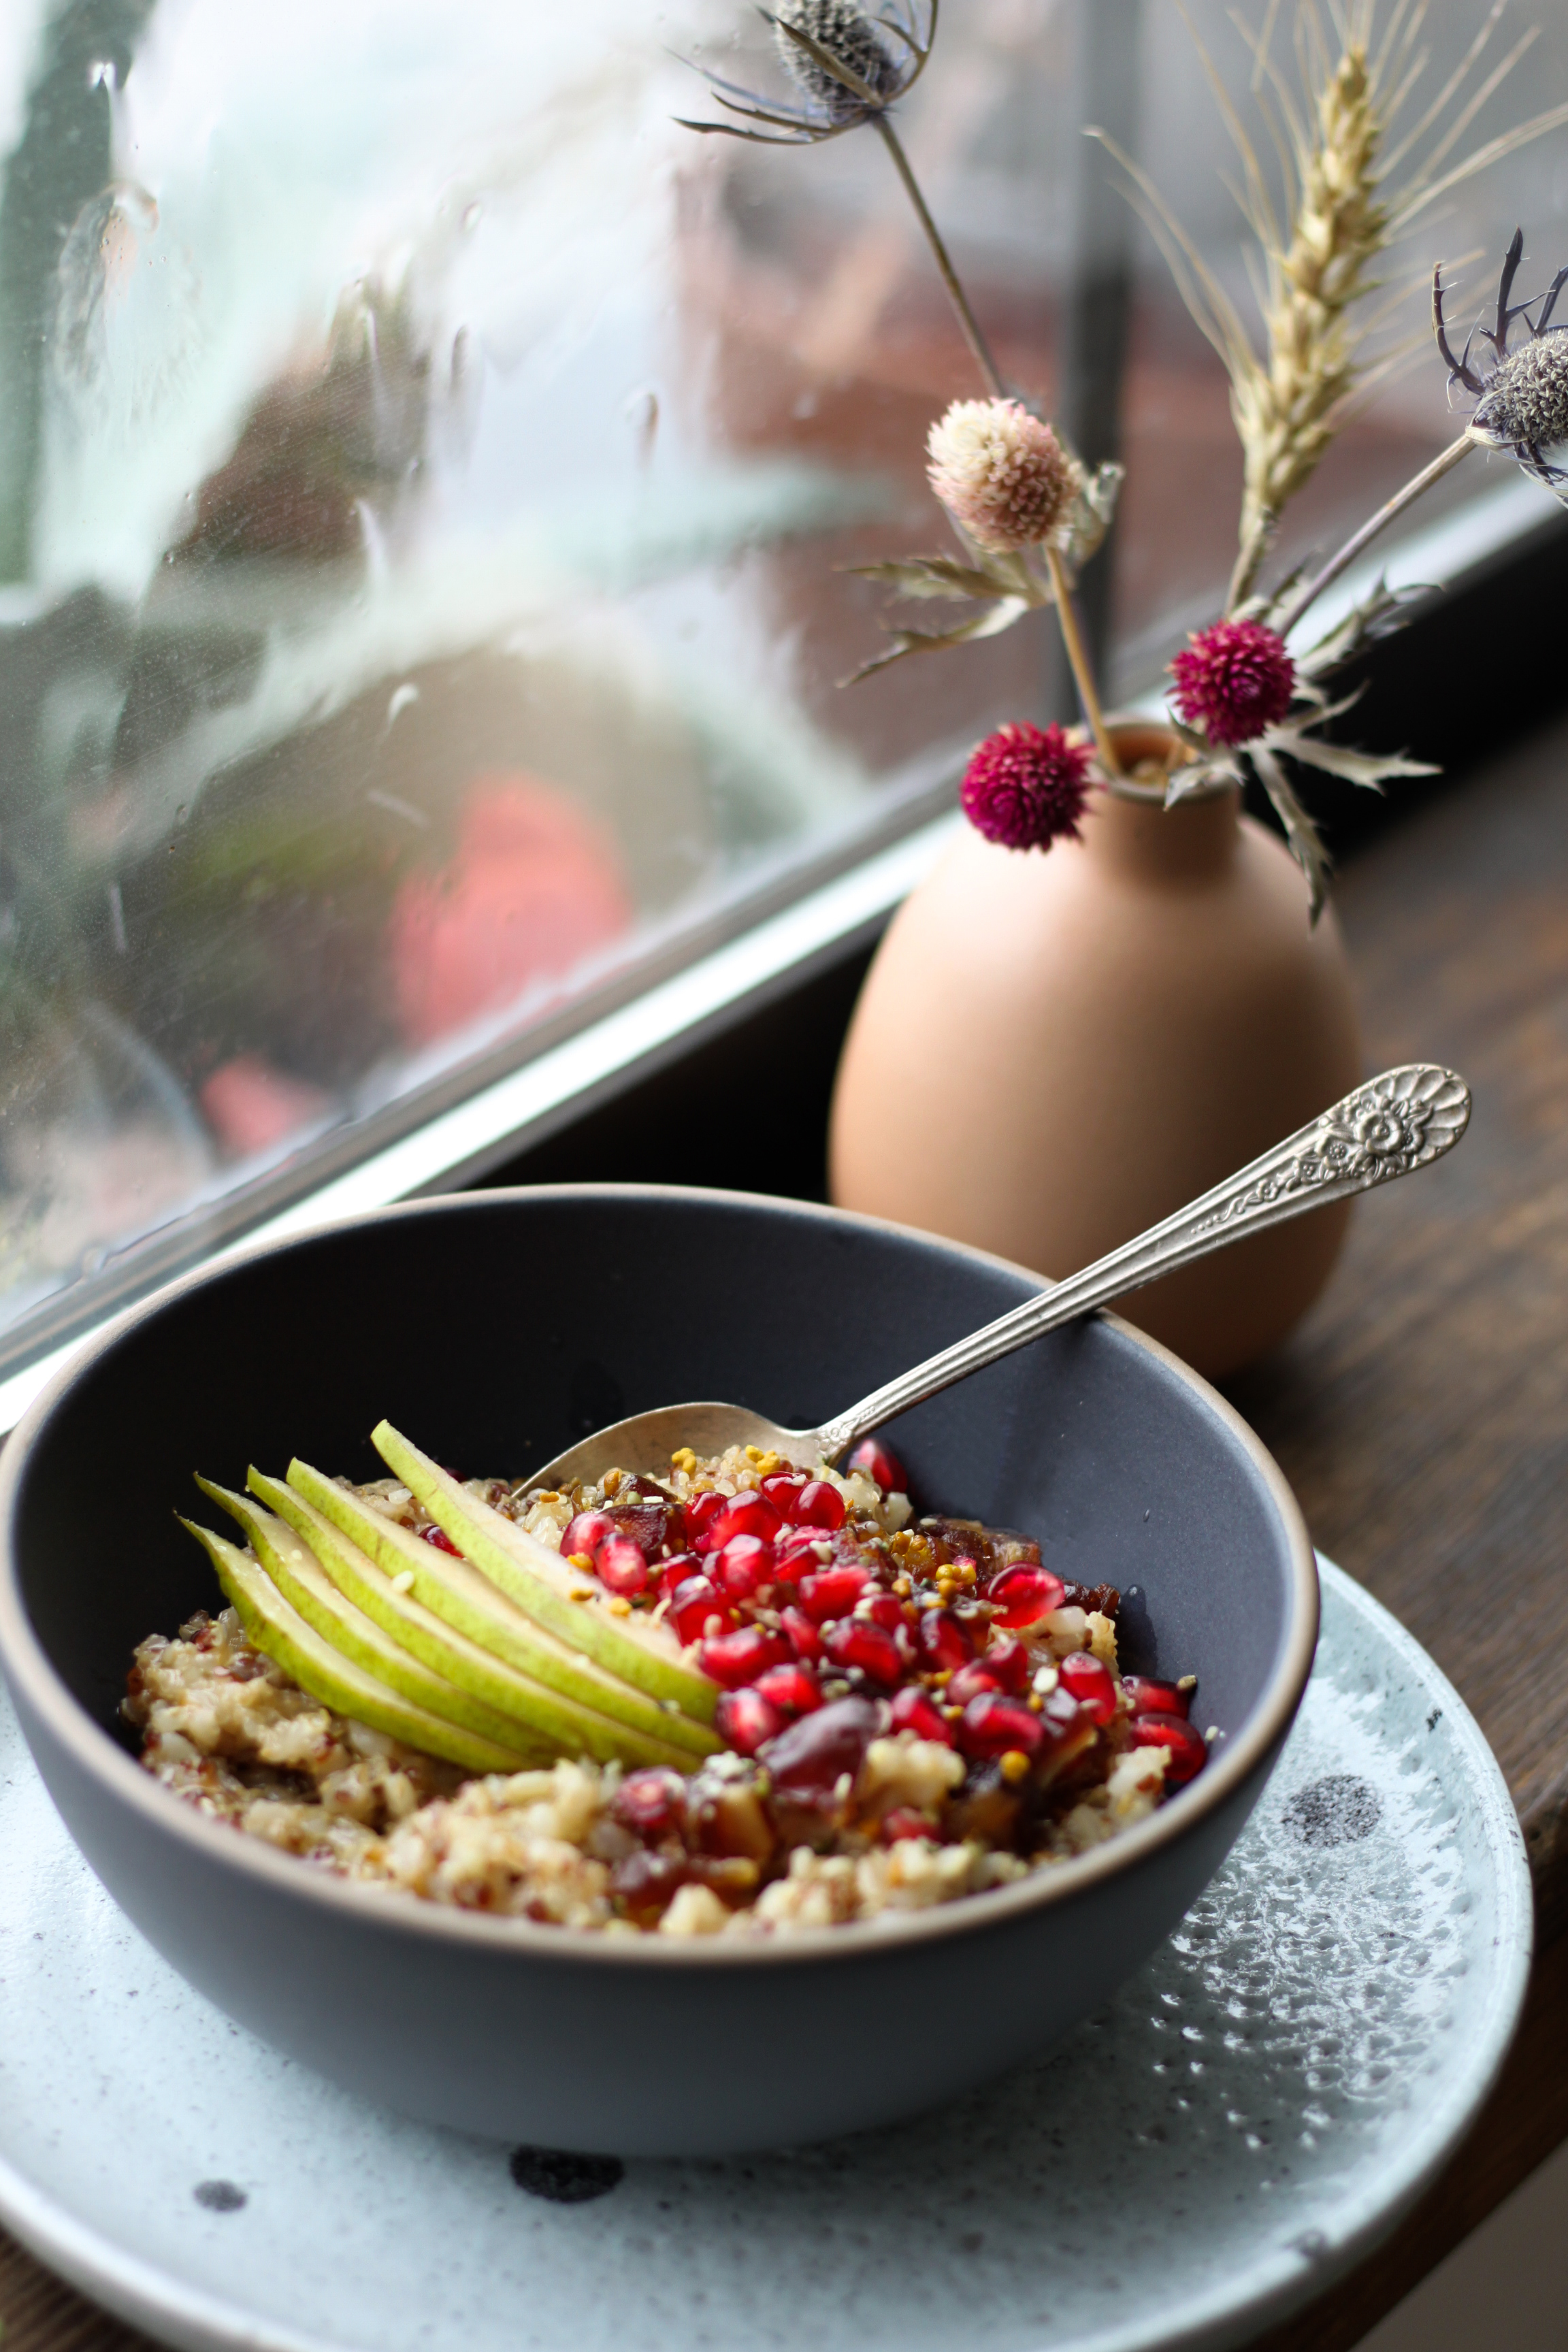
I hope everyone has a joyful and delicious holiday season – one that is nourishing in every sense of the word. Take time for yourself when you need it. Relish the sweets and listen to your body so you know when you should maybe ease up a little (that's, erm, some advice to myself that I thought maybe some of you may also relate to). Stretch in the mornings. Return to your breath in stressful times. Sink into the beauty of the season, in actions, words and things. Take good care.


Rosemary-Honey Cashew Butter
Makes about 1 cup. Scale up for a larger batch.
Originally published on my 2012 blog, which I am not linking to because looking at it is like looking at your old yearbook photos, but which I am mentioning because, citations.
Ingredients
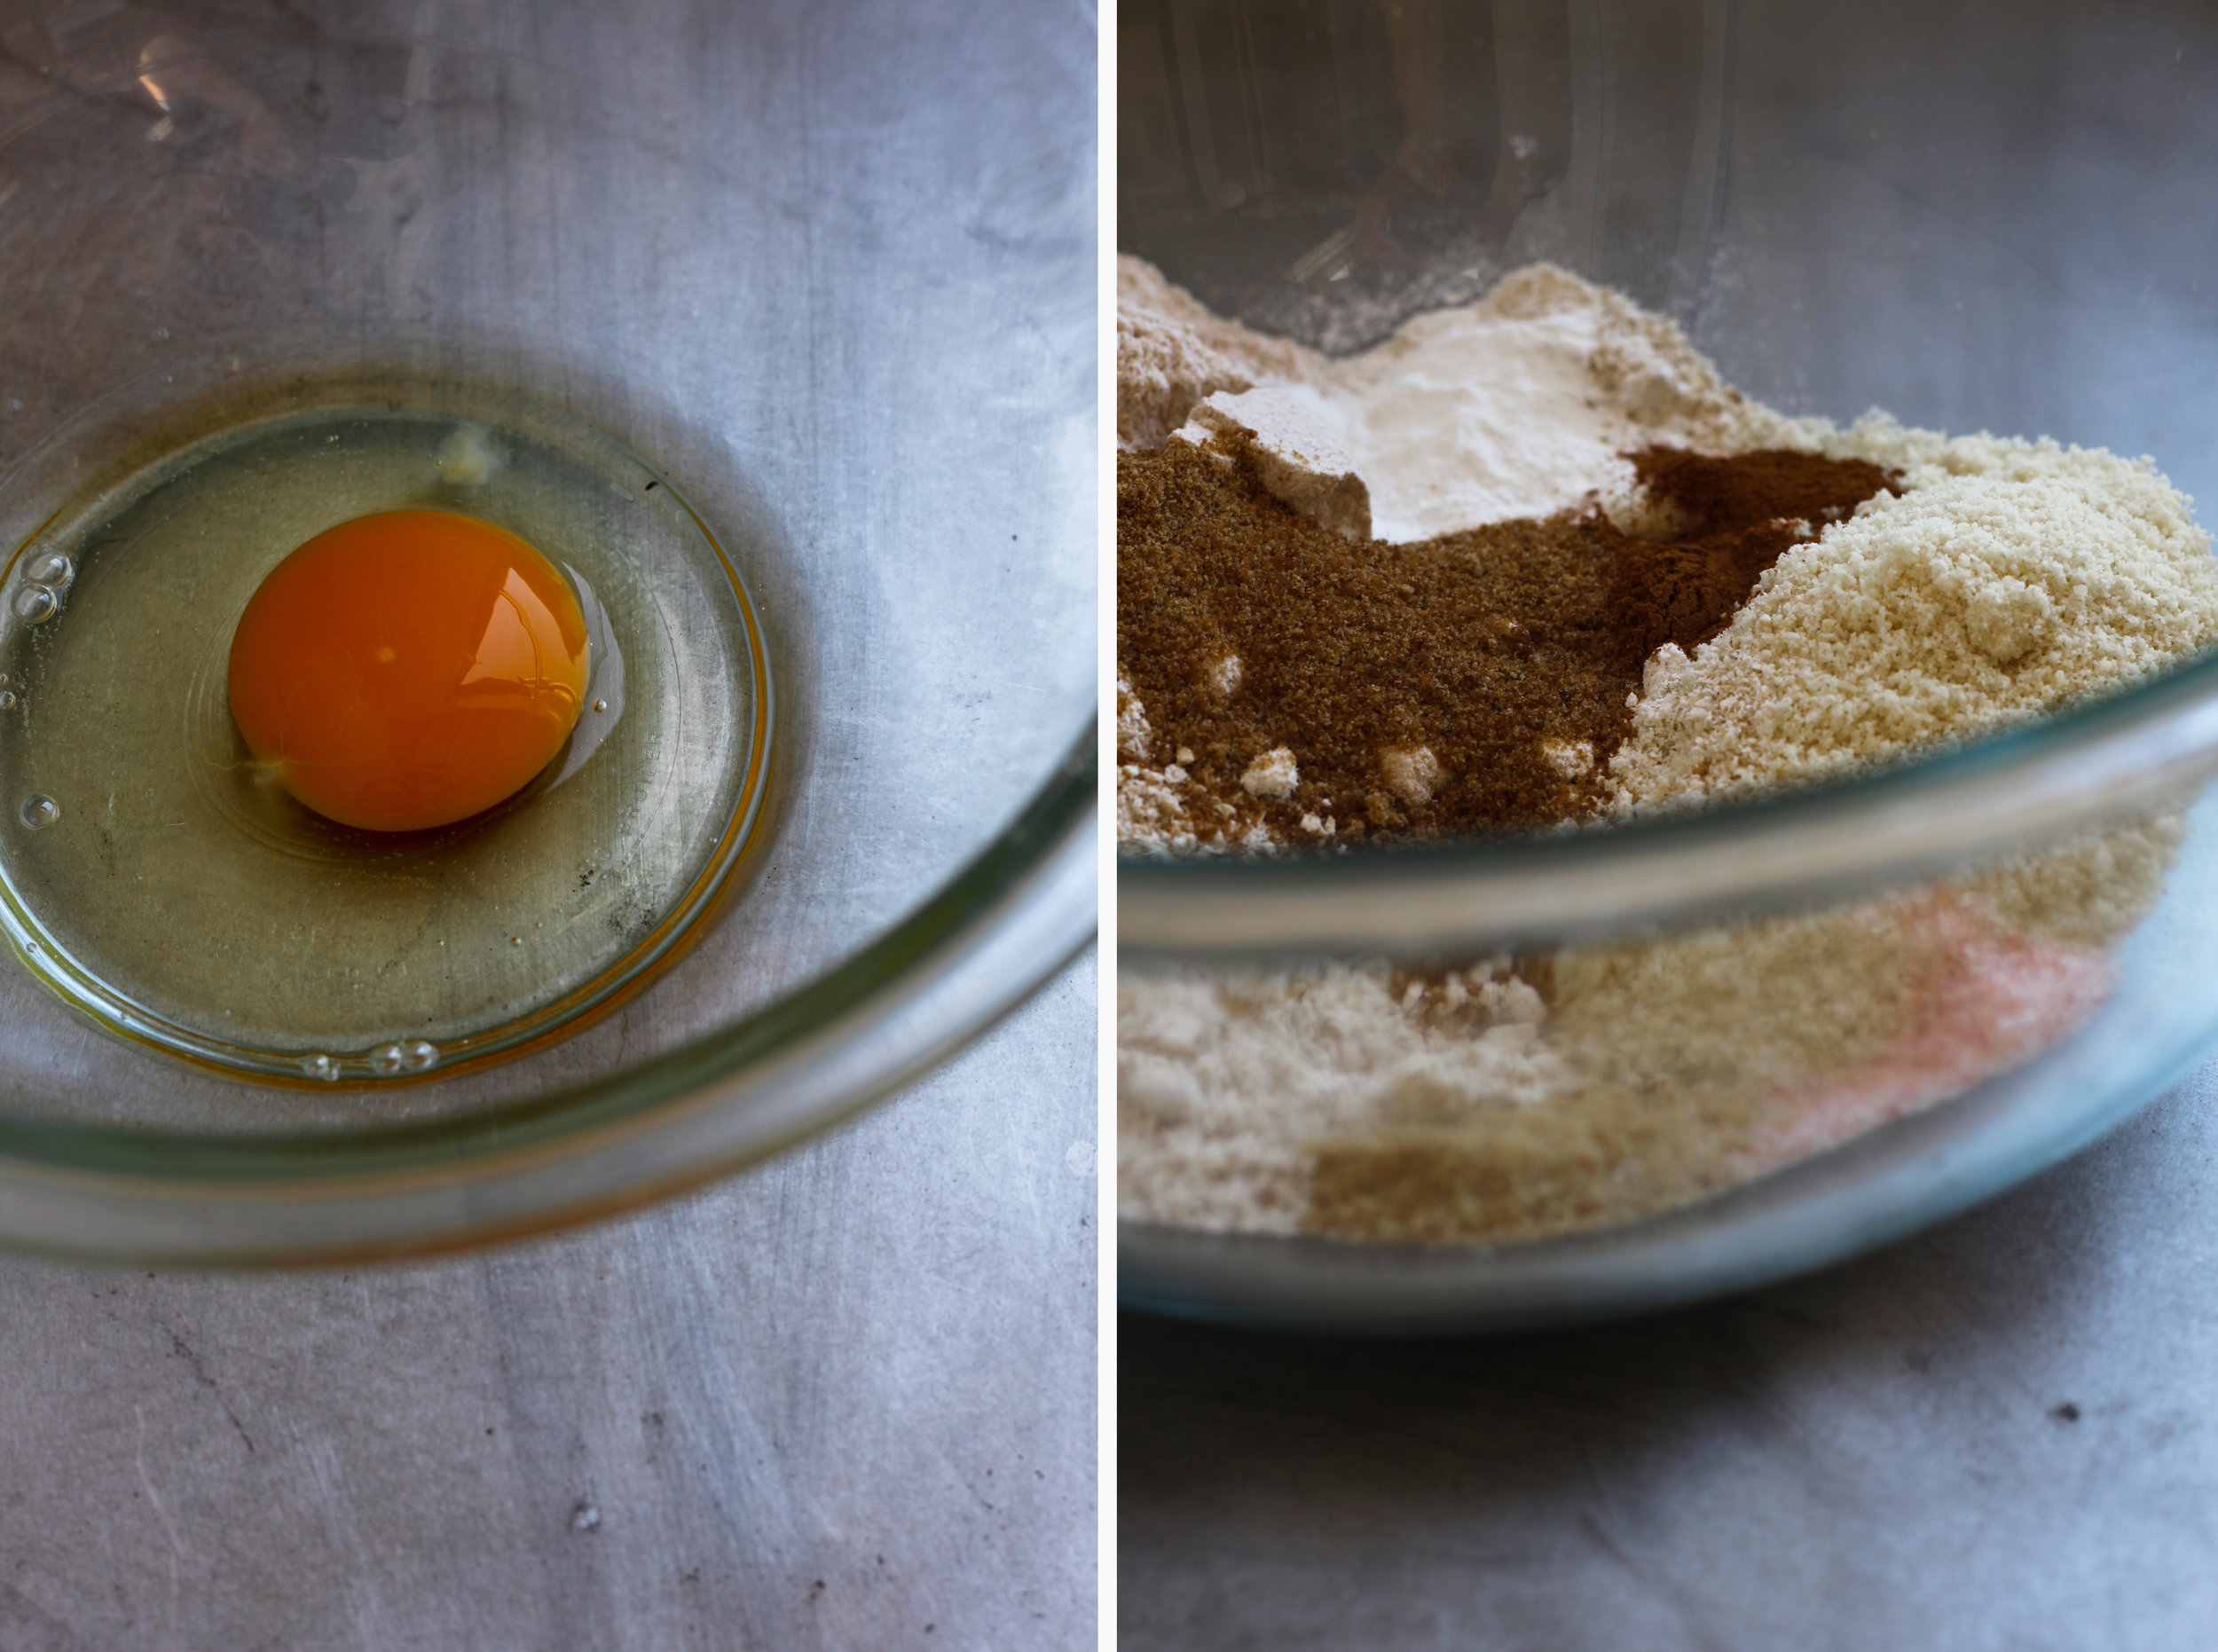
2 cups raw cashews
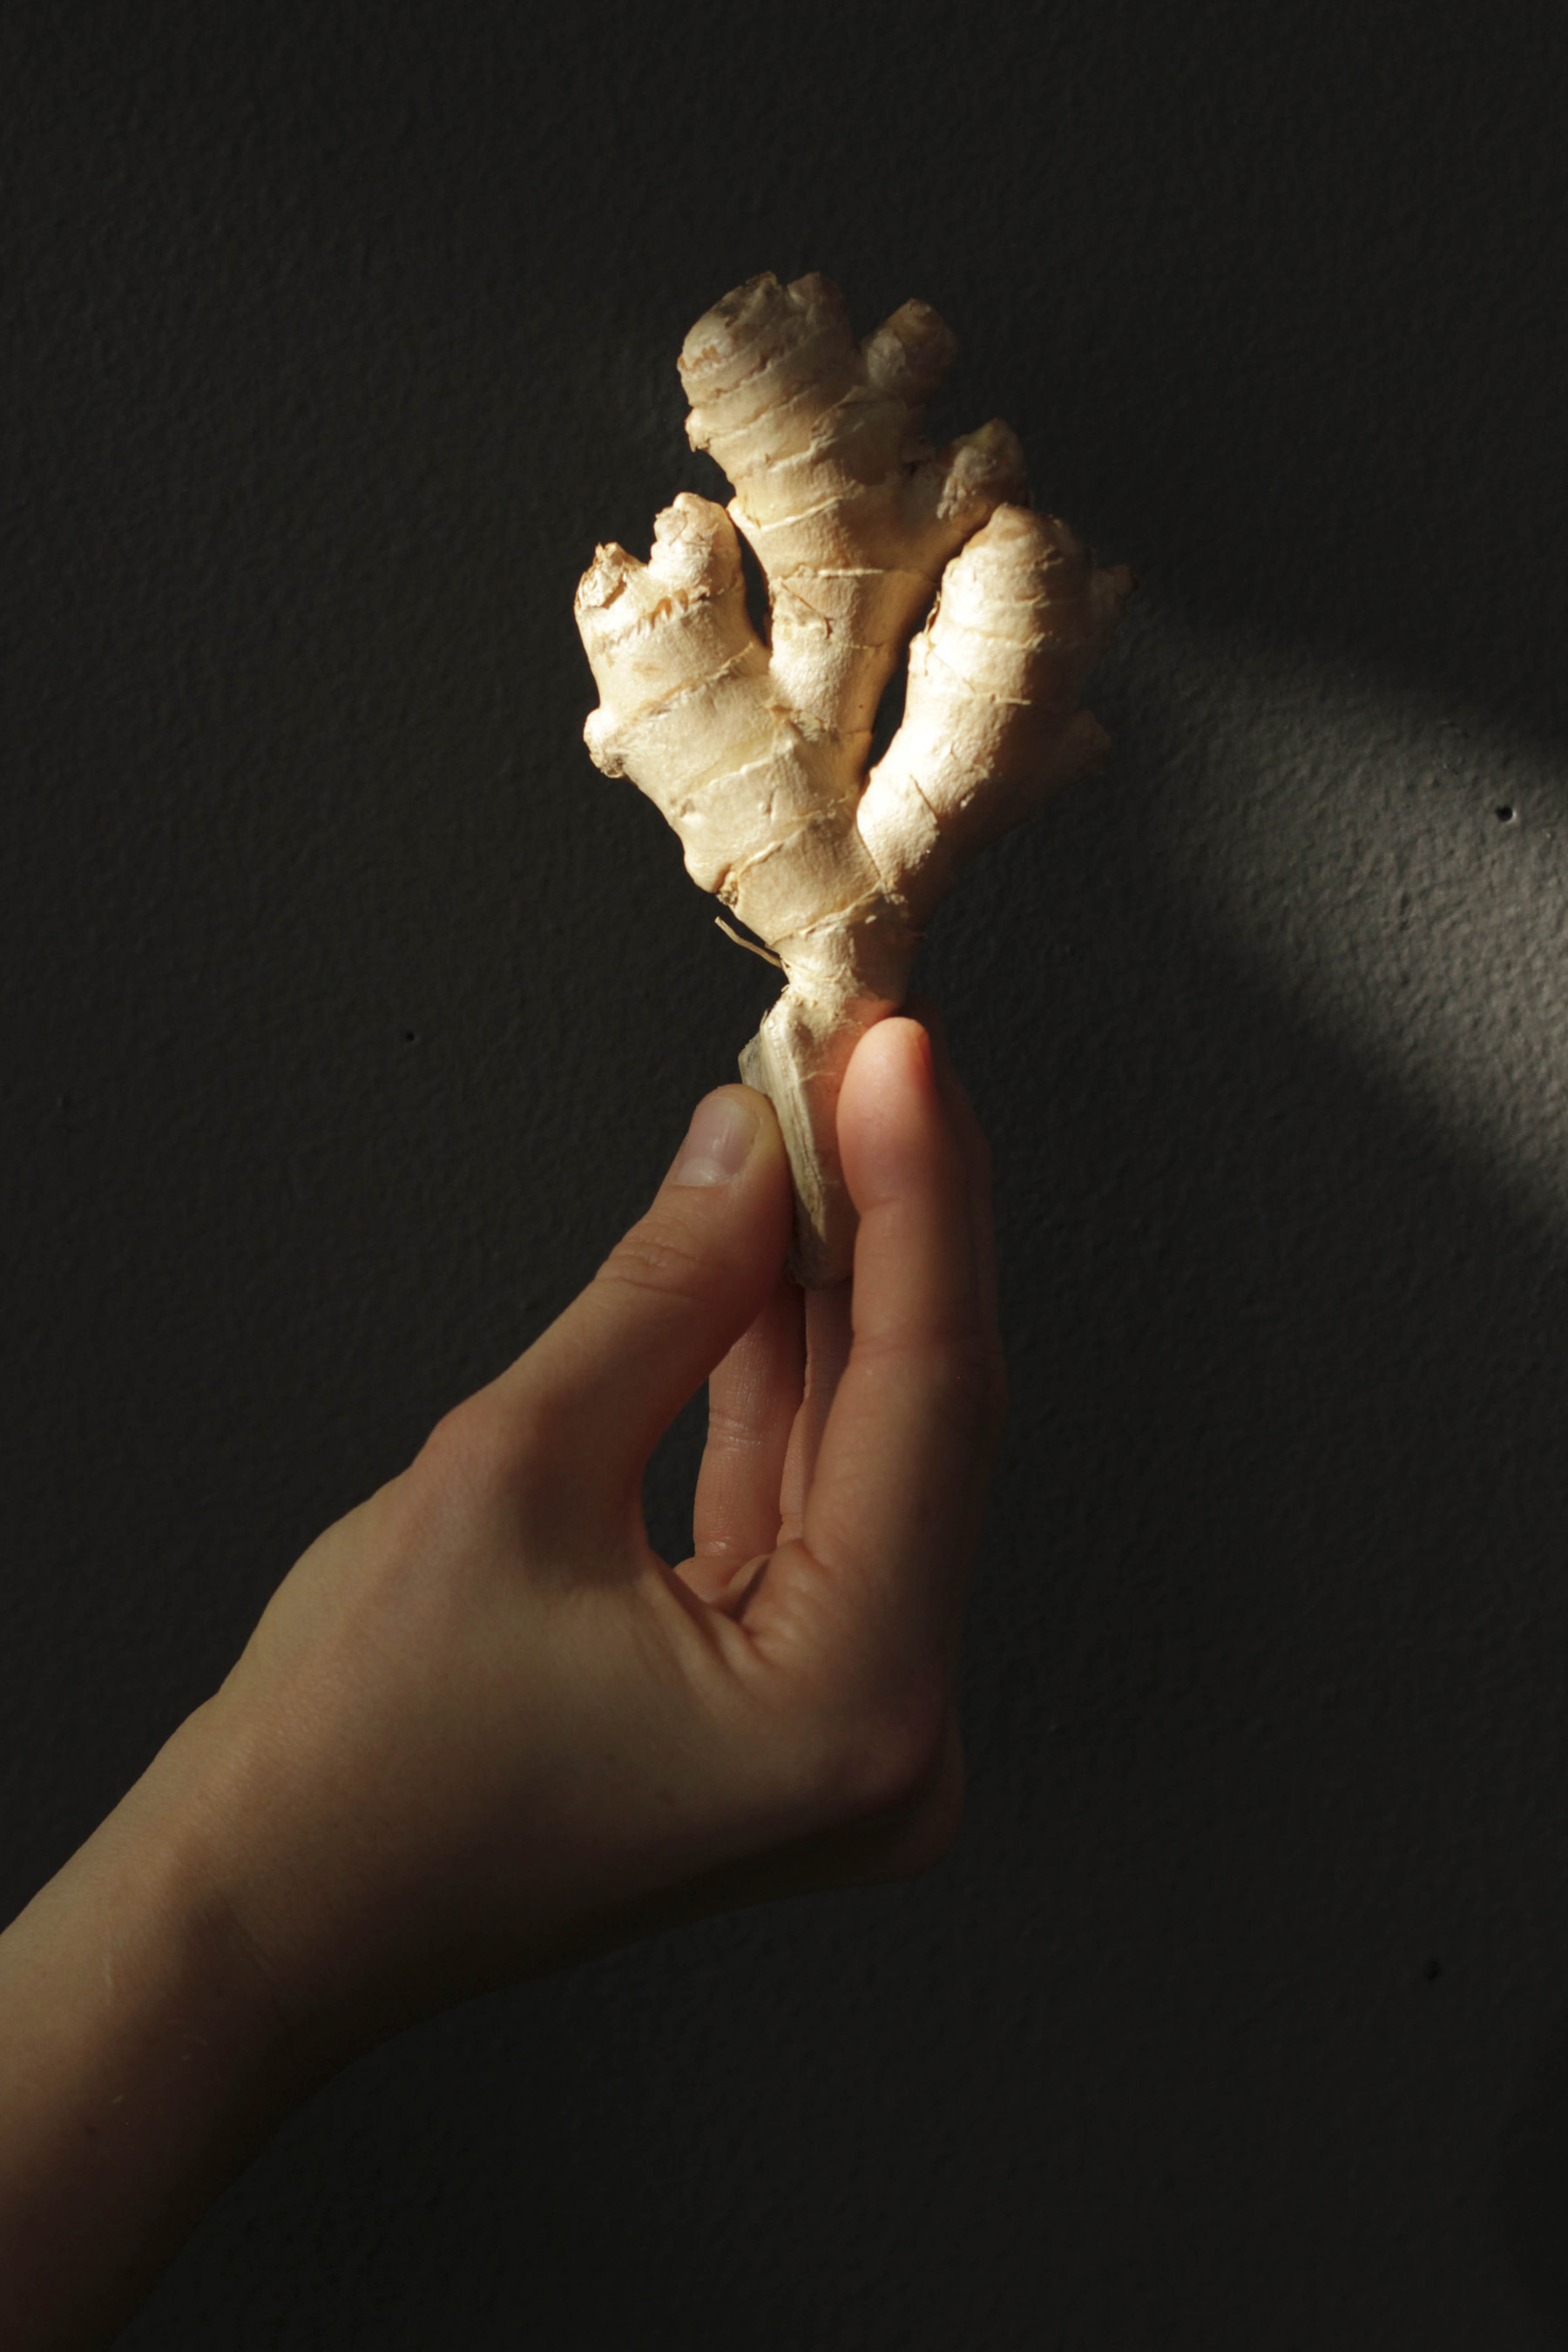
2 tsp. fresh rosemary
2 tsp. raw honey
1/2 tsp. fine sea salt or pink Himalayan salt
1 tsp. cold-pressed sunflower oil, optional (for more runny cashew butter; it is quite thick otherwise)
Directions
1. Preheat oven to 300°F.
2. Spread cashews on a baking sheet and roast for 15-20 minutes, until fragrant. Stir a few times during roasting.
3. Let cool for 5 minutes.
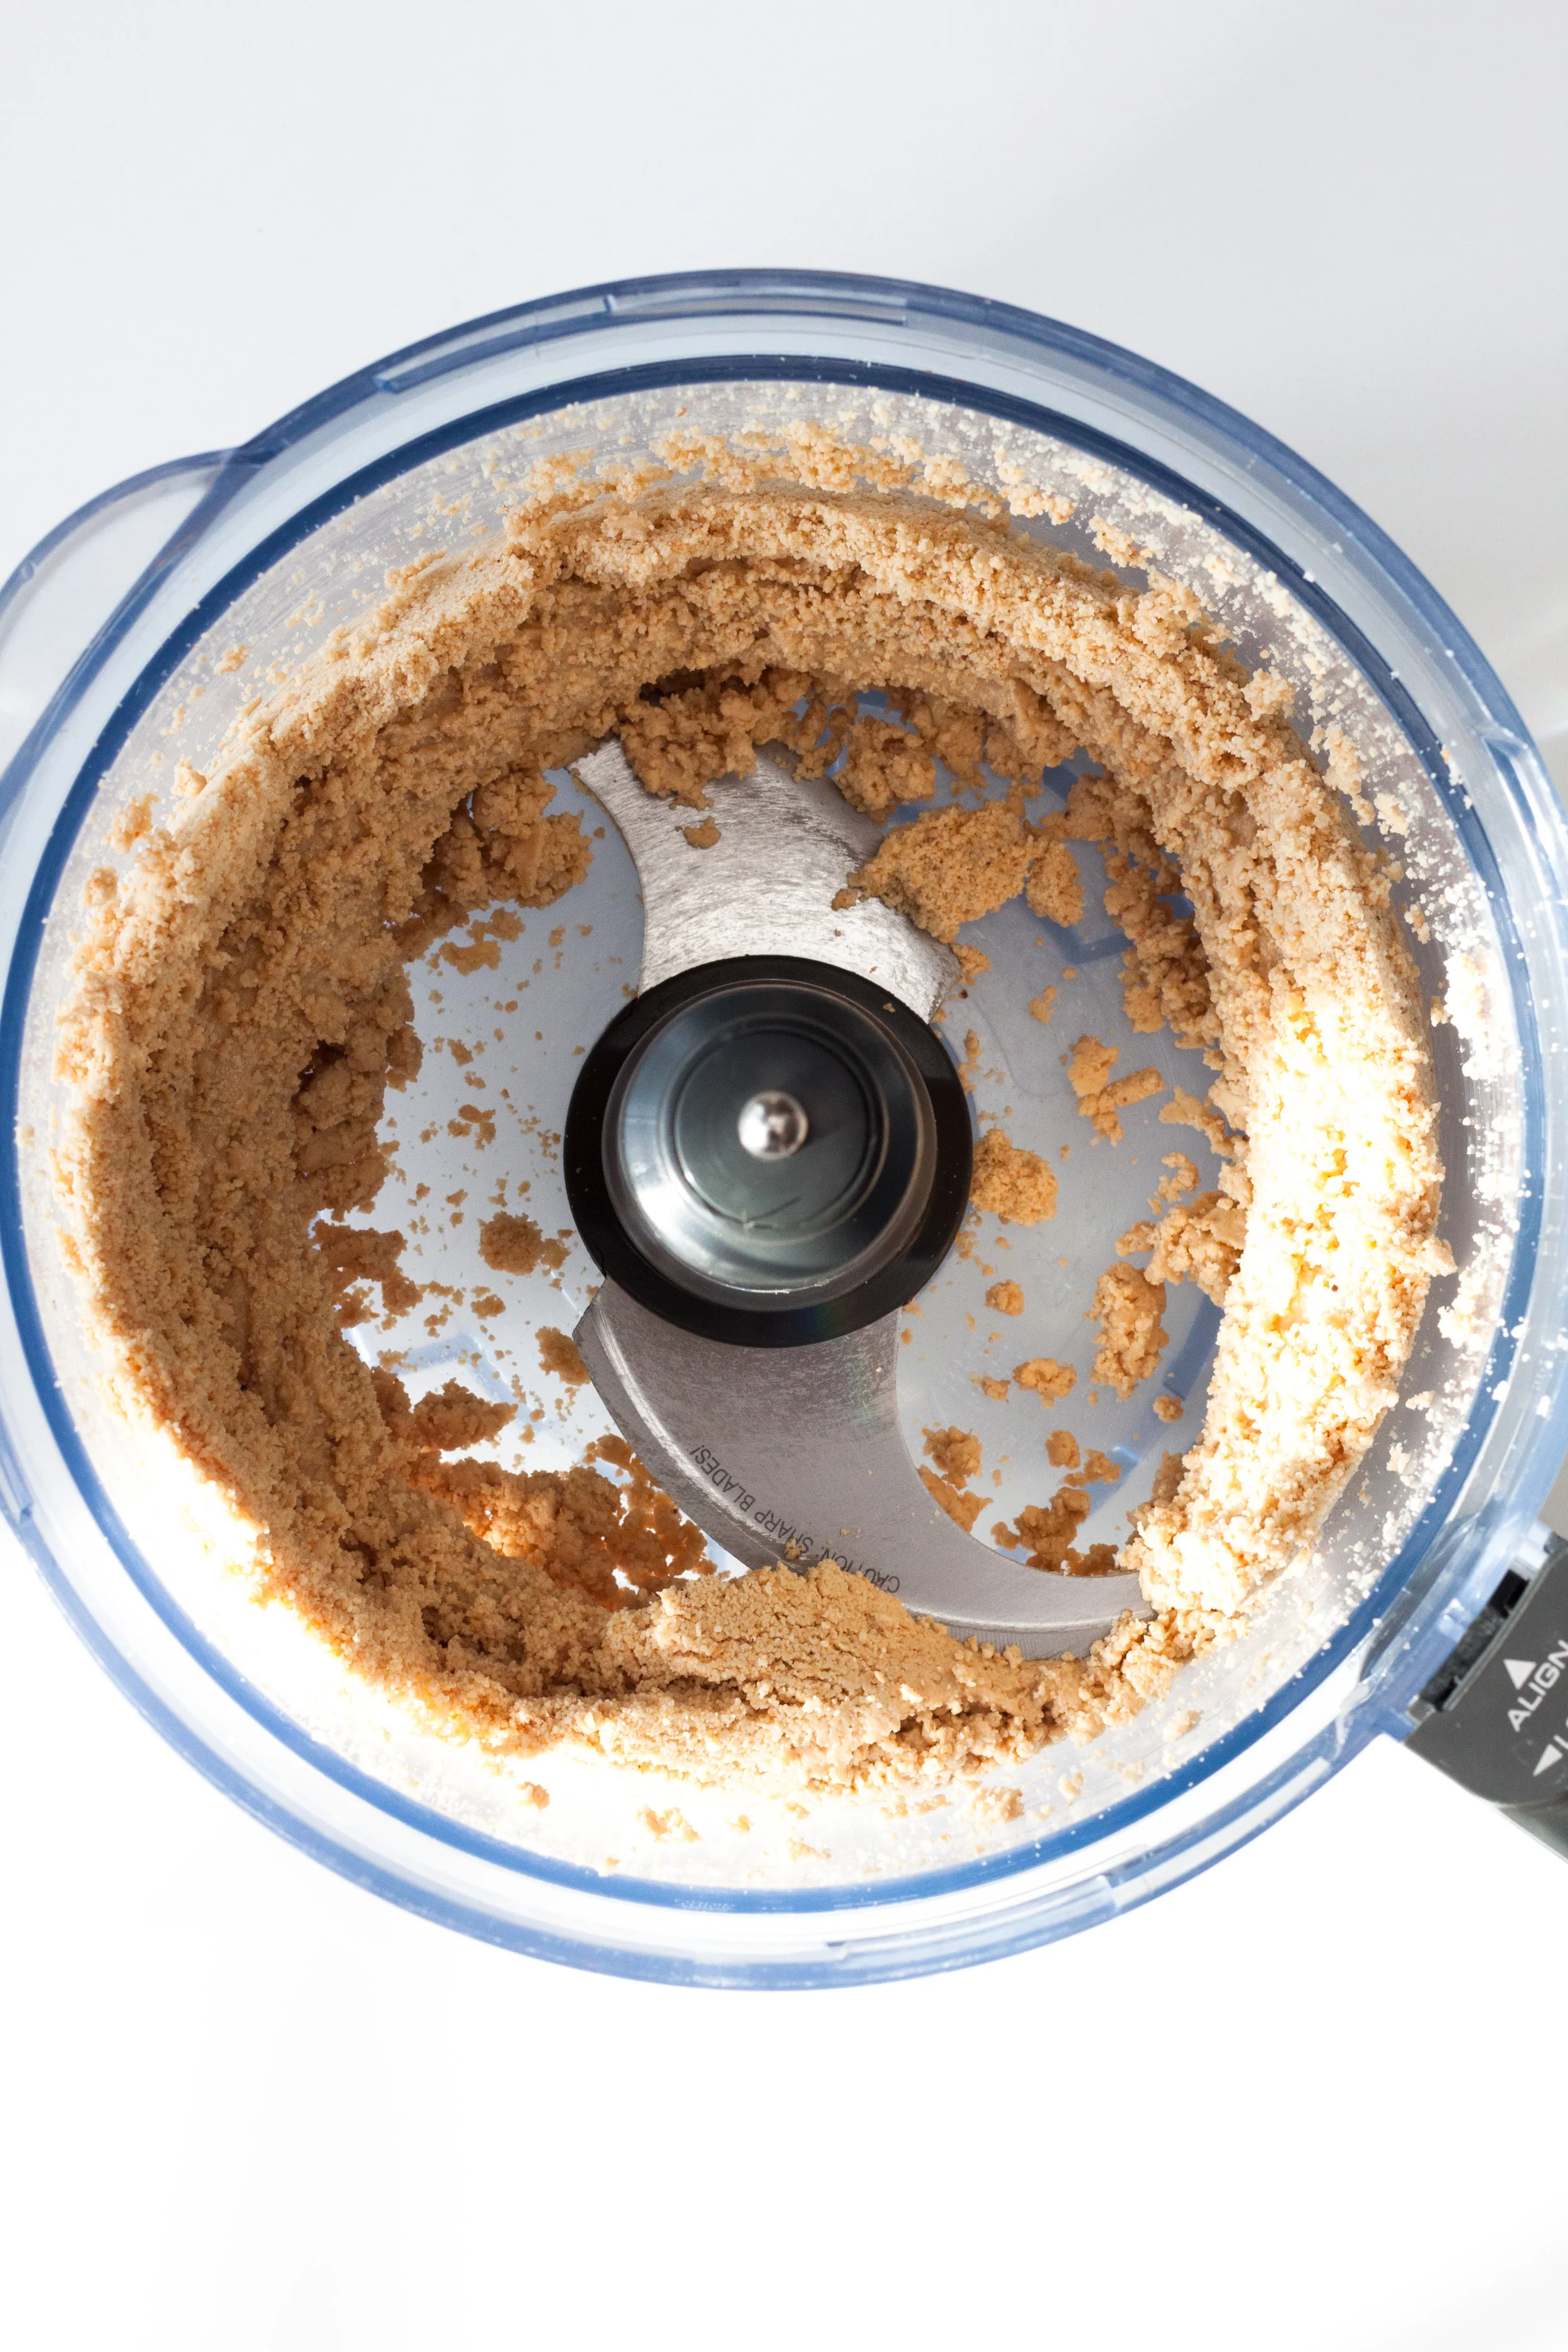
4. Place cashews in food processor fitted with an S-blade and blend until the nuts turn into a smooth 'butter'. This could take anywhere from 5-15 minutes. Scrape down the sides of the bowl as needed.
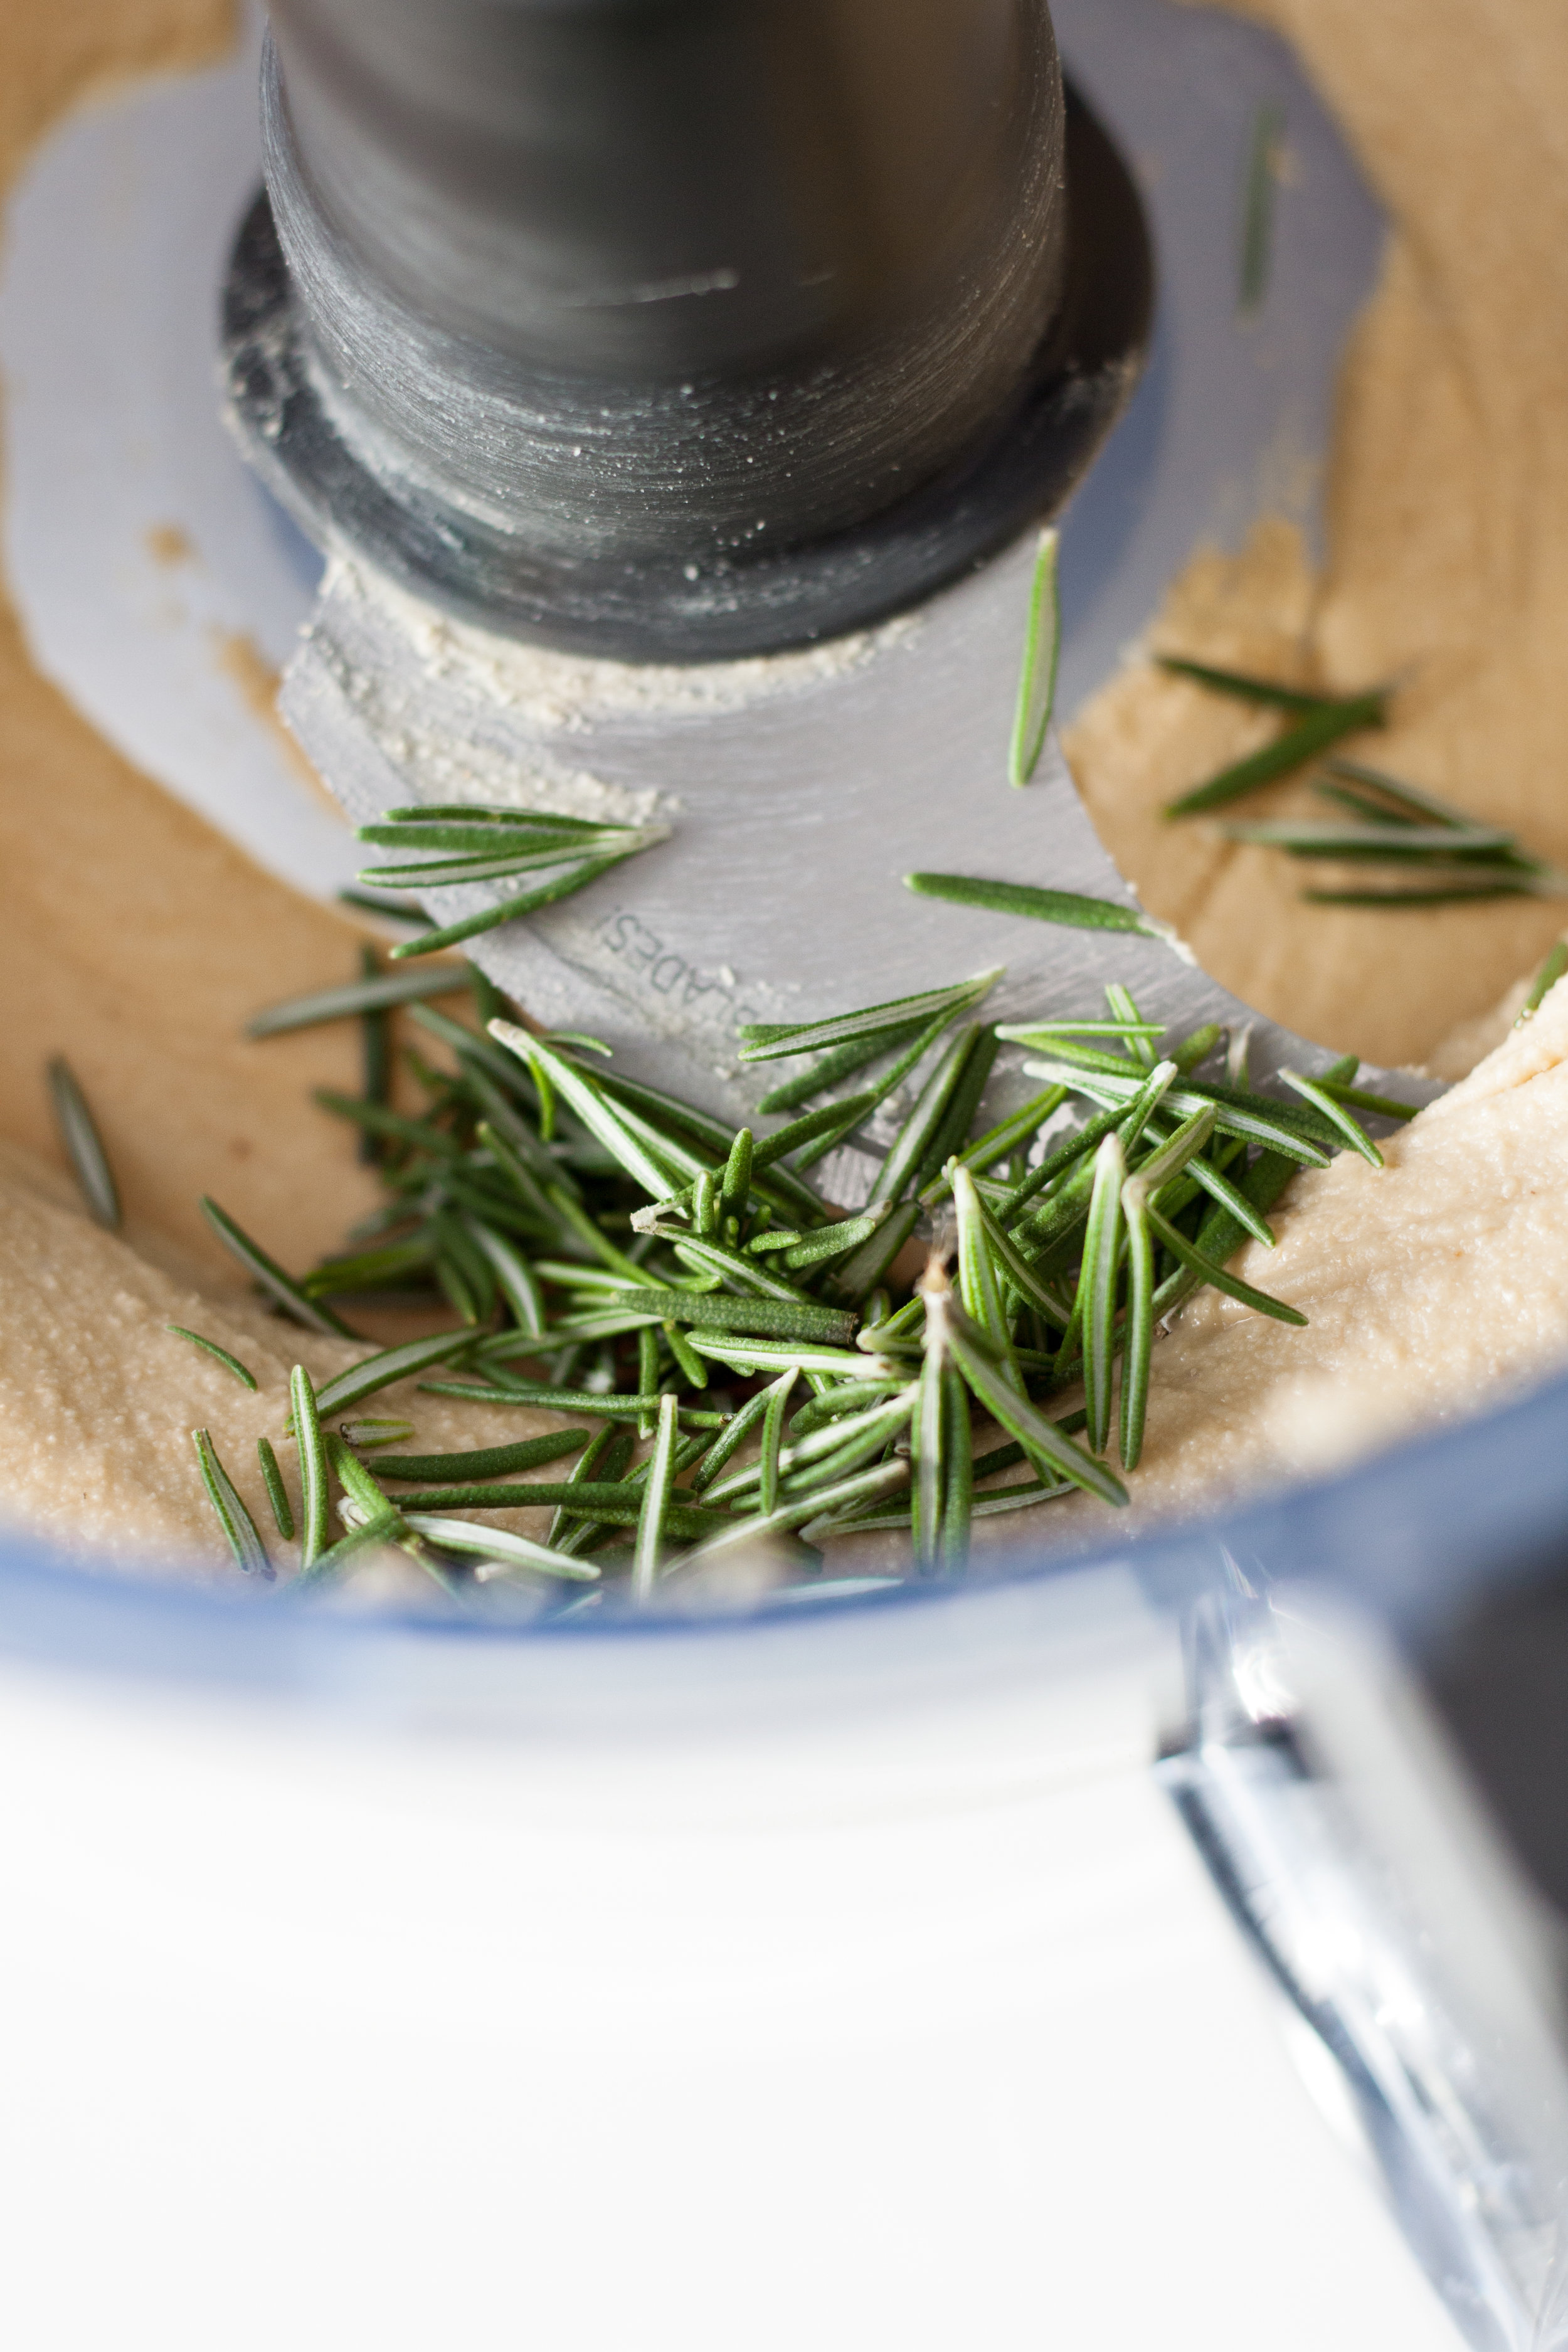
5. Add rosemary and salt and process for another minute or two.
6. In a small saucepan, melt honey over low heat until it is completely liquefied – much thinner than its syrupy state. Add to nut butter and process for another minute until fully combined. The nut butter will clump up again; keep the blade running until it returns to its smooth state.
7. If you prefer your cashew butter even creamier, add the 1 tsp. of a sunflower oil.
8. Carefully remove blade from food processor. Transfer nut butter to a glass jar with a lid and store in the fridge.