Super simple and fresh, this is essentially a handheld salad that celebrates the early bounties of spring.
I opted to stick with lemon and olive oil for the dressing to let the brightness of the vegetables shine through; if you’re keen to douse the lettuce cups in tahini or have a green goddess or other dressing that you like, definitely do!
Great as a side dish, these lettuce cups can easily become a full meal by mixing in some flaked salmon, chickpeas or other protein of choice. Happy spring!


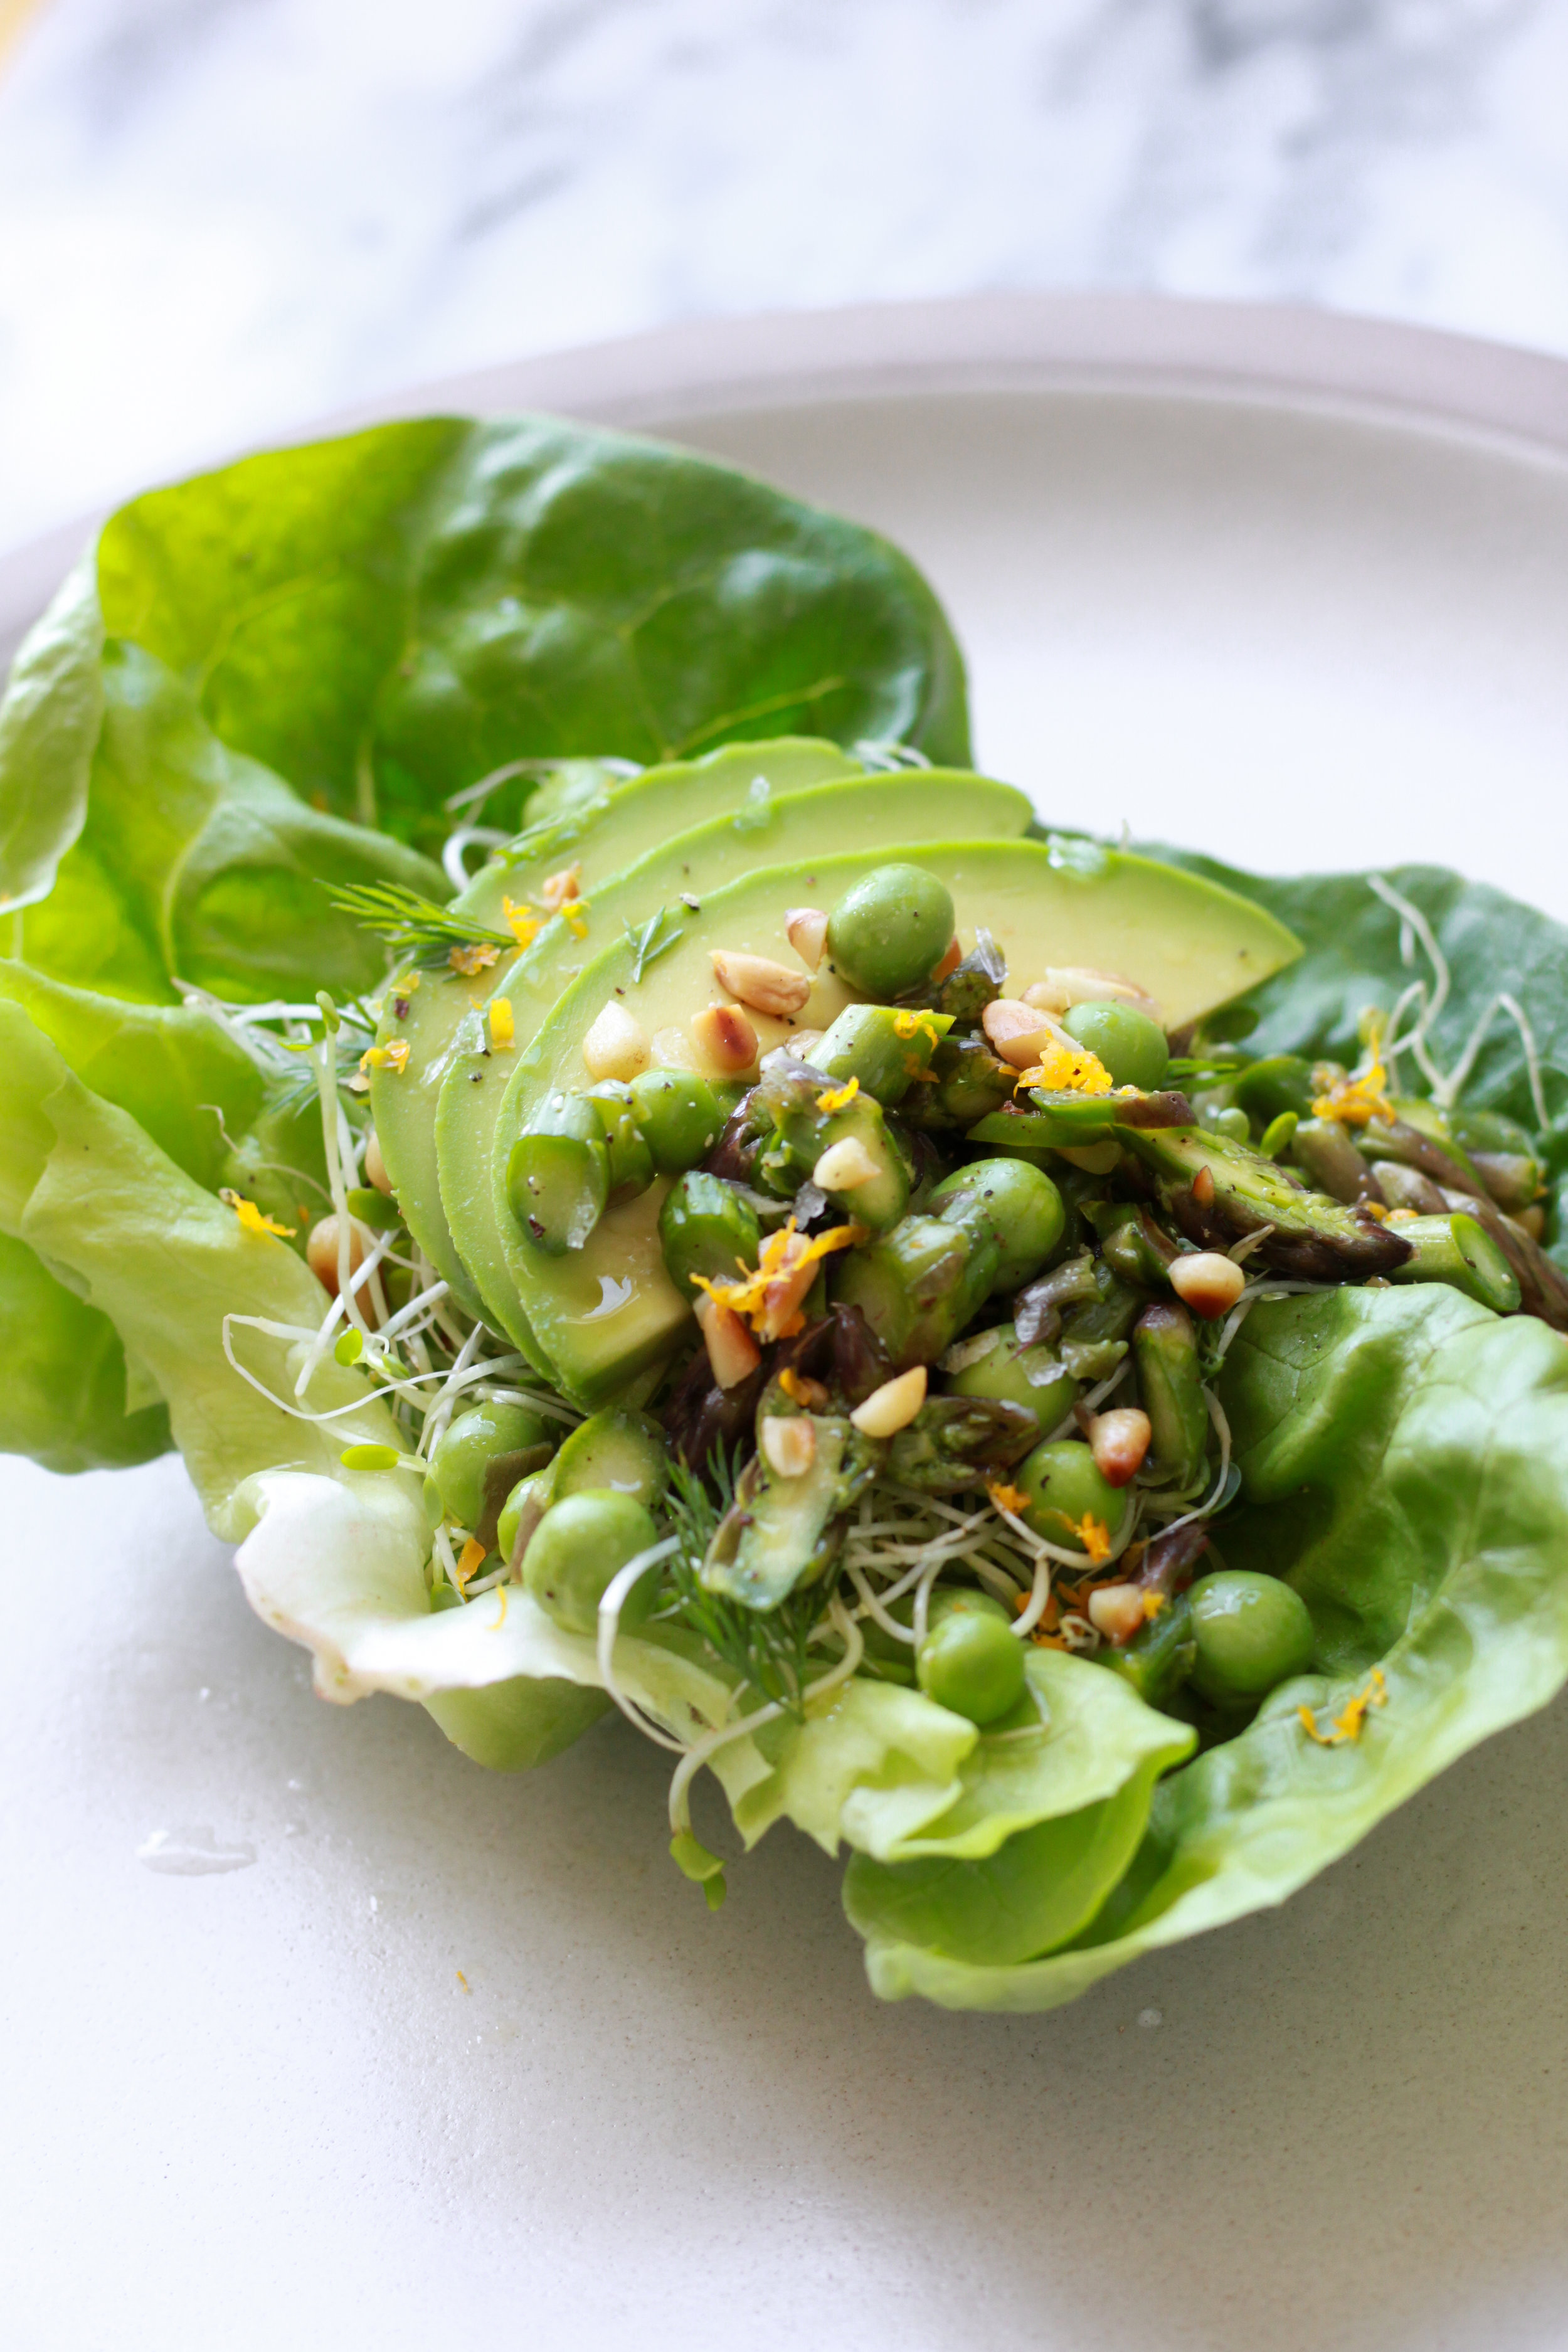

Spring Green Veggie & Herb Lettuce Cups
Makes 4 lettuce cups
Ingredients
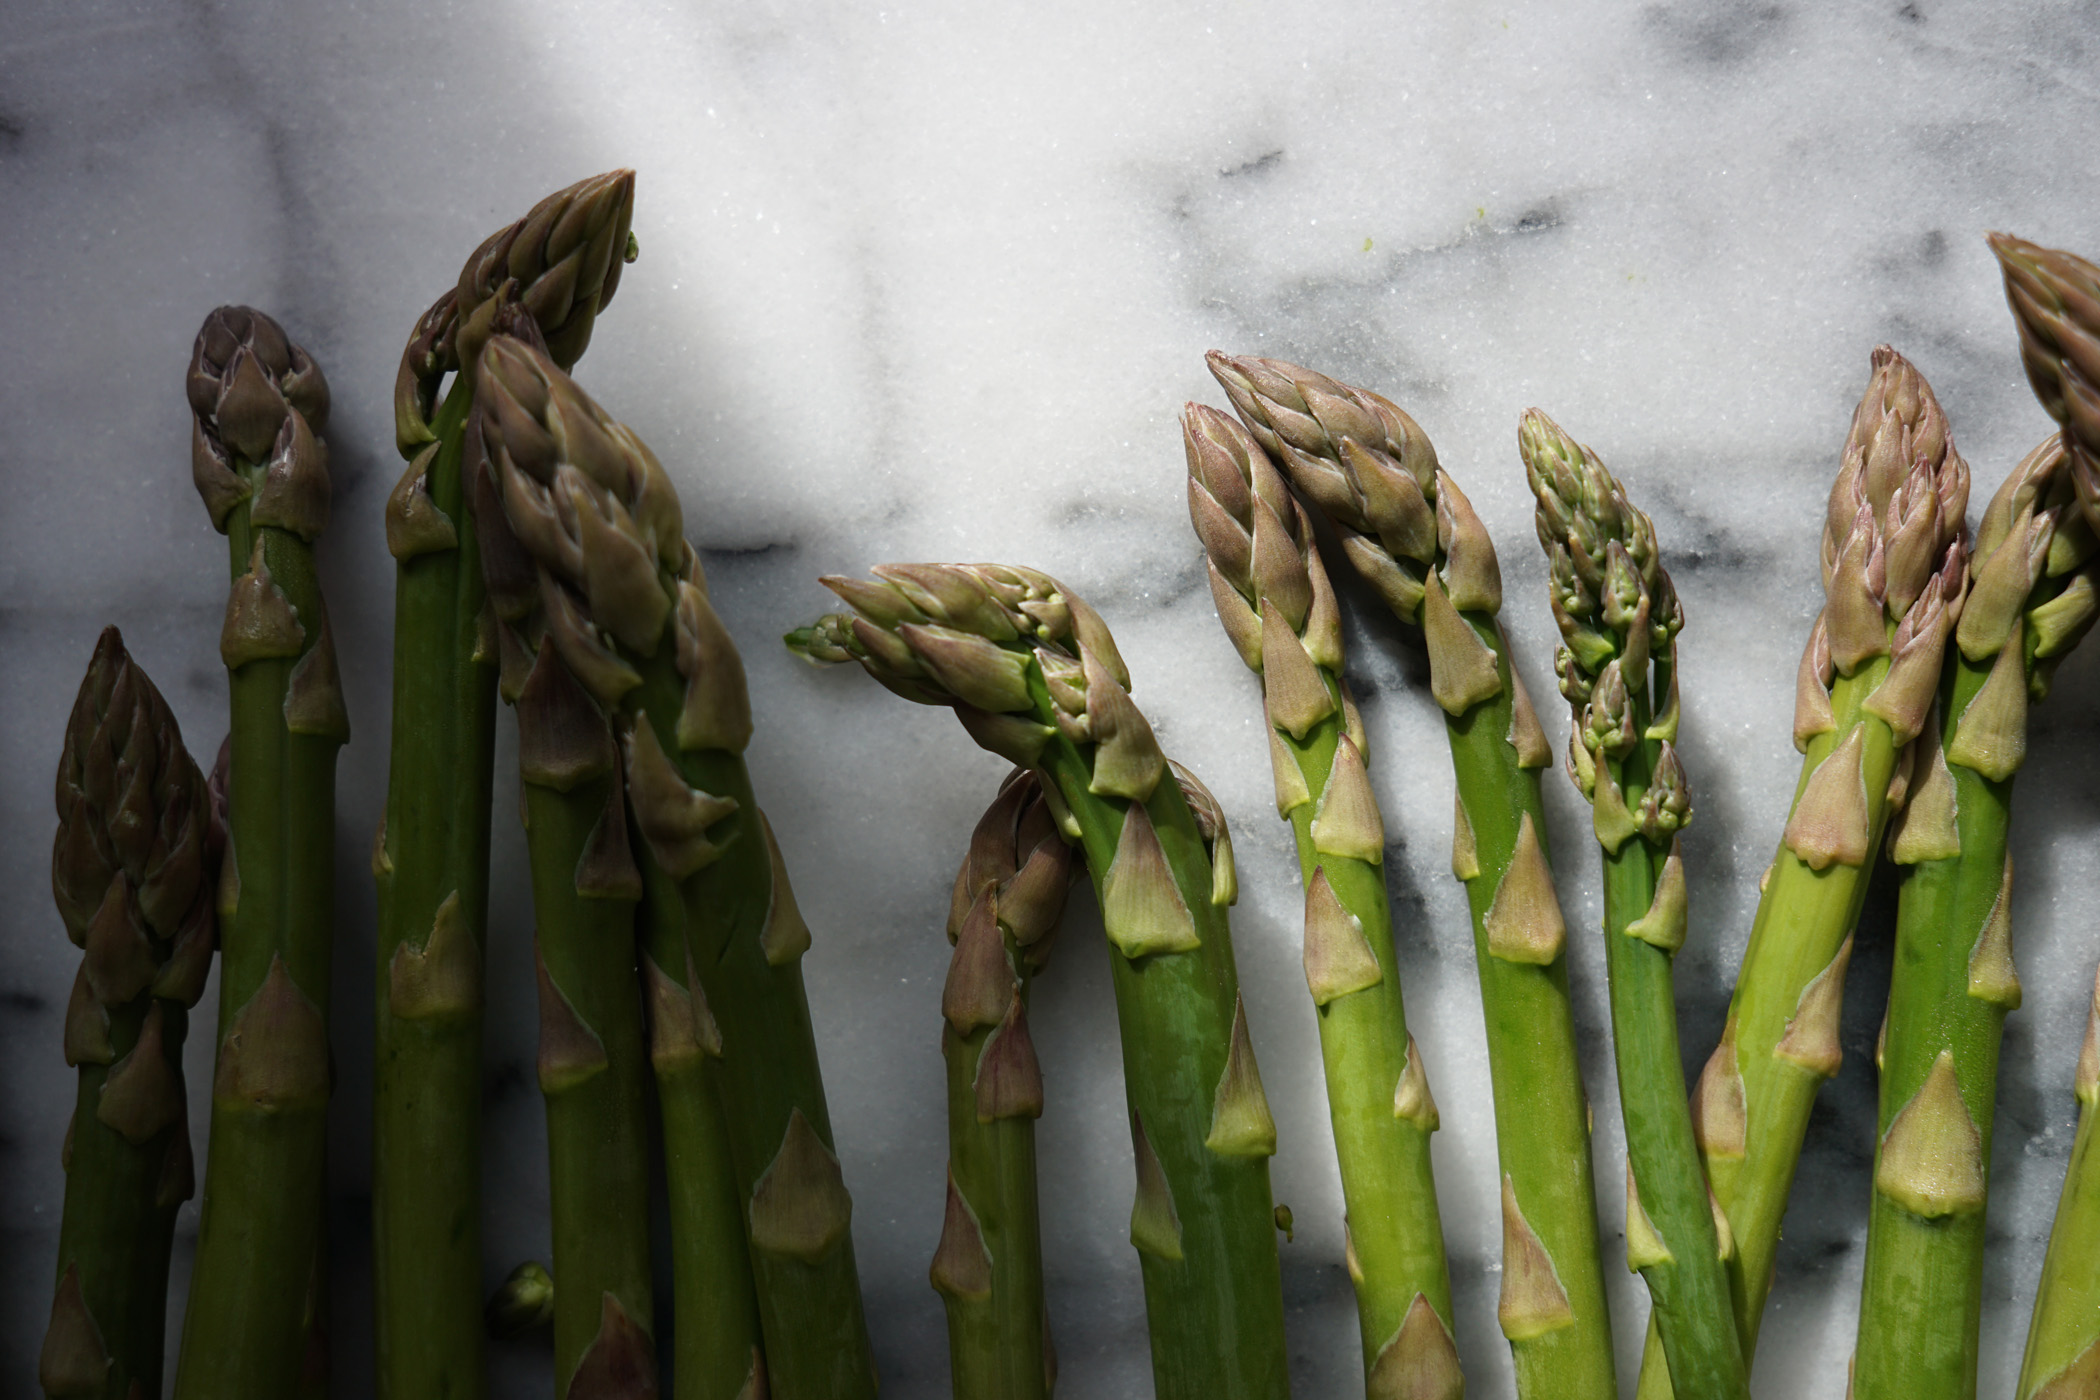
1/2 bunch asparagus
1/2 lb English peas (in their pod)
1 Meyer lemon
2 Tbsp. pine nuts
2 Tbsp. olive oil
1/4 cup mixed herbs (mint, dill, chives, parsley, chervil are some nice options), roughly chopped
1 avocado, sliced
a few handfuls alfalfa sprouts
4 large butter lettuce leaves
salt & pepper
Directions
1. Cut off the bottom woody ends off the asparagus (1”-2” up from the bottom) and discard. Cut each asparagus stalk into 1/4” slivers at an angle and put into a medium sized bowl.
2. Zest the lemon and set zest aside. Squeeze the juice from the entire lemon over the asparagus. Add a couple pinches of salt, toss and set aside.
3. De-pod the English peas, adding the peas to the bowl with the asparagus as you go. Mix the two together.
4. In a small pan, toast the pine nuts over medium-low heat until golden brown, 5-7 minutes, stirring or tossing frequently. Once they’re golden, transfer immediately to a cutting board so they don’t burn. Roughly chop.
5. Add the olive oil, lemon zest, 3 Tbsp. of the chopped herbs and a few grinds of black pepper to the asparagus and peas. Stir to combine. Taste and adjust salt and pepper as needed.
6. Assemble the lettuce cups: In each butter lettuce leaf, place a layer of alfalfa sprouts, slices from 1/4 the avocado, and a couple spoonfuls of the asparagus and pea mixture (and its lemon-oil-herb dressing). Finish off with a few pinches of chopped pine nuts and the remaining fresh herbs.