Roasted Broccolini with Browned Butter Tahini Sauce & Za'atar

untitled (1 of 1)-2.jpg
untitled (3 of 12).jpg
untitled (4 of 12).jpg
zaatar1.jpg
zaatar2.jpg
butter.jpg

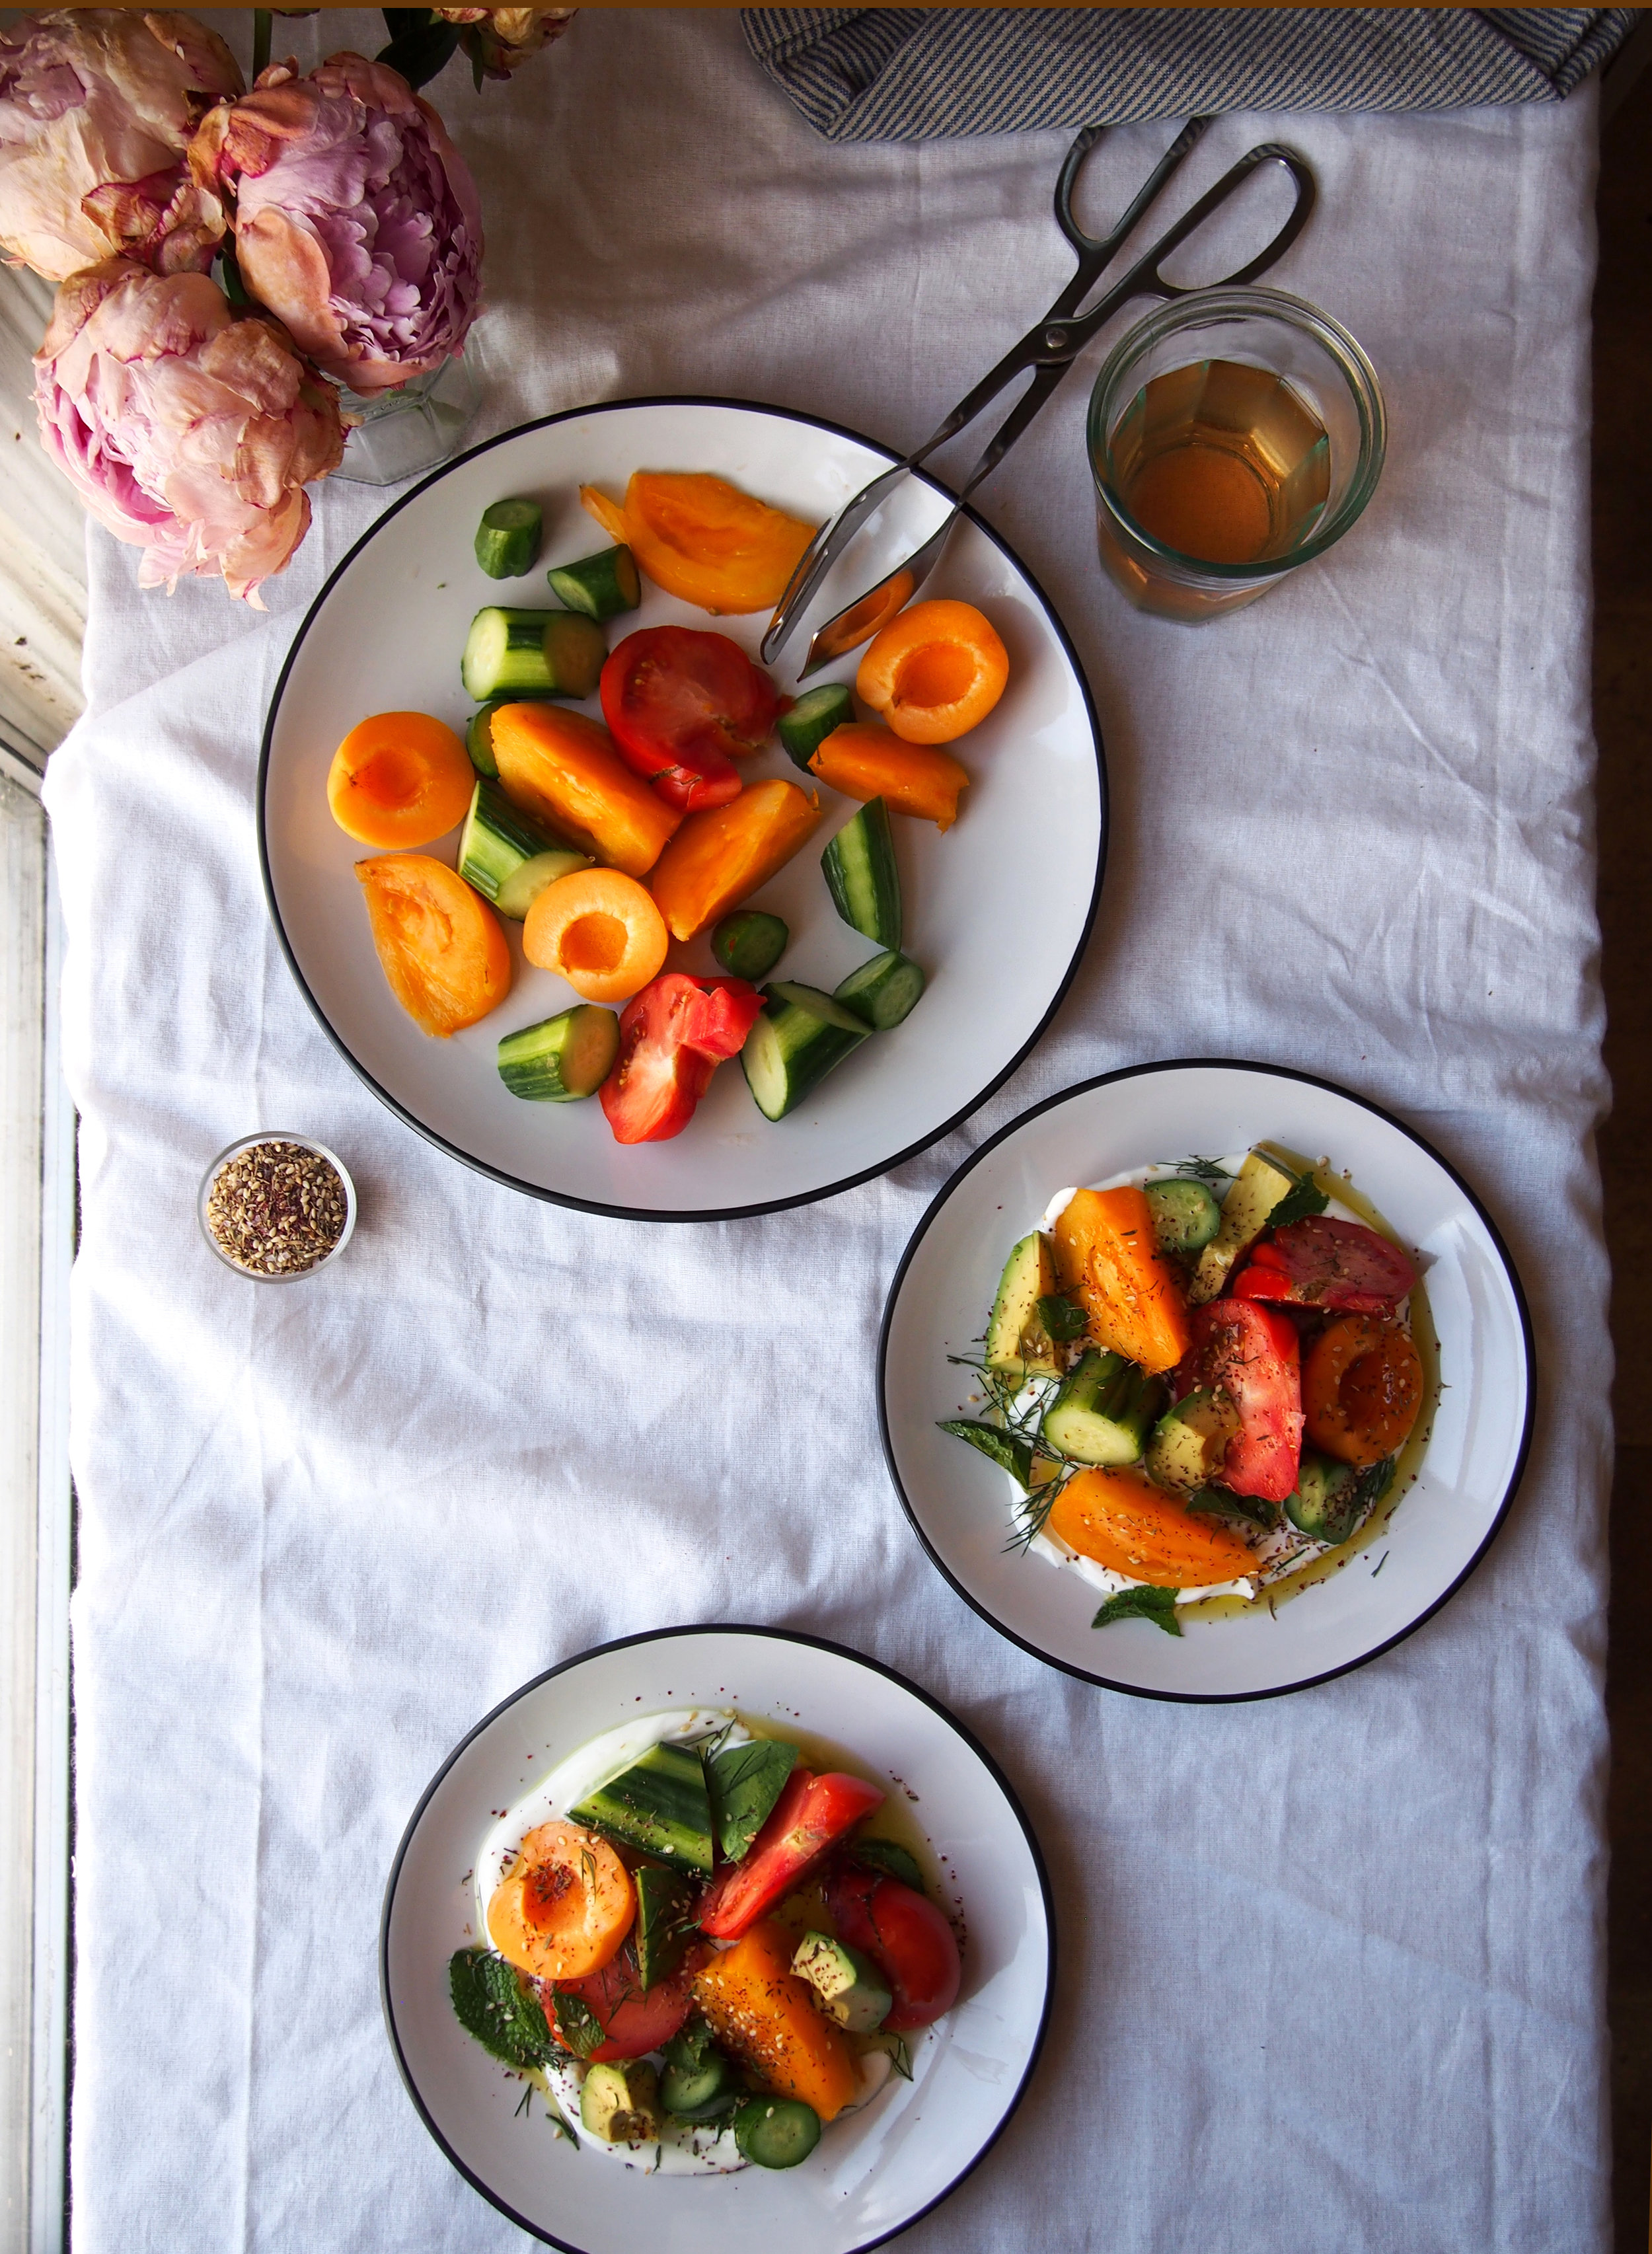
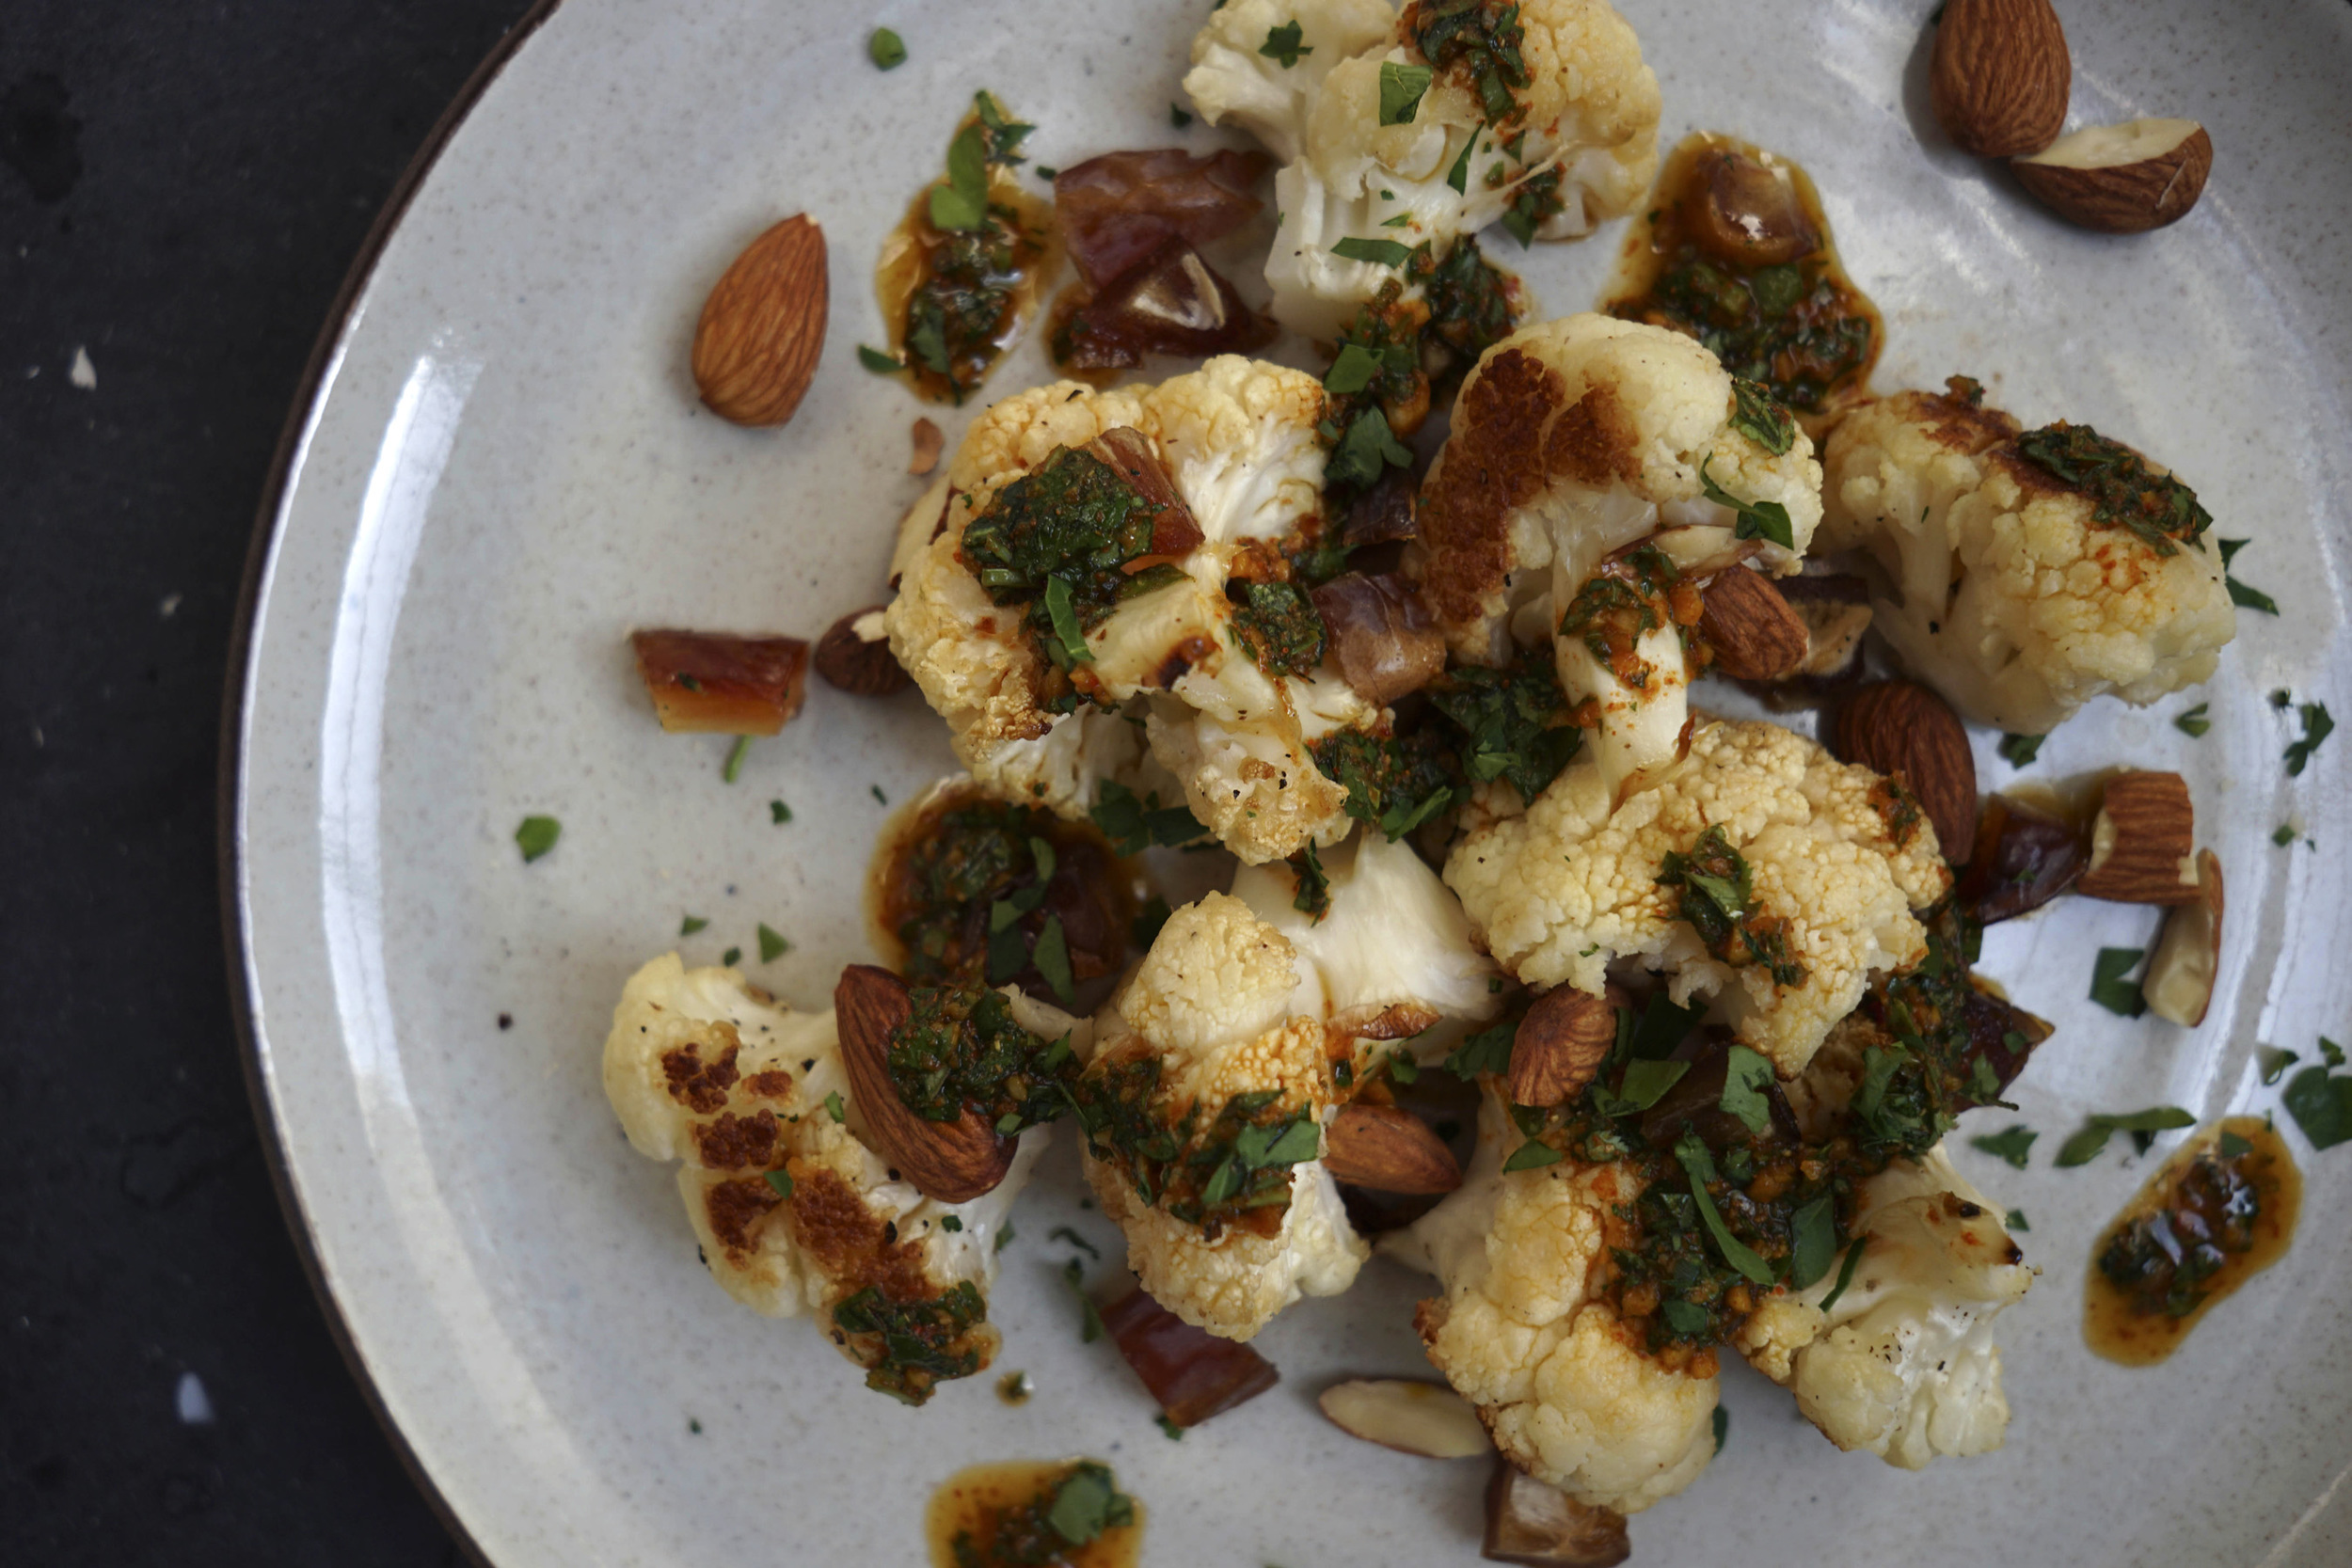
I have been SUPER into roasting broccolini lately, mostly because of how dang easy it is. You literally don’t have to do anything but cut off a bit of the bottoms, toss them in a high-heat oil (refined coconut or avocado oil), season with salt and pepper and BAM, into the oven they go! No peeling, no chopping, no salting and waiting to draw out the excess water…it literally could not be any easier. Add a sauce rich in healthy fats (like the one in this recipe), maybe some hemp seeds, nuts or beans for protein and voilà, you’ve got yourself a meal! Sometimes low maintenance is just what life requires.

For such a simple recipe, this roasted broccolini packs a flavor punch. It makes for a great side dish at special meals and can just as well be eaten for lunch on any given weekday.

Use whole sesame tahini if you’re able (this is my favorite brand). If you’re unfamiliar with tahini or that there are different types out there, you can read up on the amazing ingredient here!

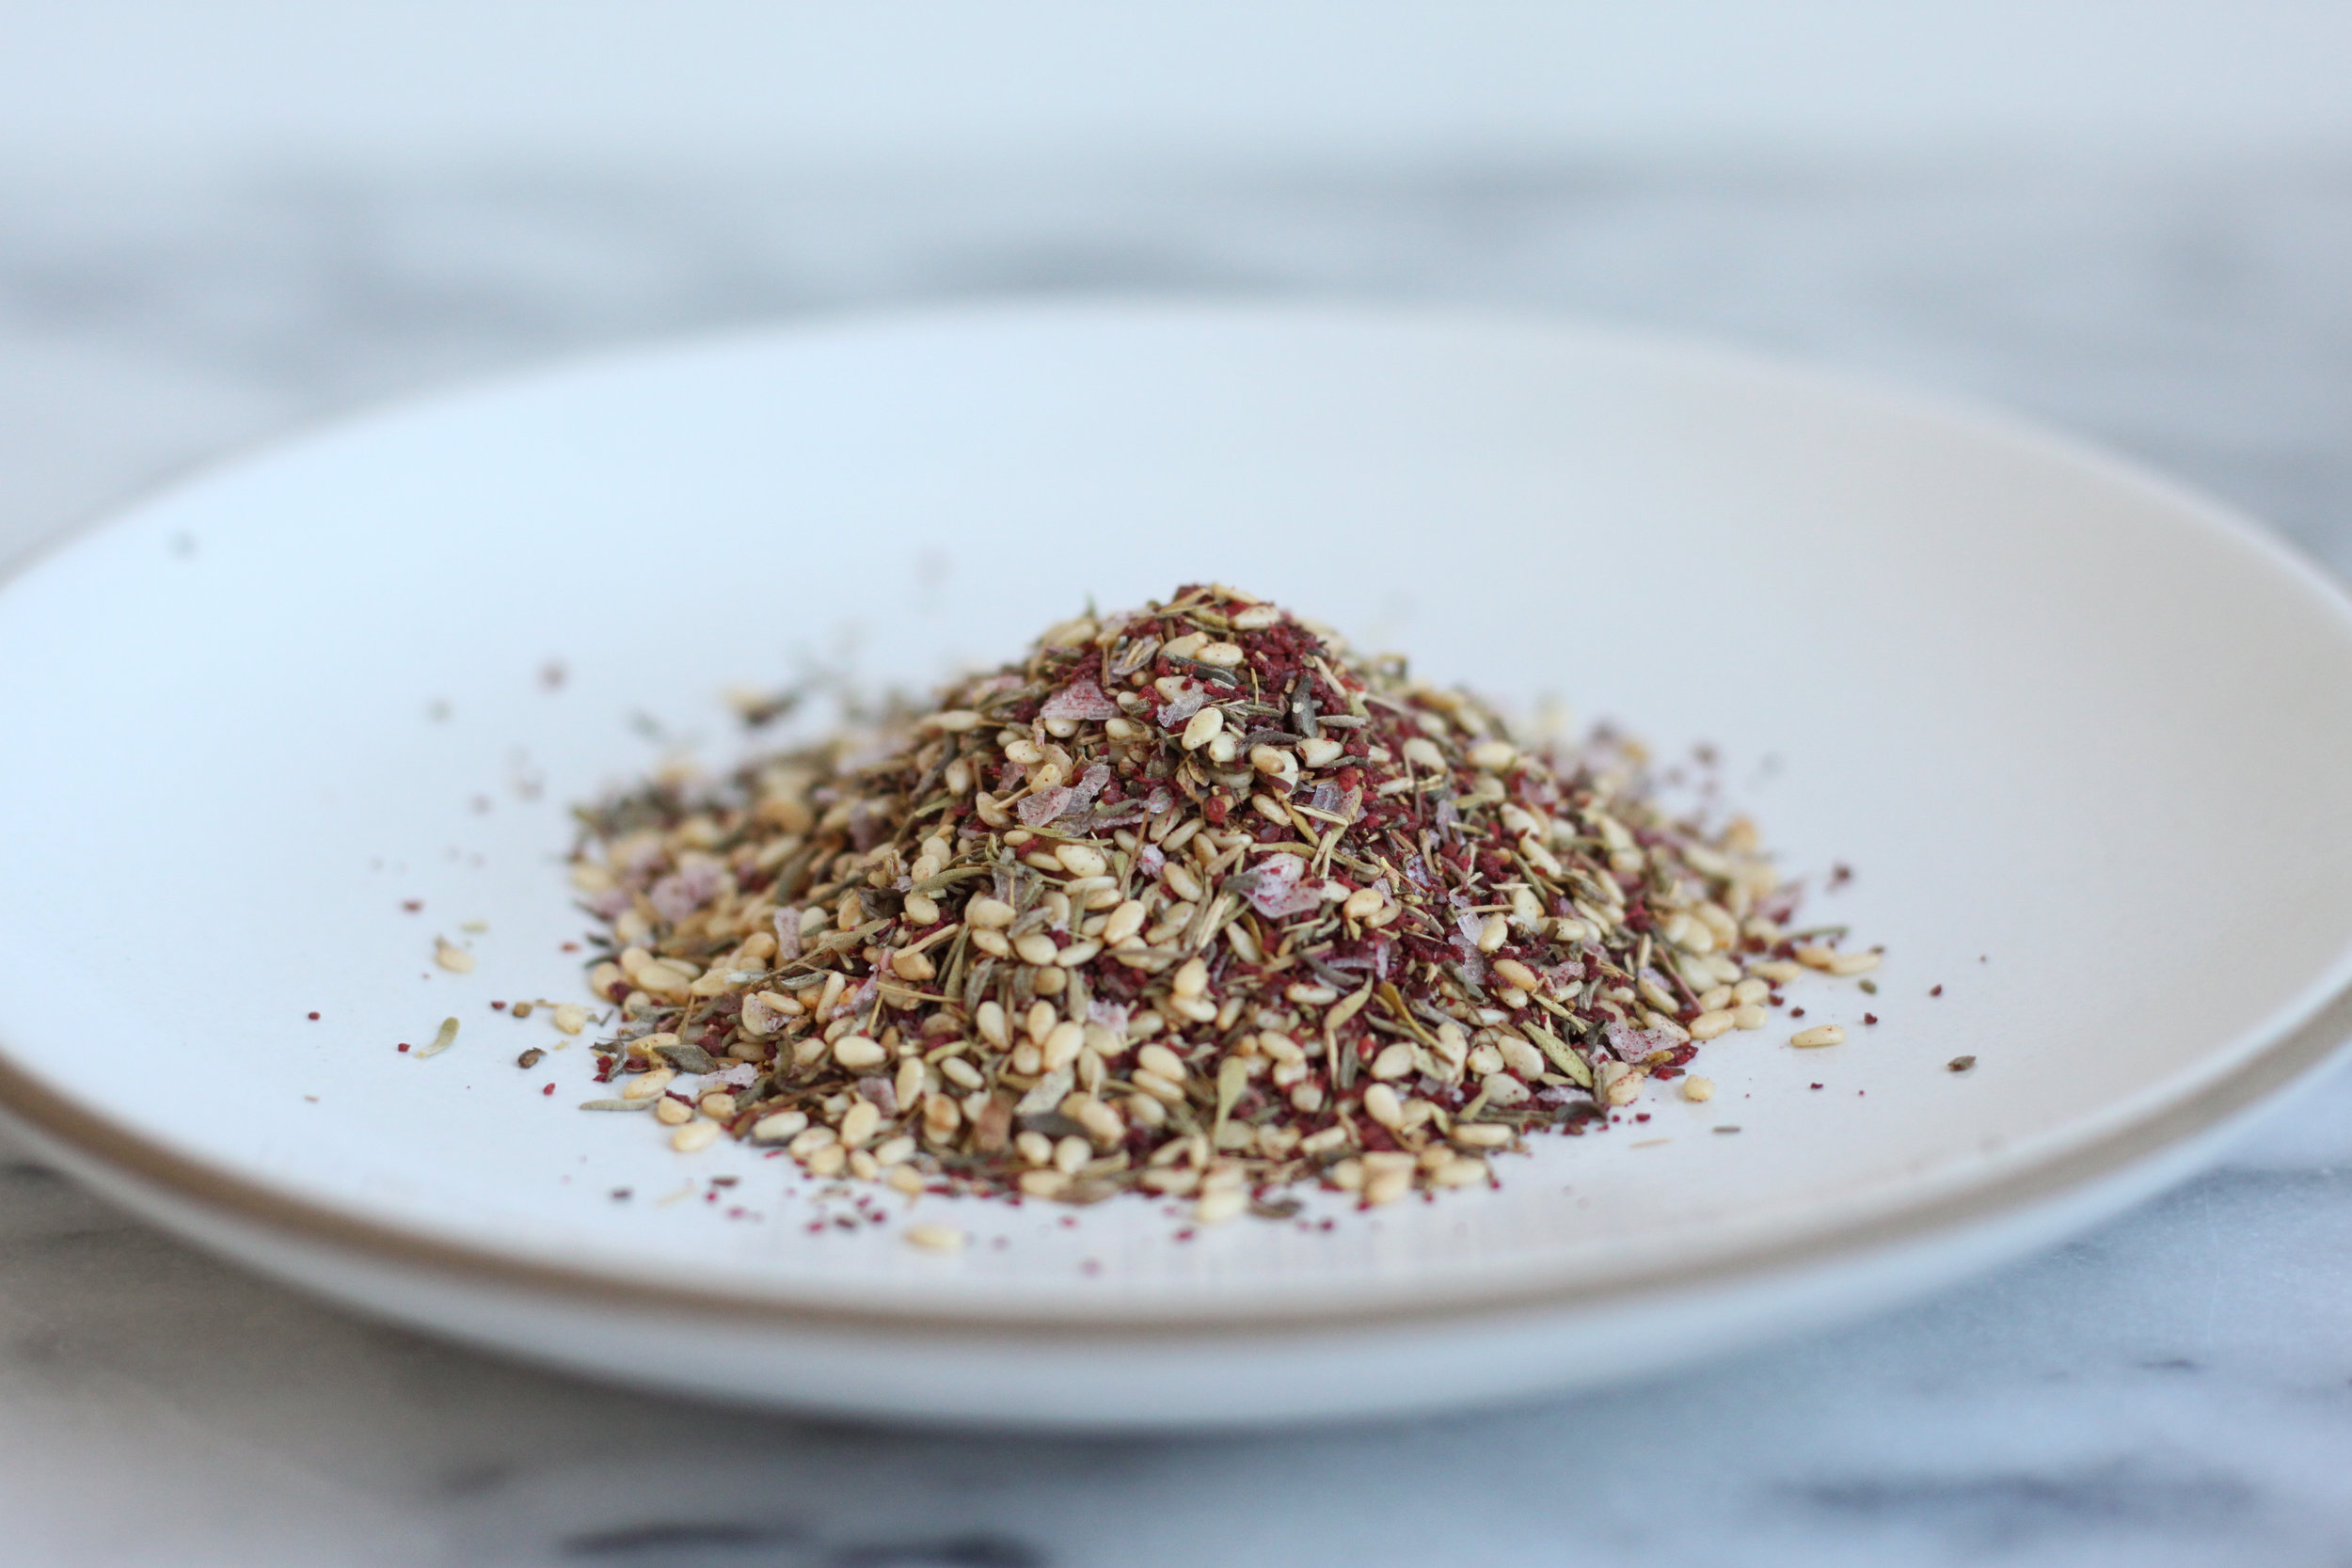
Za’atar is a Middle Eastern spice blend made out of sumac, sesame seeds, thyme and salt. You can totally make your own, or purchase it from a Middle Eastern market or specialty spice shop. I get mine from this local cafe in Berkeley called Bartavelle because it’s the best za’atar I’ve ever had in my life, so. Thanks, Bartavelle! This recipe is also absolutely delicious using roasted Brussels sprouts instead of broccolini. I make both on a regular basis. Go with what your gut tells you :).

untitled (11 of 12).jpg
untitled (12 of 12).jpg

Roasted Broccolini with Browned Butter Tahini Sauce & Za’atar
Serves two hungry people or four as a side

Ingredients
1 bunch broccolini
1 Tbsp. avocado oil, coconut oil or ghee
2 Tbsp. butter (organic & pastured/grass-fed, if possible)
1/4 cup tahini
1/2 Tbsp. lemon juice, fresh squeezed
small clove of garlic, grated on a microplane
1/2 Tbsp. za’atar
sea salt & pepper

Directions
1. Preheat the oven to 400°F. Trim the bottom 1/4” of the stems off the broccolini. Toss in oil (you can rub it with your hands if it’s not melted) and season generously with salt and pepper. Lay on a baking sheet lined with parchment paper, spreading out the broccolini so that they aren’t overlapping.
2. Roast broccolini for 6-8 minutes, until browning on the bottom. Flip the stalks over on the tray and roast for another 4-6 minutes, until tender.
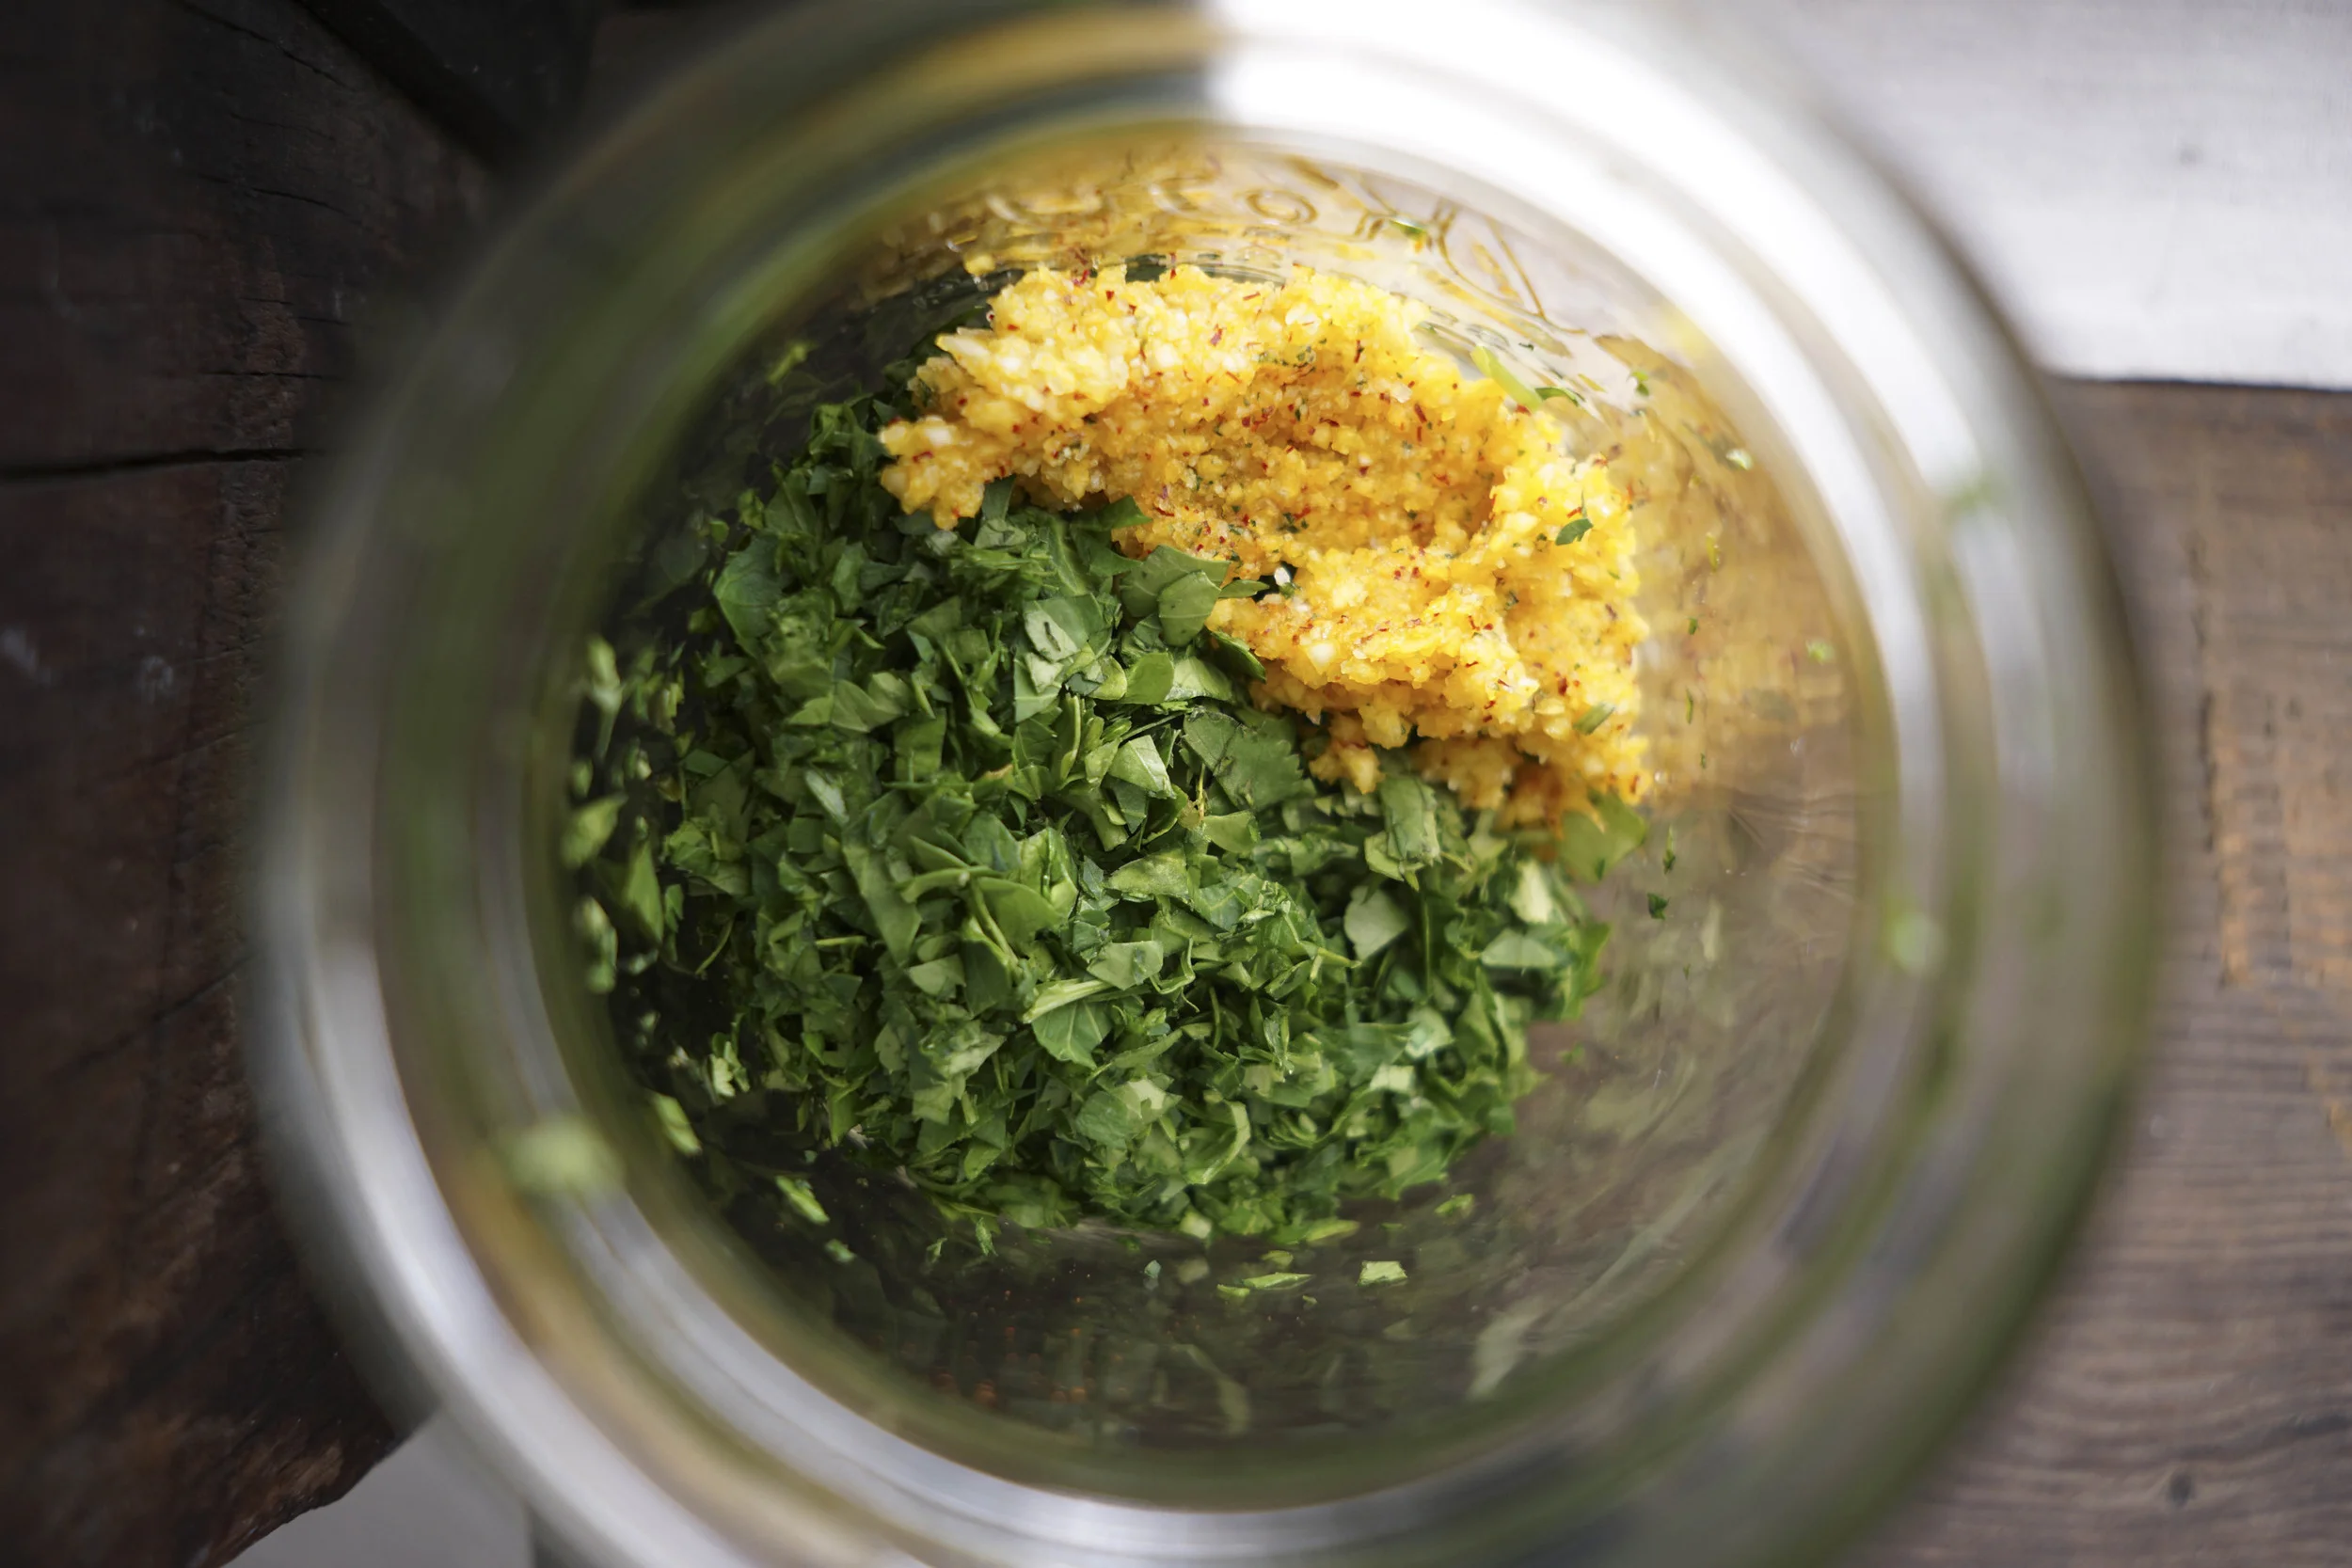
3. Meanwhile, make the sauce. Melt the butter in a small saucepan on medium-low heat. Swirl the pot consistently as the butter begins to bubble to prevent it from burning. As soon as the butter turns an amber color and brown flecks begin to develop on the bottom of the pot, remove it from the heat. Pour the butter into a heat-proof jar with a lid, using a spatula to scrape all the browned bits into it too.
4. Add the tahini, lemon juice, grated garlic and a hefty pinch of salt to the jar. Shake vigorously. Taste and adjust lemon and salt as needed.
5. Place roasted broccolini on a serving plate. Pour sauce over the broccolini in whatever way your heart desires. Sprinkle evenly with za’atar. Serve immediately.*

*Note: Because butter is solid when cold, this sauce will become very thick once it cools. If you have any sauce leftover, reheat it before using. Alternatively, add water (1 Tbsp. at a time, so as to not compromise the consistency) and shake vigorously until the sauce reaches the consistency of runny honey.

Pickled Peach, Burrata & Pea Shoot Salad with Creamy Basil Hemp Dressing

IMG_6347-1.jpg
IMG_6237-3.jpg
IMG_6303-5.jpg
IMG_6293-4.jpg

Yikes, September! I'm squeezing in this summery salad as the darkness is setting upon our days a little earlier and the evenings are marked with the beginnings of chill. Hopefully you still have peaches at your farmers market or local grocer! (In California, we're spoiled.)

This is a truly simple salad that presents itself as fancy AF. The sweet-tang of the pickled peaches plays well off the creaminess of the burrata, crunch of the pepitas and brightness of the sprouts and herb-y dressing.

The dressing, made creamy thanks to the small yet mighty hemp seeds, is packed with essential omega-3 and omega-6 fatty acids AND contributes complete protein to the dish! Hemp seeds are actually a nutritionally amazing food, y'all. Peaches can be pickled a couple days in advance. Enjoy!

IMG_6185-6.jpg
IMG_6202-7.jpg
IMG_6312-8.jpg
close1 (1 of 1).jpg
areal1 (1 of 1).jpg

Pickled Peach, Burrata & Pea Shoot Salad with Creamy Basil Hemp Dressing
Serves four

Ingredients
Pickled Peaches
1 large yellow peach, slightly firm, sliced into 12 wedges
1 cup apple cider vinegar
1/3 cup raw honey
1/2 Tbsp. Kosher salt
1 bay leaf
1 cinnamon stick
5 whole cloves
16oz Mason jar and lid, preferably with a wide mouth

Creamy Basil Hemp Dressing
1/2 cup hemp seeds
6 large basil leaves
2 Tbsp. lemon juice
1/2 Tbsp. cold-pressed olive oil
1/2 Tbsp. apple cider vinegar
1 giant pinch salt

Toasted Pepitas (Pumpkin Seeds)
1/4 cup raw pepitas

Salad
1 container pea shoots
2 burrata balls
12 slices pickled peaches (recipe above)
Creamy Basil Hemp Dressing (recipe above)
Salt & pepper, to serve

Directions
1. Make the pickled peaches: In a small pot, combine all the pickled peach ingredients except the peaches. Bring to a boil, reduce to a simmer and stir occasionally until the honey and salt are fully dissolved. Let cool 10 minutes. While the brine is cooling, squeeze the peach wedges in the Mason jar. Pour the brine over the peaches, cover, and let stand at least 20 minutes.*
2. Make the dressing: In a high speed blender, pour 1/2 cup of filtered water and add all the dressing ingredients. Start blending on low, increase to high and blend until all the ingredients have become emulsified and smooth. Taste; add salt if necessary.
3. Toast the pepitas: In a dry frying pan (i.e., without oil), toast the pepitas over medium heat for about 5 minutes, flipping occasionally via shaking the pan. Pull from the heat as soon as they become aromatic and start to make intermittent popping sounds. Transfer to a plate to cool.
3. Assemble the salad: Layer handfuls of pea shoots, torn bits of burrata and a few pickled peaches on each plate. Pour dressing over the salad. Top with toasted pepitas, a pinch of salt and freshly ground pepper.

*Store pickled peaches in refrigerator if you make them in advance or have leftovers.

Blistered Snap Peas with Miso Butter

IMG_5482.jpg
IMG_5444.jpg
IMG_5535.jpg

In all honesty, this is kind of a non-recipe—which is often what summer calls for, when produce is bountiful and flavorful even with little to no preparation. It’s a recipe for those times when you’d rather be outside than in your kitchen, or taking your kitchen outside (to the grill).

This recipe is simply charred snap peas slathered in miso butter—which is miso paste mixed with butter. Simple, simple, simple but whooooa is it delicious. I made it in a cast iron pan because I don’t have a grill, but if you do have a grill, go ahead and throw the snap peas in a grill basket and go to town. It’s the perfect appetizer for a low key evening of entertaining or side dish to a weekday meal.

IMG_5563.jpg
IMG_5587.jpg

Blistered Snap Peas with Miso Butter
Serves 4 as a starter or 2-3 as a side

Ingredients
1 lb. snap peas, woody ends cut off
3 Tbsp. room temp butter, organic and pastured if possible
1 Tbsp. sweet white or mellow yellow miso paste
flaky salt and freshly ground pepper

Directions
1. If you have a grill, place the snap peas in a grill basket and grill until blistered. If not, heat a cast iron skillet on medium high. Place a third of the snap peas into the skillet and, using tongs, spread them out so that each snap pea is touching the surface of the pan. Cook until blistered, about 2 minutes, then flip and cook the other side for 1 minute. Repeat with remaining snap peas.
2. In a small container, cream the miso together with the room temperature butter. You will have leftovers (you're welcome).
3. Take a generous spoonful of the miso butter and slather over the warm snap peas. Finish off with a generous pinch of flaky salt and freshly ground black pepper.

Heirloom Tomato, Apricot & Cucumber Salad with Yogurt & Za'atar

OH HEY, IT'S SUMMER! This basically means you don't have to cook at all if you don't want to, because everything is luscious and ripe and can be sunk into off the vine with your teeth (no silverware necessary).

This salad is a celebration of the ease of summer eating and the inherent vibrant flavors that make the produce this time of year shine. It is a cooling salad with some Middle Eastern vibes because they're my favorite (full disclosure of cuisine bias here). The one ingredient with which you may be unfamiliar is za'atar, which is a Middle Eastern spice blend made of thyme, oregano, sesame seeds, sumac and salt. It's delicious! You can make your own or buy a jar at specialty spice shops or Middle Eastern markets.

I've also used unusual varieties of cucumbers and tomatoes here because they're fun and you can only get them during the summer! If you can't find them, don't sweat it; a normal, ripe, preferably relatively local cucumber or tomato will do the trick just as well. Enjoy!

Heirloom Tomato, Apricot & Cucumber Salad with Yogurt & Za'atar
Serves four as a starter or two as a main

Ingredients
3 medium heirloom tomatoes, cut into large wedges
4 apricots, pit removed and cut into quarters
1 avocado, cut into 1/2" cubes
2 lemon cucumbers or 1 painted serpent cucumber (or 2 Persian cucumbers, failing those), cut into 1" chunks
6 Tbsp. plain whole milk Greek yogurt
1 Tbsp. good quality cold-pressed olive oil, plus more for drizzling
2 Tbsp. mint, roughly chopped
2 Tbsp. dill fronds
1 lemon
1 Tbsp. za'atar
salt + pepper

Directions
1. In a small bowl, mix together the Greek yogurt, 1 Tbsp. olive oil and a pinch of salt.
2. Spread the yogurt mixture on the bottom of your serving platter.
3. Arrange the slices of tomato, avocado, apricot and cucumber together on top of the yogurt. Scatter herbs and za'atar on top.
4. Finish off with a generous drizzle of olive oil, the juice of half a lemon, salt and pepper. Adjust to taste.

Sarah B.'s Coconut-Quinoa Coleslaw with Minty Tahini Dressing

Sarah Britton is one of the most infectious people I've ever met: infectious in her absolute love and lust for making nourishing foods taste delicious; in her unparalleled capacity to geek out about the properties of whole foods that foster vibrant physical health; and in her unflinching wonder at and gratitude for the bounties that the earth provides. I think you'd be hard pressed to find any writing about Sarah B. that doesn't completely gush about her, both as a person and as a holistic nutritionist/educator/plant based chef. Clearly, I am not immune to this particular condition.

Before I knew Sarah as a person and had the pleasure of calling her a friend, I knew her through her writing on her stunning blog My New Roots and via cooking up an endless number of the recipes she shared. Back in 2012, when I was first getting into food and teaching myself how to cook, I devoured food blogs like it was going out of style (rather than just coming into it). Yet, not caring about this person's kitchen remodel or that person's trip to Hawaii, I would routinely skip directly to the recipes at the bottom of each post...until I found My New Roots. A blog that was as engaging and educational as it was absolutely fucking gorgeous. For a week straight, every moment not spent in class at my grad school program or in the kitchen actually cooking, I spent reading My New Roots, cover to cover.

Without ever having spoken to her, Sarah taught me about the difference between refined and whole grains; the nutritional and digestive benefits of soaking pulses, nuts and seeds; why refined sugar is so damaging to our bodies and what we can replace it with; why dairy is so hard to digest; and how to make healthy food taste delicious, among countless other things. Her writing was passionate, totally goofy, incredibly informative and inspiring beyond measure. My personal whole foods revolution had begun and Sarah was instrumental in setting it in motion.

I had the pleasure of meeting Sarah at a workshop she led in January of 2013. Like a total nutcase, I impulsively offered my editorial services to her after she shared with the group that she had just secured her first cookbook deal. Luckily for me, Sarah didn't think I was as batshit as I felt; shortly thereafter, she asked me to copyedit her self-published eBook, Stocking the Pantry. We became friends. In July of 2015, I spent five days in Copenhagen assisting her as she created and shot recipes for her second cookbook, Naturally Nourished. And now the book is finally here!

The clarity and enthusiasm of Sarah's writing and recipes (not to mention stunning photography), which permeate My New Roots and amplified my own excitement around learning to cook and eat well, are present on every page of Naturally Nourished. It is the perfect book for anyone and everyone, but particularly for those of you who are less confident in the kitchen and/or have limited access to fancy/intimidating ingredients that often pop up in plant based recipes. Constructing every recipe exclusively from foods that you can find at your run-of-the-mill supermarket, Sarah focuses on simple cooking techniques and flavor combinations that you can use to transform everyday whole foods (vegetables, legumes, whole grains, nuts, seeds, fruits, herbs) into divine tasting and super satisfying meals. 

Broken into chapters based on course—Soups, Salads, Mains, Sides and Small Plates, and Savory and Sweet Snacks—Sarah helpfully includes an introductory section in which she discusses the building blocks of composing a meal, why your freezer should be your new best friend, and how to boost flavor in any dish. With this, you'll easily develop an understanding of the why behind the recipes tasting delicious when you make them, in addition to skills to help you easily integrate healthy, from-scratch cooking into your everyday routine.

I chose to share Sarah B.'s Coconut-Quinoa Coleslaw with Minty Tahini Dressing for a number of reasons. #1: Tahini. I am totally obsessed. (Sarah is too, incidentally.) #2: Mint. My absolute favorite herb, enhancing everything from salads to shakshuka to smoothies. #3: Seasonality. We're just now starting to see produce turn from winter to spring, but not enough that I felt comfortable taking on any of her spring-focused recipes. Cabbage is not only abundant in winter, but all year long! This means you can make this dish now as well as a few months from now. Which is great, because...#4: Picnics. Everyone's favorite summer pastime, whether at a park, a creek or the beach. This recipe is great for a crowd, super easy to transport and totally satiating (which will come in handy when you need something to absorb all that picnic beer).

A mayo-free, much more flavorful (in my humble opinion) riff on coleslaw, this dish is like a crunchy, vibrant party in your mouth. Filled with protein from the quinoa, antioxidants and fiber (nearly 1 gram for every 10 calories!) from the raw cabbage, natural sweetness from the toasted coconut and healthy fats and calcium from the tahini sauce, coleslaw never made your body so happy. Seriously.

So hey, go make this slaw. Then go get yourself a copy of Naturally Nourished and dig in to initiate the whole foods revolution that will, slowly but surely, change your life. 

Sarah B.'s Coconut-Quinoa Coleslaw with Minty Tahini Dressing
From Naturally Nourished, by Sarah Britton
Serves 6 as a main, 8 as a side

Ingredients
Quinoa
1/2 cup (85 g) quinoa, soaked if possible
Scant 1 cup (250 ml) water
1/4 tsp. fine sea salt

Minty Tahini Dressing
1/2 cup (125 ml) tahini
1/4 cup (60 ml) freshly squeezed lime juice
2 Tbsp. cold-pressed olive oil
1 Tbsp. pure maple syrup
3/4 cup (185 ml) water
pinch of sea salt, plus more as needed
1 packed cup (25 g) fresh mint leaves

Vegetables
2 packed cups (130 g) shredded red cabbage
2 packed cups (130 g) shredded green cabbage
3 medium carrots, julienned
1 red bell pepper (stem, seeds and ribs removed), julienned
1/4 cup (60 ml) freshly squeezed lemon juice
1 Tbsp. cold-pressed olive oil
1/4 tsp. fine sea salt
1 cup unsweetened desiccated coconut

Directions
1. Make the quinoa: Rinse the quinoa well. In a small saucepan, combine the quinoa, water, and salt. Bring to a boil, reduce the heat to low, and cook, covered, until all the water has been absorbed and the quinoa grains are tender, about 20 minutes. Fluff with a fork.
2. Meanwhile, make the dressing: In a blender, combine the tahini, lime juice, olive oil, maple syrup, water, salt, and mint leaves; blend on high until smooth and creamy. Season with more salt as needed. Set aside.
3. In a large bowl, combine the cabbages, kale, carrots and bell pepper.
4. In a small bowl, whisk the lemon juice, olive oil, and salt together and pour over the vegetables. Toss well and lightly massage the liquid into the kale and cabbage, then let marinate for 5 to 10 minutes.
5. Preheat a dry skillet over medium heat. When hot, toast the coconut, stirring often, until golden brown and fragrant, 2 to 3 minutes. Immediately remove the pan from the heat and set it aside.
6. Finish the salad: Add the quinoa and coconut to the vegetable bowl. Toss well to combine. When ready to serve, dish out portions and allow guests to pour the dressing on their salads.

Rye Berry, Blood Orange, Pistachio & Herb Salad

Over time, as I became an increasingly adept cook and found myself eating a disproportionate amount of meals out of bowls, I began to develop an expanded definition of the word 'salad'. To me growing up—and to many still—a salad was a plate of greens that maybe had some other vegetables thrown in. To me now, a salad can be made of greens, grains, fruits, vegetables, protein, herbs, nuts and seeds. Basically, as long as whatever you're eating is mixed together, it's a salad. This is one such dish—reliant more on grains than greens and completely satisfying as a meal in and of itself.

The kernels of whole grains, for some reason, are called 'berries'. Wheat berries, rye berries, spelt berries...these are not bizarre gain-fruit hybrids, but the complete edible kernel of the unprocessed grain. You cook whole grains just as you would rice, but they won't absorb the water as much. Soaking your grains overnight in water with a splash of apple cider vinegar or lemon will help unlock their nutritional benefits and make them easier for you to digest after they are cooked. Whole grains are a fantastic source of fiber, often have significant amounts of protein and are quite chewy and satisfying to eat. Rye is particularly high in magnesium, a mineral that helps regulate the body's use of glucose (blood sugar) and insulin production. In helping control blood sugar, rye has been shown to help reduce the risk of type 2 diabetes. I chose rye berries for this recipe because that is what I had on hand, but feel free to sub them for wheat berries, spelt berries, or whatever whole grain you're curious to try out!

Drawing from winter citrus and aromatic Middle Eastern flavors, this is a bright salad for cold months. If you particularly like tart or biting flavors, feel free to throw in some olives, preserved lemon or thinly sliced red onion, too.

//

Rye Berry, Blood Orange, Pistachio & Herb Salad
Serves four

Ingredients
Salad
1/2 cup rye berries, preferably soaked overnight
1/2 cup pistachios, de-shelled, lightly roasted if they're raw, and roughly chopped
3 blood oranges
1/2 bunch mint, roughly chopped
1/2 bunch chives, minced
1/4 cup sheep's feta, crumbled

Dressing
1/4 cup cold-pressed olive oil
2 Tbsp. lemon juice, fresh squeezed
1 tsp. coriander, ground
1/2 tsp. sea salt
1/4 tsp. black pepper
zest of 1 blood orange

Directions
1. Rinse the rye berries. If you soaked them, strain and rinse them. Put in a pot with fresh water. Bring to a boil, reduce to a simmer and cook until tender, 25-35 minutes.
2. Zest one orange and place zest in a jar with the remainder of the dressing ingredients. Shake vigorously to emulsify and set aside.
3. Peel and segment the oranges. Cut each segment into thirds and set aside.
4. When the rye berries are cooked, strain, pour into a large bowl and then immediately toss with half of the dressing. (Grains and legumes soak up flavors much better when they're warm.)
5. Add the herbs, half of the pistachios and oranges to the rye berries and gently mix. Sprinkle the remaining pistachios and feta on the top of the salad (or on top of the salad on each individual plate). 

Salad can be enjoyed warm or cooled. Keeps for 4-5 days, but I would keep the feta separate if you're able.

Kabocha Squash & Miso Hummus | On Overhauling Thanksgiving

Maybe it's just me, but I wouldn't bat an eyelash at seeing some roasted squash hummus on a Thanksgiving table (yes, even if it had miso in it). Growing up, my family always made pretty traditional items for Thanksgiving: smashed sweet potato rounds hidden beneath a thick blanket of singed marshmallows; overly soft green beans tossed with store bought, oven refreshed bread crumbs. It was as All-American as All-American gets. The first Thanksgiving I shared with my family after living abroad for two years and falling in love with food, I made this amazing, bold, and very Middle Eastern dish of roasted butternut squash and red onions with tahini, parsley and za'atar for the Thanksgiving table. Some members of our party were skeptics, but the undeniable deliciousness of the dish won them over. (I also, after quite a contentious argument, persuaded my parents to make the stuffing with whole wheat instead of traditional white bread. They may remember differently, but I'm pretty sure no one noticed.)

It's a hard time to be an American, for many people, right now. It's a hard time to celebrate what this country stands for. A hard time to even know what this country stands for anymore. (Though truthfully, we've always been a divided nation, although not always one so blatantly shameful.) It's also, for many, a hard time to feel grateful. The weight of a Trump administration is a frightening and heavy weight to bear.

When I first brought distinctively un-American flavors to the Thanksgiving table it was because, quite frankly, I thought they tasted better. But now that choice is striking me as a subtle political act, too. Not that it needs to be, by any means. I'm just curious about the metaphor that could rest within such a gesture of cultural diversity and inclusivity at a gathering in which we express thanks for our nation, our abundance and independence.

Instagram, food blogs and official food publications have been awash with Thanksgiving related recipes for days, if not weeks. I'm a little late to the game—but hopefully not too late for you to consider including this Kabocha Squash & Miso Hummus as part of your feast (or as a starter before the main event). I made this hummus for the Rosh Hashanah dinner I hosted at the beginning of September—the Jewish new year, another celebratory gathering of family and friends—and literally at least three of the ten people who attended asked me for the recipe. If it doesn't end up making the final cut for this Thanksgiving, that's totally chill. It's hummus, so you are literally justified in making it whenever you want (or whenever winter squash is available).

The cool thing about making things from scratch that you often buy at the store—like beans, salad dressings, or hummus—is that once you know the formula and process, you can get really wild with your flavors and mix-ins. Winter squash, chickpeas and tahini are a no-brainer together; the secret, wow-factor ingredient here is definitely the miso.

Miso: Your New (Probiotic) Secret Weapon Flavor Bomb

Miso, probably most familiar to Westerners in the form of miso soup, is a traditional Japanese paste made when soybeans, barley and/or rice are fermented with a fungus called Aspergillus oryzae. After hanging out with the fungus in a very dark spot for some months or years, miso is born and we get to reap its many benefits. If you hate kimchi (like I do), miso is a great fermented ingredient to incorporate into your diet. (I also encourage you to incorporate it into your diet even if you like kimchi, because it is far more delicious [subjective opinion] and far more versatile [objective fact]). As a probiotic, it helps support digestion and maintain (or enhance) the health of the bacterial flora in your gut—which is super important in our overall health! Additionally, miso has a unique blend of salty, sweet and umami (savory) flavors, which makes it an awesome staple ingredient to add depth of flavor to vegetarian cooking.

Because miso is a probiotic food, it should be stored in the refrigerator and never boiled or heated in the oven—else the live, active cultures, enzymes and nutrients will be decimated. For this same reason, be sure to buy organic, unpasturized miso paste when you shop for it. Miso comes in a variety of flavors or colors depending on its ingredients and the length of its fermentation process. Varieties range from "white" to "dark brown," with the lighter colors leaning towards a more mild, sweet flavor and the darker colors being more salty and pungent (you can get a complete guide here). Because of its lighter flavor, I find the sweet white or yellow miso to be best in recipes where no heat is involved, like dressings and dips.

Kabocha Squash: Butternut's Cooler Cousin

I had never heard of Kabocha squash until I worked at a farm-to-table online grocer two years ago. Once I first learned how to say "kabocha," my mouth could no longer articulate the word "kombucha". (I've since been cured of that particular affliction.) Once I first baked it, my taste buds refused to let me cook butternut anymore. It is somehow just a bit richer, a bit denser, a bit sweeter, and a bit more flavorful, cumulatively creating the most amazing winter squash experience I've ever had. To be fair, it is a pain in the ass to peel and cube. But if you are puréeing a squash for any reason, kabocha is the way to go. (And if for some reason you are unable to find kabocha at the market, you may sub Butternut in this recipe.)

Of Japanese origin, kabocha squash finds common ground with its winter squash kin as one of the most substantial sources of alpha-carotene and beta-carotene in our entire diet. These carotenoids are primary antioxidants, which help fight free-radicals in our bodies and have anti-inflammatory and immune supporting properties.  

Suffice to say that between the protein packed chickpeas, calcium and omega rich tahini, chock-full-of-probiotic miso and carotenoid crazy squash, this is one health supportive dip. I don't know whether it's a good or bad thing that no one will be thinking about how healthy it is when they taste how delicious it is. But hey, both nutritional health and real food flavor are small yet mighty things to be grateful for this Thanksgiving...even when our world feels like it's falling apart.


*Sources: SF Gate, My New Roots & WH Foods.

Kabocha Squash & Miso Hummus
Makes enough for a small crowd

Ingredients
Hummus
1 cups cooked chickpeas (from about 1/2 cup dried chickpeas, cooked following this method) (If you don't have time to cook your own, canned are fine. Just rinse them off first!)
2 cups kabocha squash purée, from one large squash
1 clove garlic, minced
1/2 cup tahini, preferably unhulled
1/4 cup sweet white or mellow yellow miso, organic & unpasturized
1/4 cup lemon juice, fresh squeezed (from about 1 large lemon)
1/4 tsp. sea salt
6 Tbsp. ice water
oilve oil, to finish

Maple Sesame & Pepita Sprinkle
2 Tbsp. raw, unhulled sesame seeds (brown or black)
1 Tbsp. raw pepitas
1 tsp. olive oil
2 tsp. pure maple syrup
pinch salt

Directions
Hummus
1. Pre-heat oven to 400F. Line a baking sheet with parchment paper.
2. Carefully cut the kabocha squash in half horizontally. Scoop out and discard the seeds. Smear a dab of coconut oil or ghee along the rim of each side.
3. Place both halves of the squash face down on the baking sheet and bake until tender, about 40-55 minutes. You will know it's ready when the top of the squash has deflated/collapsed in on itself. Once done, remove from the oven and carefully flip upside down to cool.
4. Place cooked chickpeas in a food processor and blitz until they have formed a stiff paste. You may need to stop and scrape down the sides of the bowl a few times.
5. Once the squash is cool, scoop out the flesh and measure out two cups. (If you have any left over, it's great to add to porridge or waffle mix!) Add the two cups of squash to the food processor and blend with the chickpeas until thoroughly combined.
6. Add garlic, tahini, miso, lemon, and salt. Blend until thoroughly combined.
7. With the motor running, slowly stream in the ice water, 1 Tbsp. at a time, stopping after 4 Tbsp. Let the food processor run for about 5 minutes, until the hummus is super smooth and creamy. Taste and assess the consistency and flavor. If you'd like it thinner, add more ice water. Add more salt, lemon and garlic to your taste preference and blend until smooth.
8. To serve, spread in a bowl or on a plate and garnish with quality olive oil and maple, sesame and pepita sprinkle.

Maple, Sesame & Pepita Sprinkle
1. Pre-heat toaster oven or big oven to 350F. Line a baking sheet with parchment paper.
2. Mix together all ingredients.
3. Spread mix in an even layer onto parchment paper. Bake until fragrant and slightly browned, 15-20 minutes.
4. Let cool completely before handling or tasting. It will be very hot straight out of the oven and not completely hardened yet!

Summer Stone Fruit, Cherry Tomato & Chickpea Tabbouleh

Tabbouleh is a Middle Eastern salad composed of mostly parsley, speckled with bulgur, tomatoes, onion and a hefty zing of lemon. In less traditional versions, you may see mint and cucumber thrown in too. I put a very unorthodox spin on this tabbouleh, harnessing on the bounties of summer and tossing in some California flair. Peaches because they're fragrant and delicious; black chickpeas because, hello, BLACK CHICKPEAS!?! and because I'm a fan of fiber and plant protein; and quinoa instead of bulgur because it's gluten-free, so more bellies can enjoy it. It’s a total party in a bowl of bright, sweet, juicy, and fresh flavors and textures. Summer incarnate. Enjoy!

Summer Stone Fruit, Cherry Tomato & Chickpea Tabbouleh
Serves 4

Ingredients
1/2 cup quinoa
1/2 cup dried chickpeas, black or white (or a can of chickpeas if you don't want to cook your own)
2 ripe peaches or nectaries
2 Persian cucumbers
1 cup cherry tomatoes
1/2 cup minced mint
1/2 cup minced parsley
1/2 bunch chives, minced
1 lemon
high quality cold-pressed extra virgin olive oil

Directions
If you are cooking the chickpeas from dried:
1. The night before, put dried chickpeas in a very large jar and fill it with water and a splash of apple cider vinegar.
2. Once the chickpeas have soaked for 12 hours, drain and rinse them.
3. Place chickpeas in a large pot and cover 2" above with fresh water. You're welcome to throw in some smashed garlic, half an onion, a carrot or celery, a bay leaf, a cinnamon stick, or a sachet with any spices you like to enhance the flavor.
4. Bring the water to a boil, reduce to a simmer and let chickpeas cook until tender, 40-60 minutes. If the water level sinks to the surface of the chickpeas, add more water. If white foam collects on the surface of the water, skim it off with a spoon.
5. When the chickpeas are tender, strain and rinse them and remove any aromatics you added to the pot.
6. Congratulate yourself for cooking chickpeas from dried and marvel in how much better they taste than the canned ones! 

To assemble the salad:
1. Rinse quinoa and place in a small pot with 3/4 cup + 2 Tbsp water. Bring water to a boil, reduce to a simmer and cook, covered, for 15 minutes. When the time is up, turn off the heat and let the quinoa sit, covered, for 10 minutes.
2. While the quinoa is cooking, prep your produce. Chop your peaches or nectarines and cucumbers into 1/4" cubes. Quarter your cherry tomatoes, making an X with your knife from the top down. Mince your herbs, if you haven't already.
3.  When your quinoa and chickpeas are ready, add a generous drizzle of olive oil, squeeze of lemon and hefty pinch of salt to each. Toss to coat.
4. Combine all ingredients in a large bowl. Taste and add more olive oil, lemon and salt as needed.

White Peach, Fresh Corn & Shredded Kale Salad

Kale salads have become a bit ubiquitous these days, which is actually a great thing. Everyone knows that this dark leafy green is mega good for you, but do you actually know how good it is? 

A member of the cruciferous vegetable family (along with broccoli, Brussels sprouts and cabbage), kale is bursting with beneficial vitamins including vitamin K, vitamin A and even vitamin C! Vitamin K promotes bone health, prevents blood clotting, and crucially regulates our bodies' inflammation. Vitamin A supports healthy vision and skin. Vitamin C is a necessary nutrient to help maintain our immune system, hydration and metabolism.  Kale also contains high amounts of manganese, fiber, and calcium (more calcium than milk, calorie-for-calorie!). Of all the leafy greens, kale boasts the highest level of carotenoids, which are plant compounds that studies have shown help lower our bodies' risk of developing certain types of cancers (in the case of kale, this includes breast, colon, prostrate, ovary and bladder cancer).  On top of all this goodness, kale is super detoxifying, as its high amounts of fiber and sulfur help maintain healthy liver function.* Pretty amazing.

A quick note/advance warning that this recipe also asks you to massage your kale. Yes, you heard that right. Massage. Many of you may be familiar with this technique by now, but in case you aren't: vigorously rubbing raw kale leaves for 2-3 minutes with a drizzle of olive oil, lemon and/or vinaigrette is a wonderful method to use when serving it raw because breaks down the leaves' tough and fibrous structure, making it much easier to chew and digest. It also mellows out the bitter taste, which I think merits extra bonus points. So wash those hands and get ready to get intimate with your salad! 

I've been on a crazy raw corn kick this summer because raw corn is so sweet and delicious. Succulent, ripe white peaches work alongside the corn in this salad to bring an aromatic sweet note to offset the bitter undertones of the kale, while basil provides an herby punch and feta rounds out the plate with its salty creaminess. This salad screams of summer. Maybe not as much as a caprese, but pretty damn close. So what are you waiting for? Summer won't be around for much longer, better celebrate it while you can!

*Nutritional information from WHFoodsMindBodyGreen, & My New Roots

//

White Peach, Fresh Corn & Shredded Kale Salad
Serves 4

Ingredients
1 bunch lacinato kale
2 ears of corn, shucked and kernels sliced off cob
2 ripe white peaches, sliced into 1/4"-1/2" wedges
12-15 basil leaves
3 oz. (generous 1/4 cup) feta cheese
1 lemon
2 Tbsp. cold-pressed olive oil
salt + pepper

Directions
1. Remove the stems from each kale leaf. Stack about 8 of the leaves on top of each other into a horizontal pile and roll them together into a long log. Using your fingers to keep the leaves rolled together, slice the log perpendicular to the roll into strips as thinly as you can (this technique is called chiffonade). Repeat this with the remaining kale.
2. In a large bowl, drizzle 1 Tbsp. olive oil onto the kale and massage with your hands by rubbing the strips vigorously between your fingers until the kale has softened and vastly diminished in volume, 1-2 minutes.
3. Add corn kernels to the kale. Squeeze in juice of half a lemon, season with a generous pinch of salt and a crack or two of black pepper and mix gently.
4. Stack the basil leaves as you did with the kale, roll into a log and cut into thin strips.
5. Add basil, peach wedges and crumbled feta to the salad. Toss gently.
6. Taste and adjust dressing and seasoning. If your palette is anything like mine, it may need more oil and will definitely need more lemon. Enjoy!

Roasted Cauliflower, Dates & Almonds with Herbed Moroccan Saffron Sauce

It all started with kale: the little leafy green that could. The everyday superfood, the requisite plant that turned your smoothies green, the first (and maybe still only?) vegetable to proudly be printed on t-shirts and tote bags with slogans ("Oh kale yeah!", anyone?). Slowly and then suddenly, it was happening: vegetables were en vogue.

This onslaught of attention towards vegetables has been incredible and inspiring. It seems like one by one, they are each having their moment in the spotlight, being experimented with and touted by restaurants, culinary magazines, and food blogs alike. One of the recent recipients of this star treatment is also one of the least flashy vegetables around and, incidentally, one of my favorites: the humble cauliflower.

Did any of you pick up on the cauliflower 'rice' craze a year or so ago? That was a thing. You finely mince or grate the flowerets until they become suuuuper tiny and then give them a quick sauté for flavor and voilà! It looks and feels like couscous but is actually still cauliflower! Amazing. Seriously. Then there was that moment when everyone seemed to be making cauliflower pizza crust, which I must admit I have not attempted, but can appreciate the ingenuity of. While I love that cauliflower is being transformed and eaten in such creative ways, it first wormed its way into my heart through a much more classic preparation: the simple act of roasting. Tossed with oil and exposed to a shock of high heat, its sugars intensely concentrate and edges crisp. Wholly delectable and wholly itself. 

While roasted cauliflower is indeed delicious on its own, its mild sweet flavor provides an excellent palette for bold spices and sauces. Enter: Herbed Moroccan Saffron Sauce. Oh man. This sauce. Created by my dear friend Briana Ryan, who is a stunning chef and holistic wellness practitioner over at Food By Bri, this sauce literally blew me away the first time I tasted it. Its robust and punchy base, composed of saffron and an insane amount of garlic, is given depth by the addition of warm and smoky spices and tons of fresh herbs. Paired here with toasted almonds for crunch and dates for sweetness, this dish is simple and complex, straightforward enough for a weeknight meal and vibrant enough for a special occasion (truth: it has made an appearance on my Roash Hashanah dinner table for two years and counting). 

Cauliflower: The Little Cruciferous that Could

Cauliflower is a vegetable, so it seems safe to assume that it is at least a little bit good for you. But how good is it, as far as vegetables go?

We often use the color of a food to assess its nutritional value. While white does not typically rank highly on the nutri-o-meter (thanks, potatoes, pasta and cheese!), cauliflower is a stealthily powerful contributor to vibrant health. A member of the cruciferous family (in the good company of broccoli, cabbage, kale, bok choy and brussels sprouts), cauliflower boasts a shocking amount of Vitamin C—73% of our recommended daily value per cup!—and provides a generous amount of fiber. But what is perhaps most exciting about cauliflower is its simultaneous support of three bodily systems that are essential in maintaining baseline health: our detox system; antioxidant system; and inflammatory/anti-inflammatory system.

When any one of these systems is out of balance (which can result from a variety of factors including insufficient nutrition, lack of sleep, stress, exposure to external toxins, etc.), our bodies become susceptible to illness and disease. The chronic and synchronized imbalance of these three systems creates the perfect storm for cancer development. Lucky for us, we can regularly influence their health through the simple and joyful act of eating good food! As cauliflower contributes to the optimal functioning of all of these systems, current research has identified it as a vegetable that directly supports cancer prevention.

Without getting overly technical, let's break this down to develop a little deeper understanding of how this all works. Our detox system is composed of two phases: Phase One, in which the liver uses oxygen and enzymes to burn toxins and render them water soluble; and Phase Two, in which the oxidized toxins are combined with sulfur and amino acids and eliminated from our bodies. Cauliflower contains antioxidants that assist in the Phase One detoxification process as well as sulfur-containing nutrients that boost Phase Two detoxification. Our bodies' antioxidant system, which combats free radicals, is supported by cauliflower's generous amounts of vitamin C and manganese in addition to its wealth of phytonutrients. In the final piece of this triad, cauliflower battles inflammation in the body through its many anti-inflammatory nutrients, including vitamin K, which directly regulates our inflammatory response.* 

I don't know about you, but I was sure surprised to learn that such an unassuming vegetable packs this healthful of a punch. In treating our bodies with loving kindness, it is important to nourish them with these kinds of foods; equally important is preparing these foods in ways that  stimulate our taste buds and generate a joyful eating experience. This dish has brought me all kinds of joy, made and shared over the past couple years with many different people I love. May it do the same for you!


*Nutritional information gathered from World's Healthiest Foods; The Leaf Lady; Mercola

Roasted Cauliflower, Dates & Almonds with Herbed Moroccan Saffron Sauce
Serves four as a side

Ingredients

1 cauliflower (large)
1 Tbsp. coconut oil, melted
1/2 cup raw almonds
6 Medjool dates (pits in & relatively firm)

Herbed Moroccan Saffron Sauce* from Food By Bri
6 cloves garlic
1 1/2 tsp. kosher salt
2 pinches saffron
2 lemons, juice & zest (preferably Meyer, but regular are A-OK too)
2 tsp. smoked paprika
2 tsp. sweet paprika
2 tsp. coriander
1/4 cup flat leaf parsley, minced
1/4 cup cilantro, minced
1/2 cup good quality, cold pressed olive oil

Method
1. Pre-heat oven to 325°F. Spread almonds on a baking sheet and toast until fragrant, 10-12 minutes, tossing halfway through.
2. While the almonds are roasting, break down the cauliflower into medium sized flowerets, leaving the stems intact. Toss with coconut oil and season with salt and pepper.
3. Once the almonds are toasted, remove them from the oven and turn the oven up to 400°F. Roughly chop the almonds and set aside.
4. Spread the cauliflower out on the baking tray, making sure none of the pieces overlap. When the oven has reached 400°F, roast the cauliflower until nicely browned, about 30 minutes, tossing a couple times in between.
5. While the cauliflower is roasting, take the pits out of the dates and chop the dates into 1/4" pieces. Set aside (with almonds is fine).
6. Assemble the sauce: Mince garlic, kosher salt and saffron together until it forms a paste. (Be persistent and patient, this can take awhile.) Combine the paste in a jar with the rest of the prepared sauce ingredients and shake vigorously until emulsified.
7.  Once the cauliflower is ready, gently toss it with the dates and almonds. If you're serving a crowd, pour about 1/3 of the sauce onto the dish and toss it all together, tasting it and adding more if you'd like. If you're plating the dish, drizzle the sauce over the cauliflower on each individual plate (it looks nicer this way).


*These quantities make way more sauce than you need for this dish, but I find it's great to have on hand to use throughout the week. I recommend tossing the leftover sauce with grains; spreading it on toast topped with a fried egg; and/or using it as a base for homemade pizza with roasted red pepper, olives and feta. Just some suggestions of things I've tested out that are pretty damn delicious—but get creative!