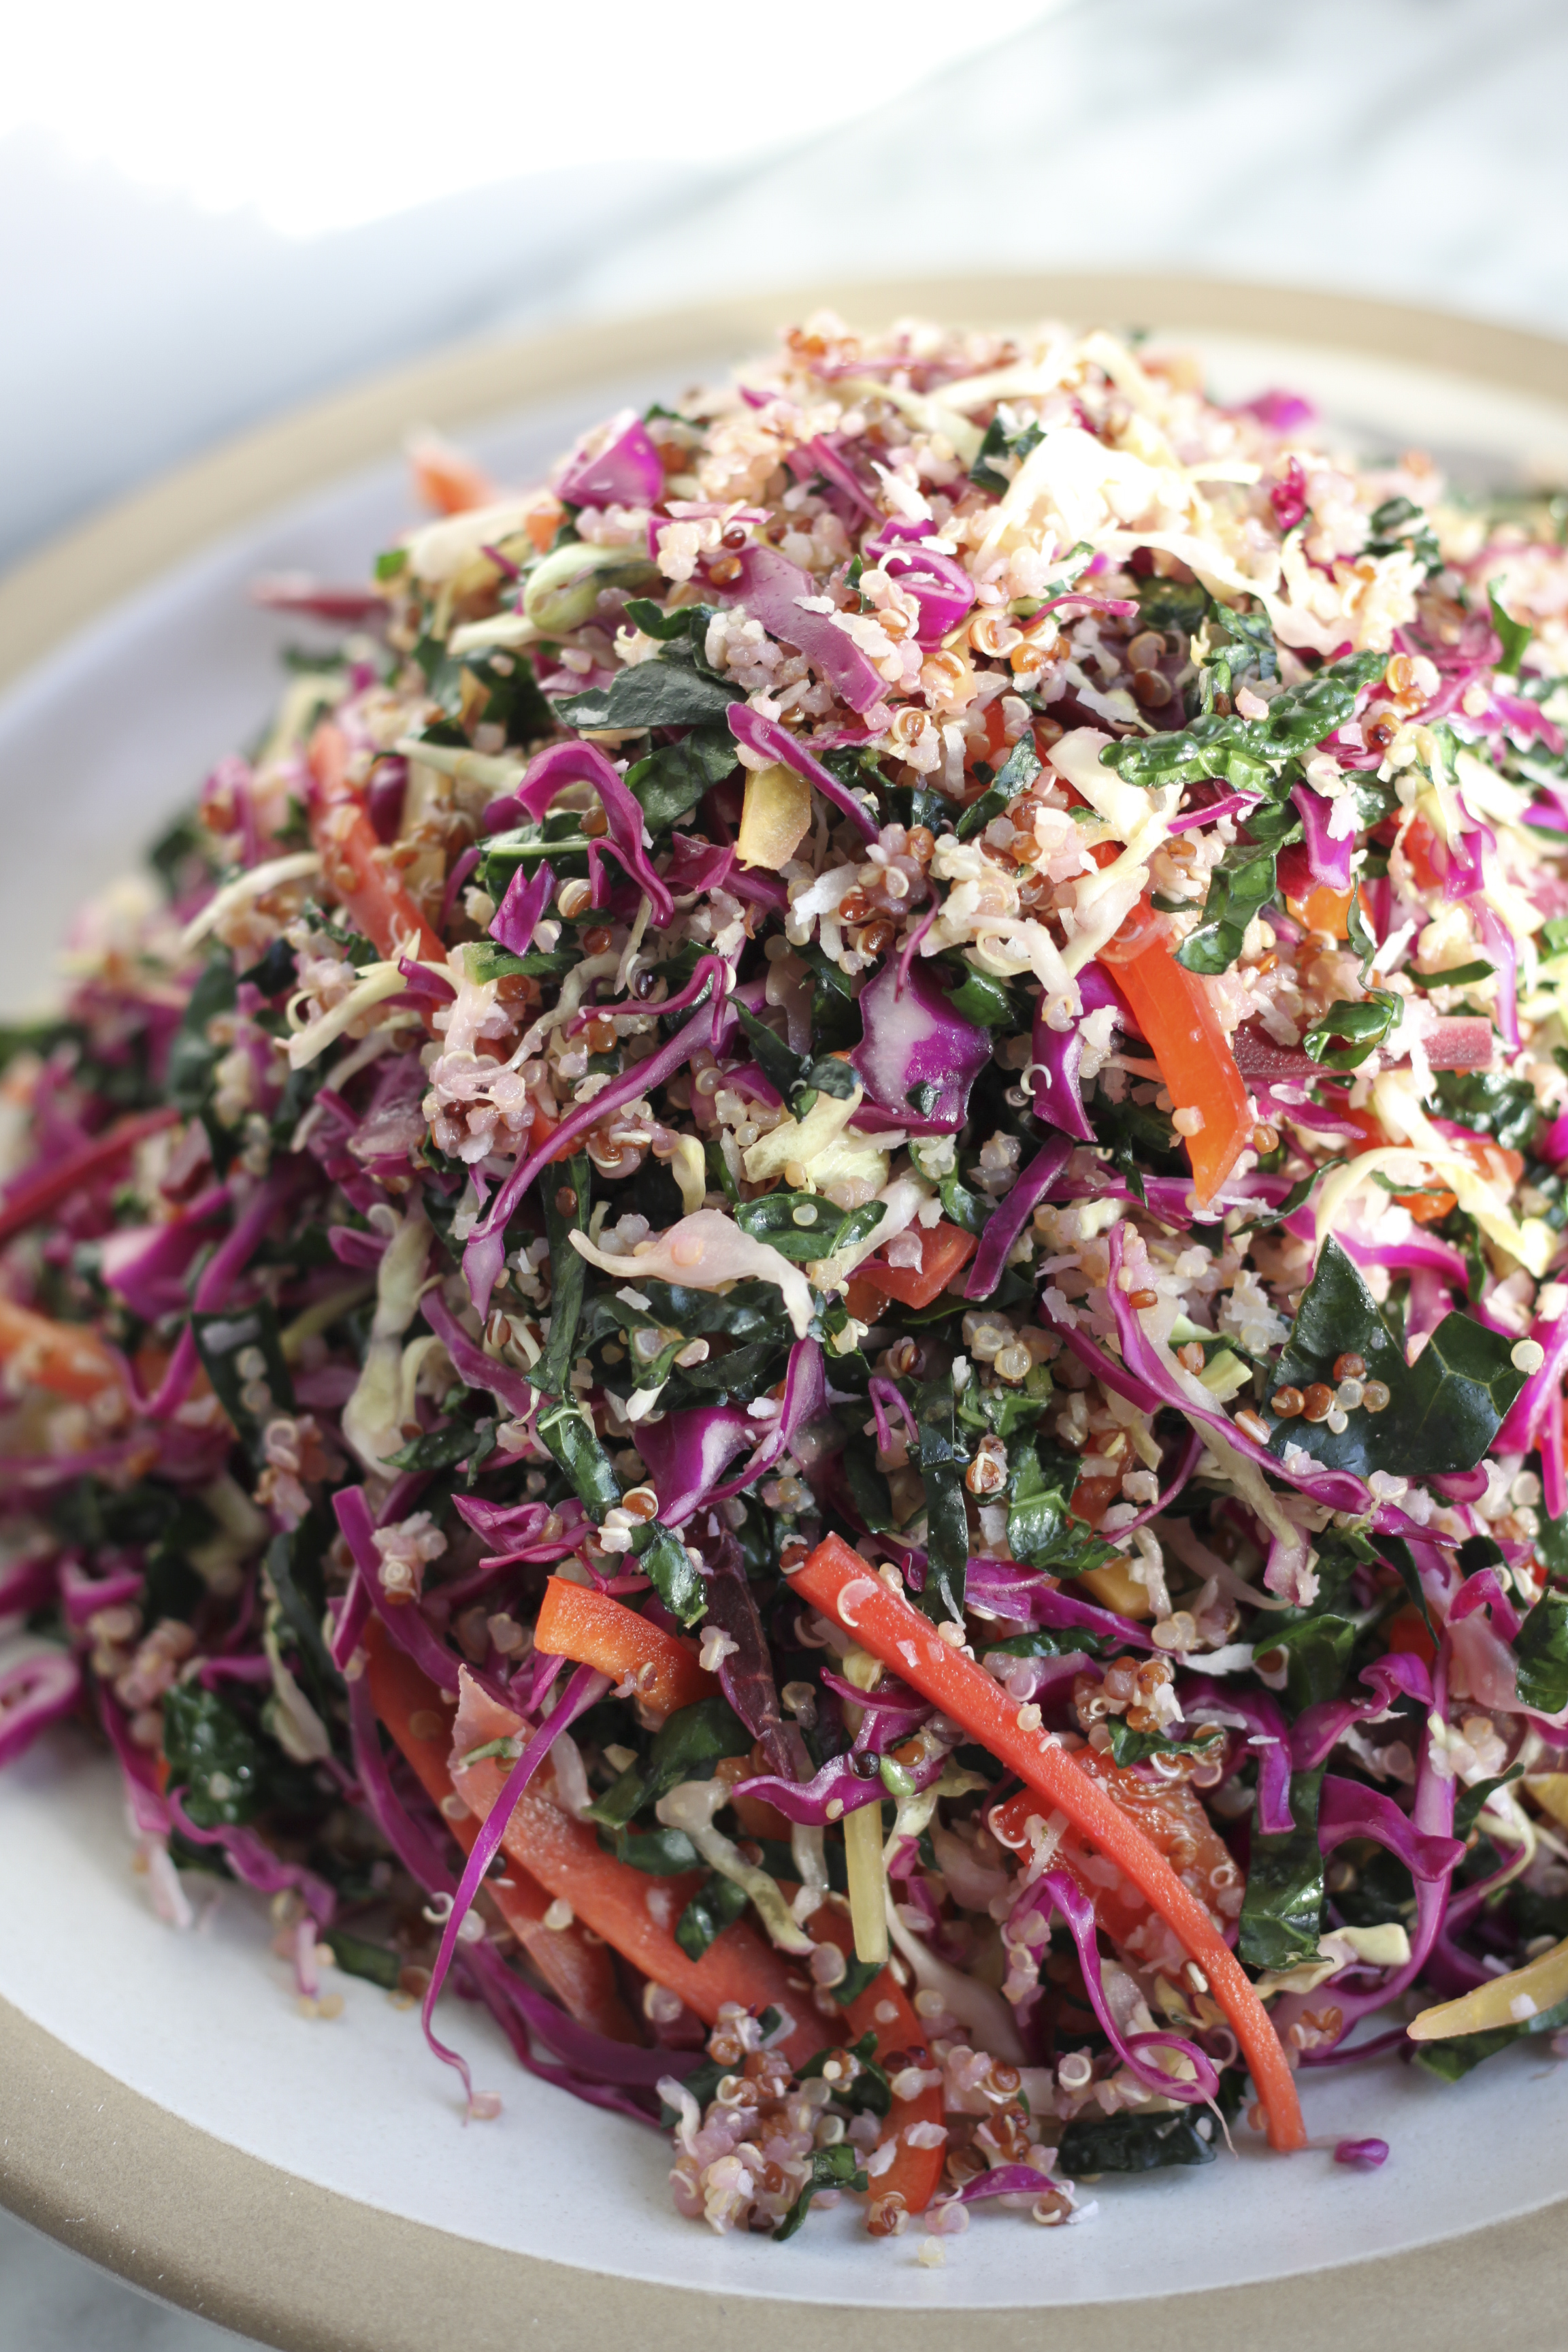
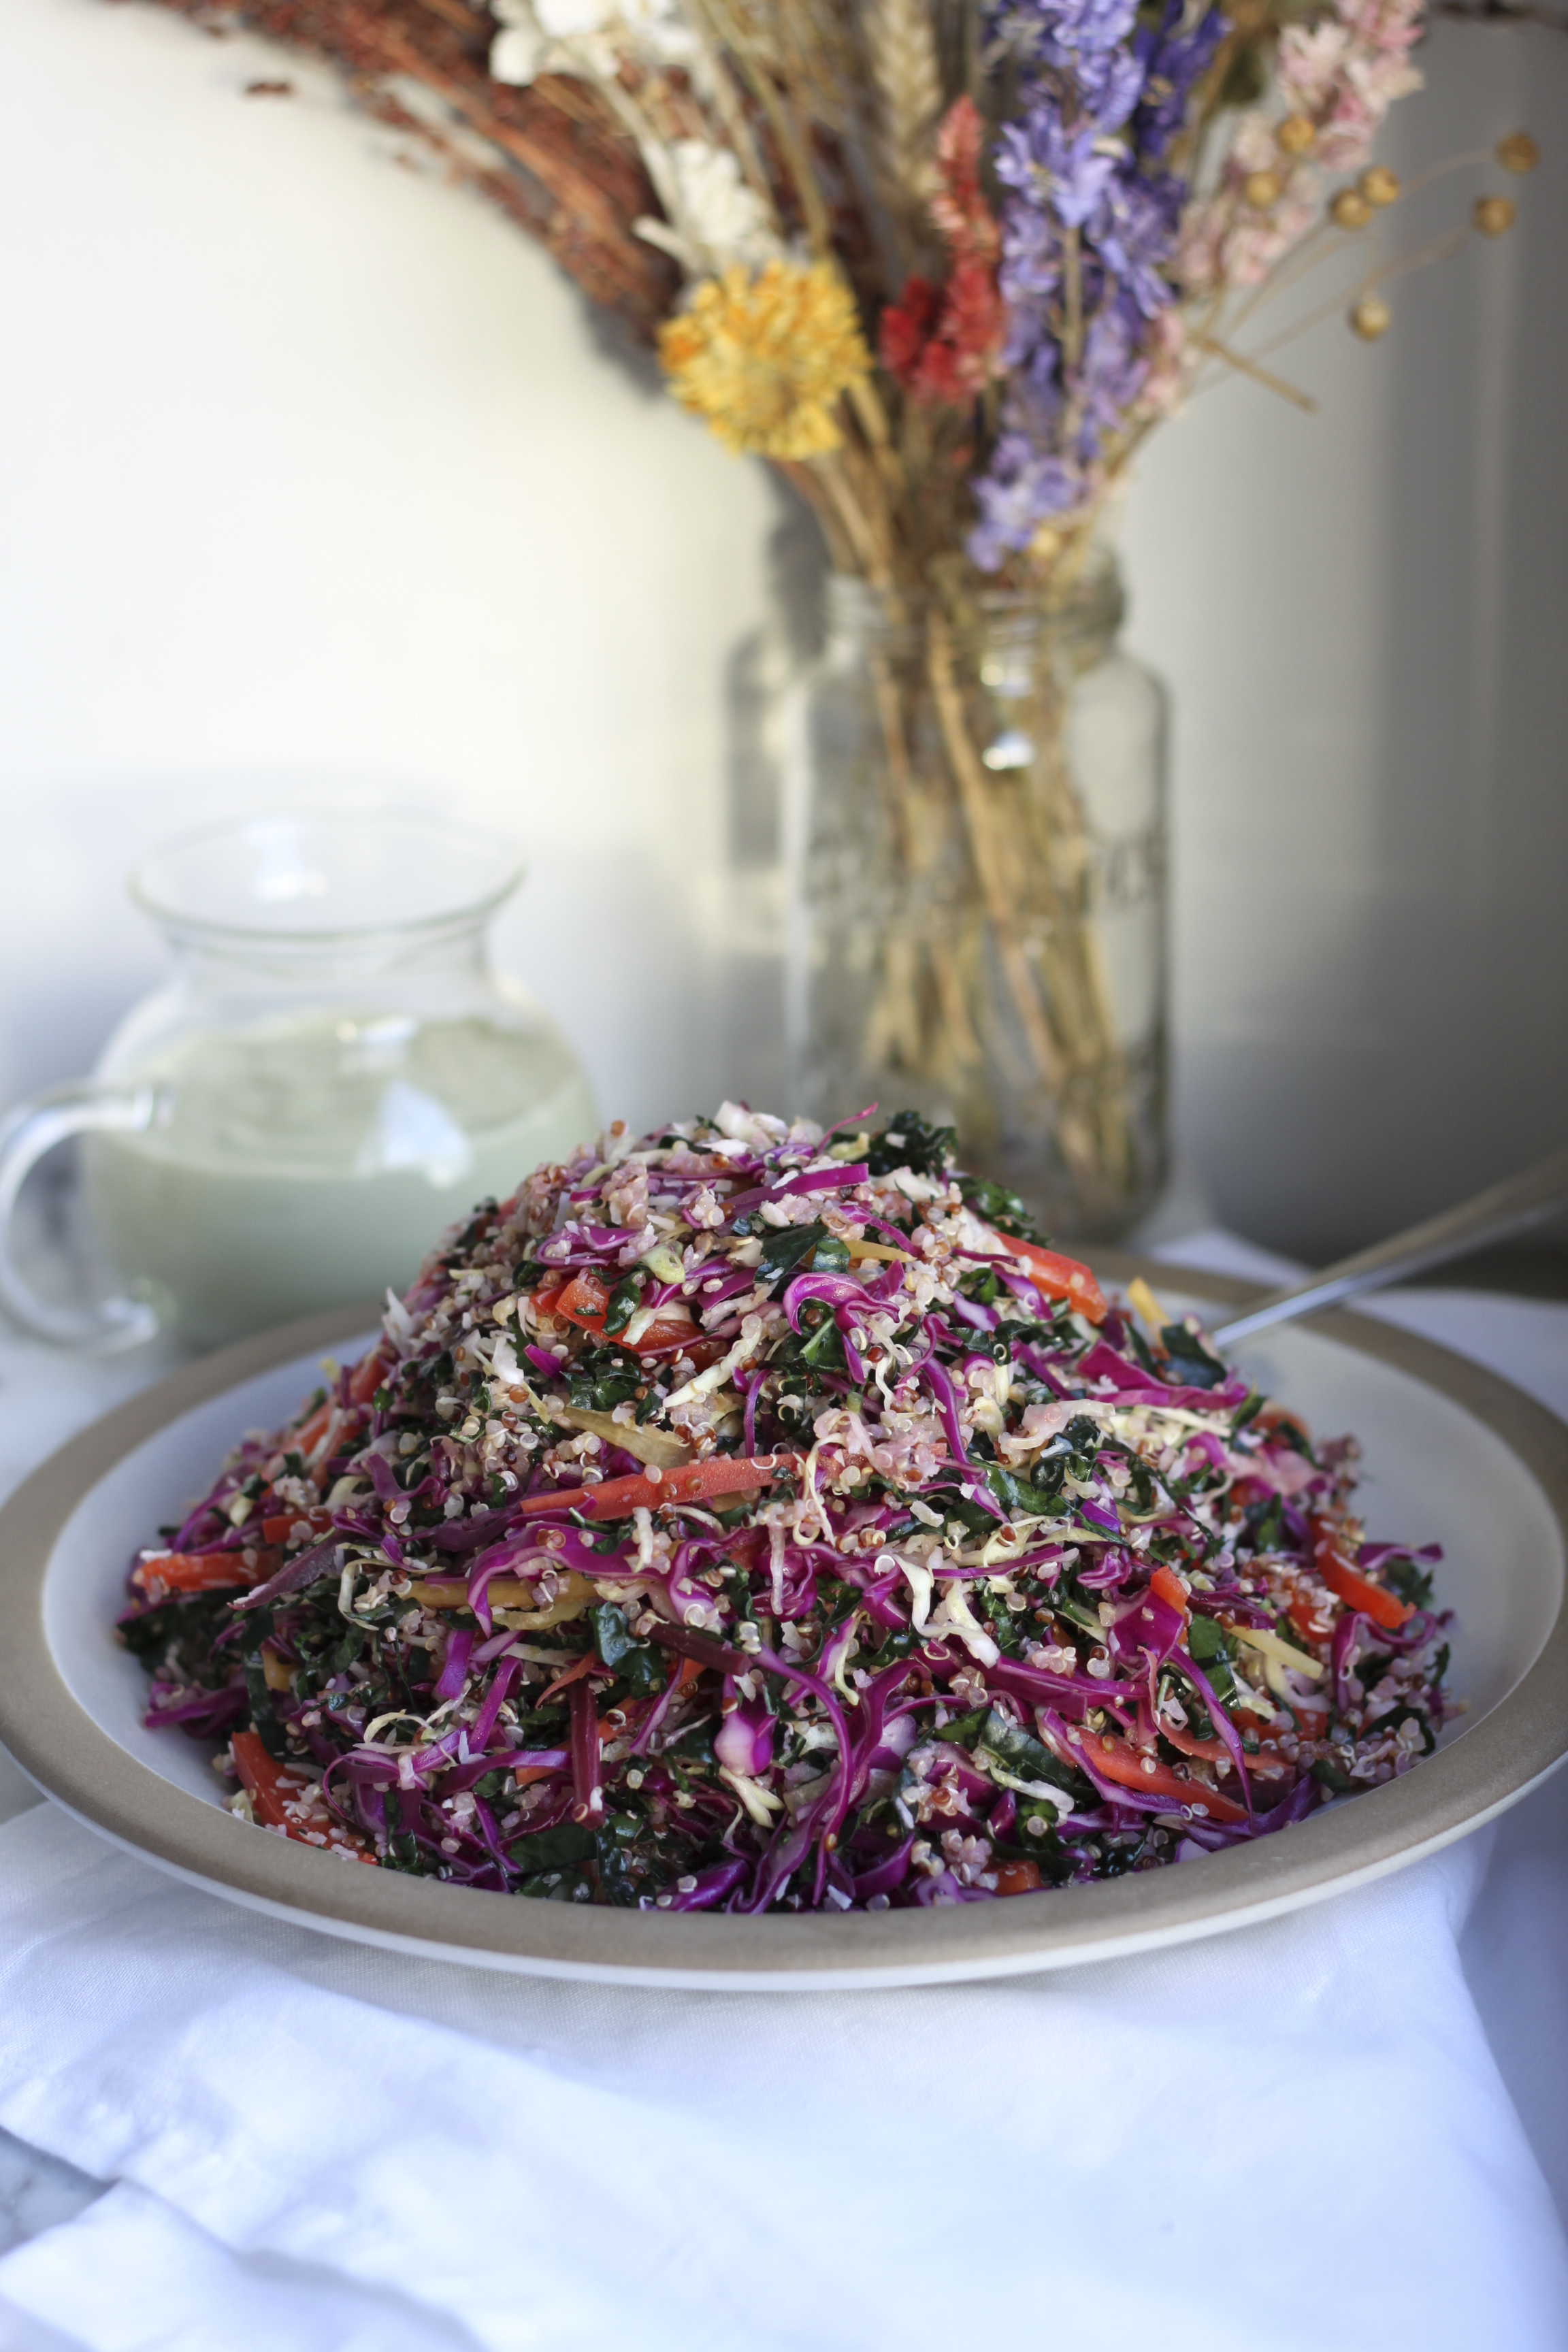
Over time, as I became an increasingly adept cook and found myself eating a disproportionate amount of meals out of bowls, I began to develop an expanded definition of the word 'salad'. To me growing up—and to many still—a salad was a plate of greens that maybe had some other vegetables thrown in. To me now, a salad can be made of greens, grains, fruits, vegetables, protein, herbs, nuts and seeds. Basically, as long as whatever you're eating is mixed together, it's a salad. This is one such dish—reliant more on grains than greens and completely satisfying as a meal in and of itself.
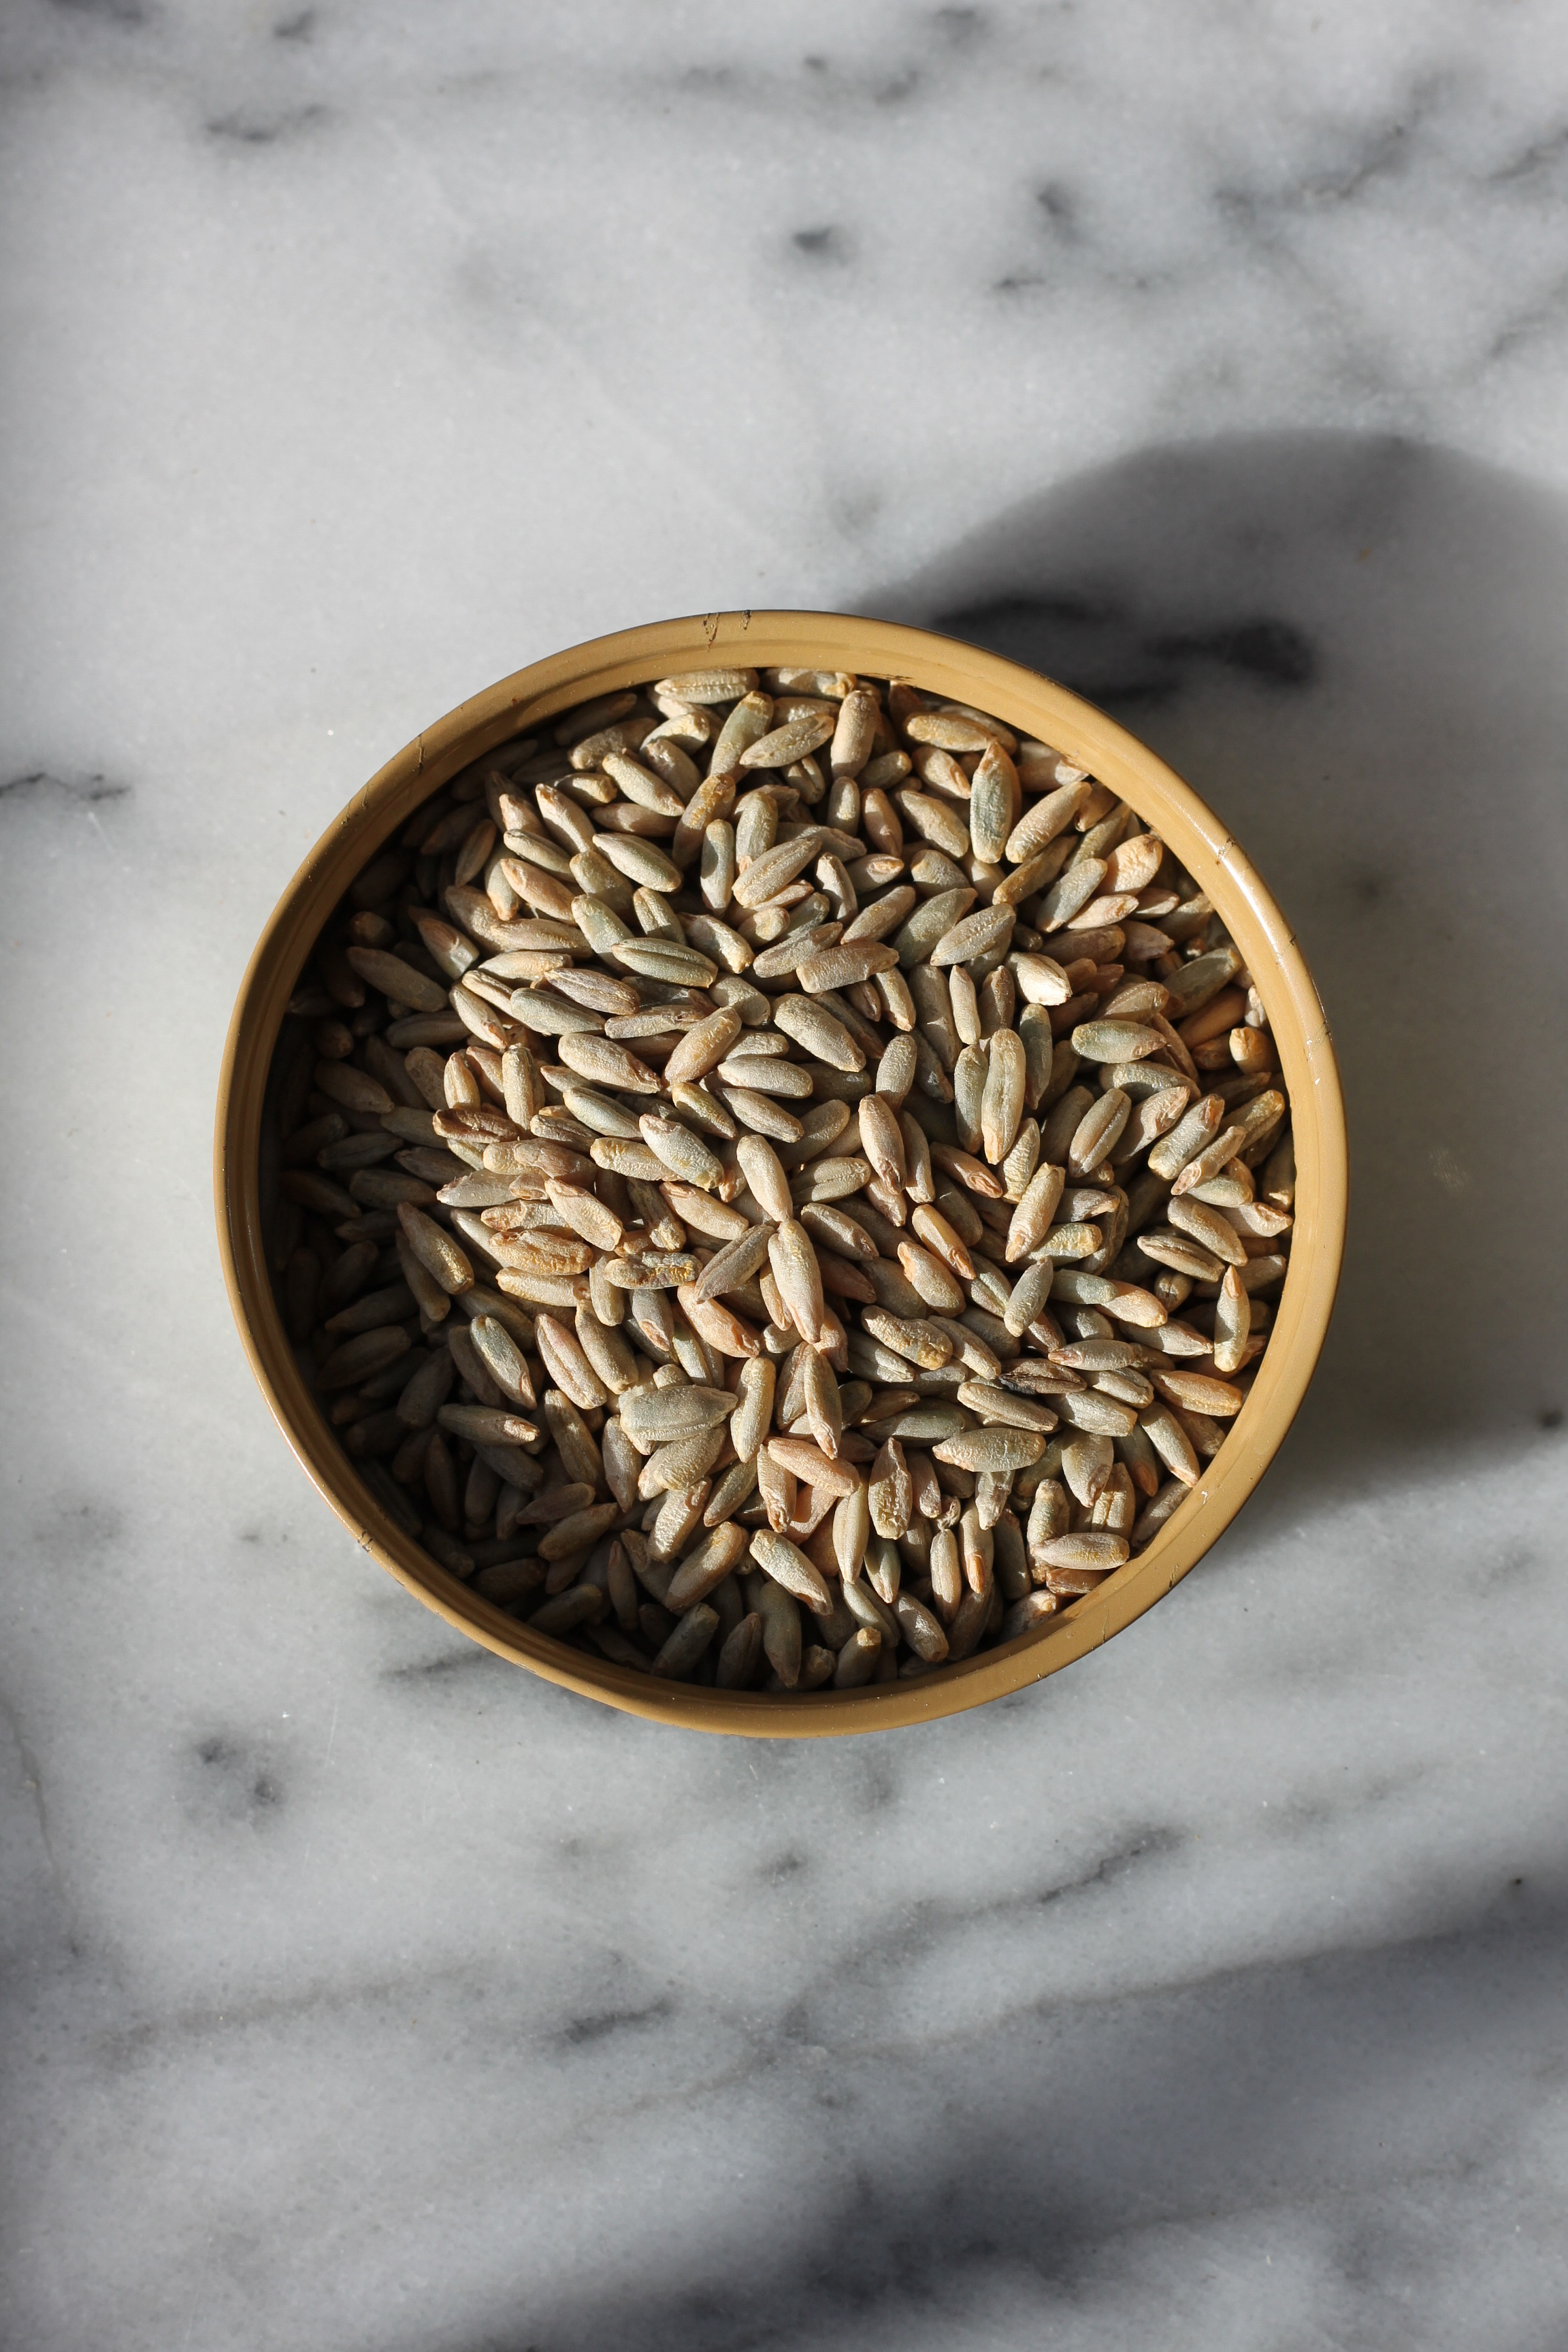
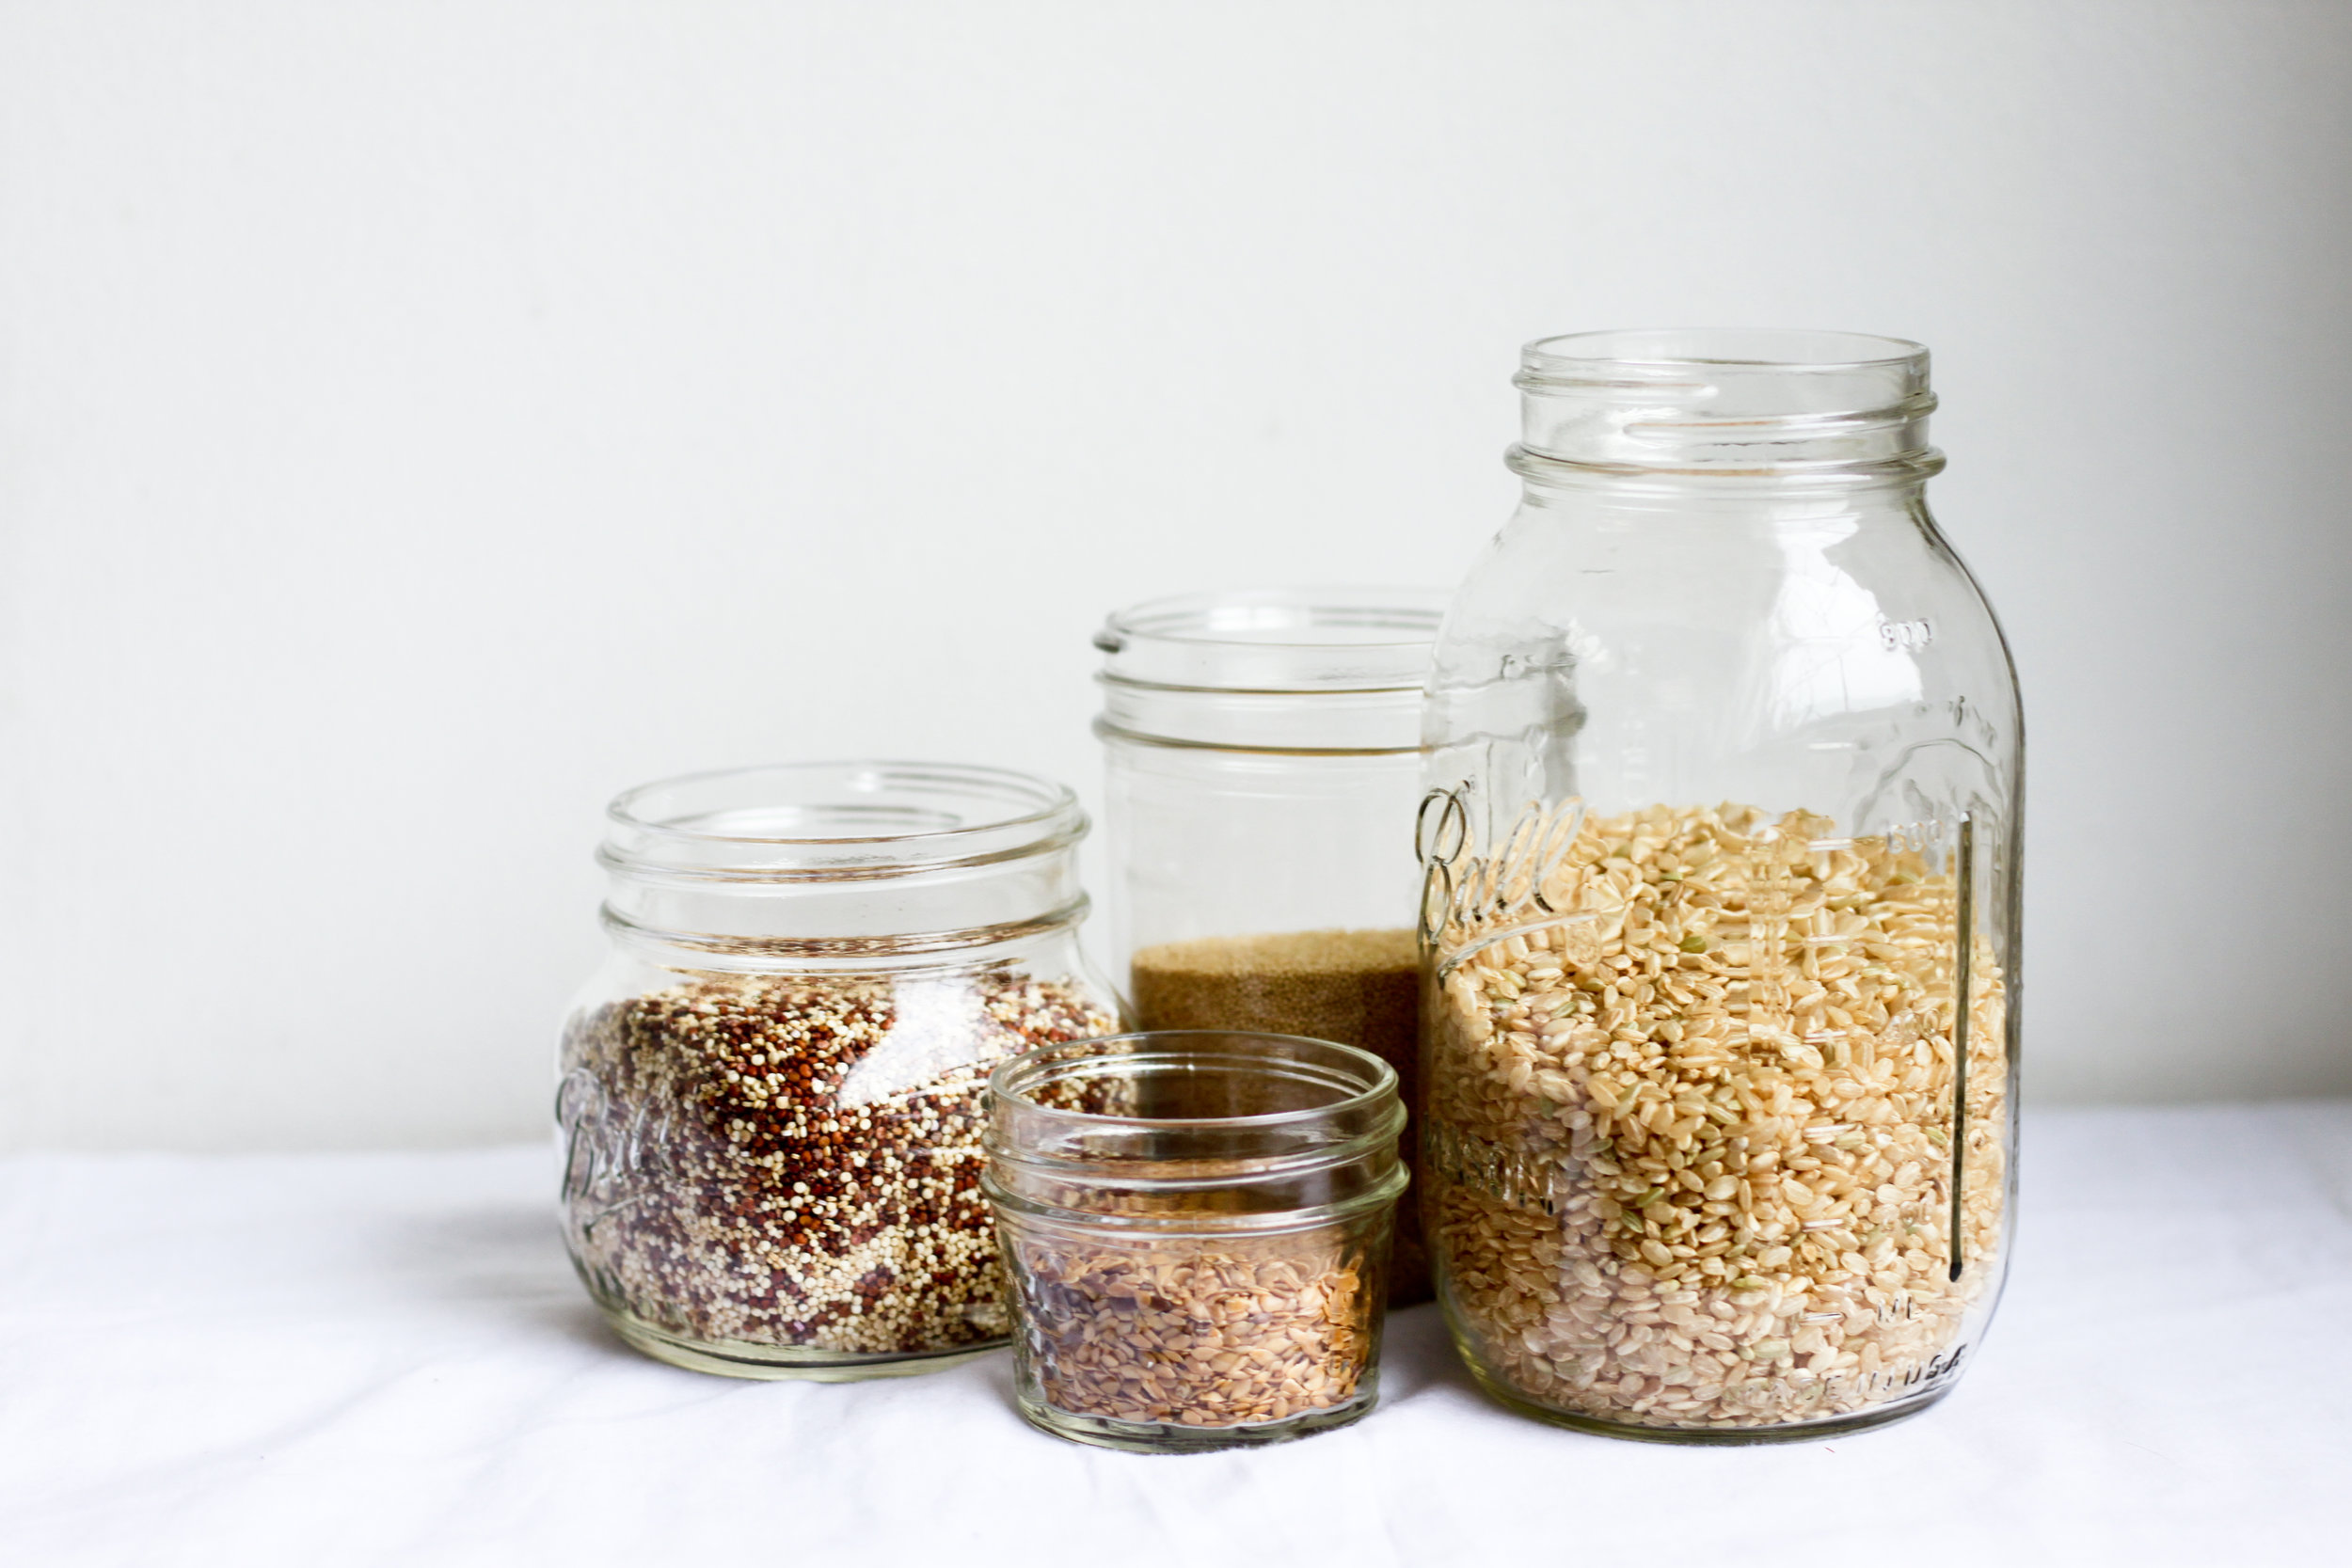
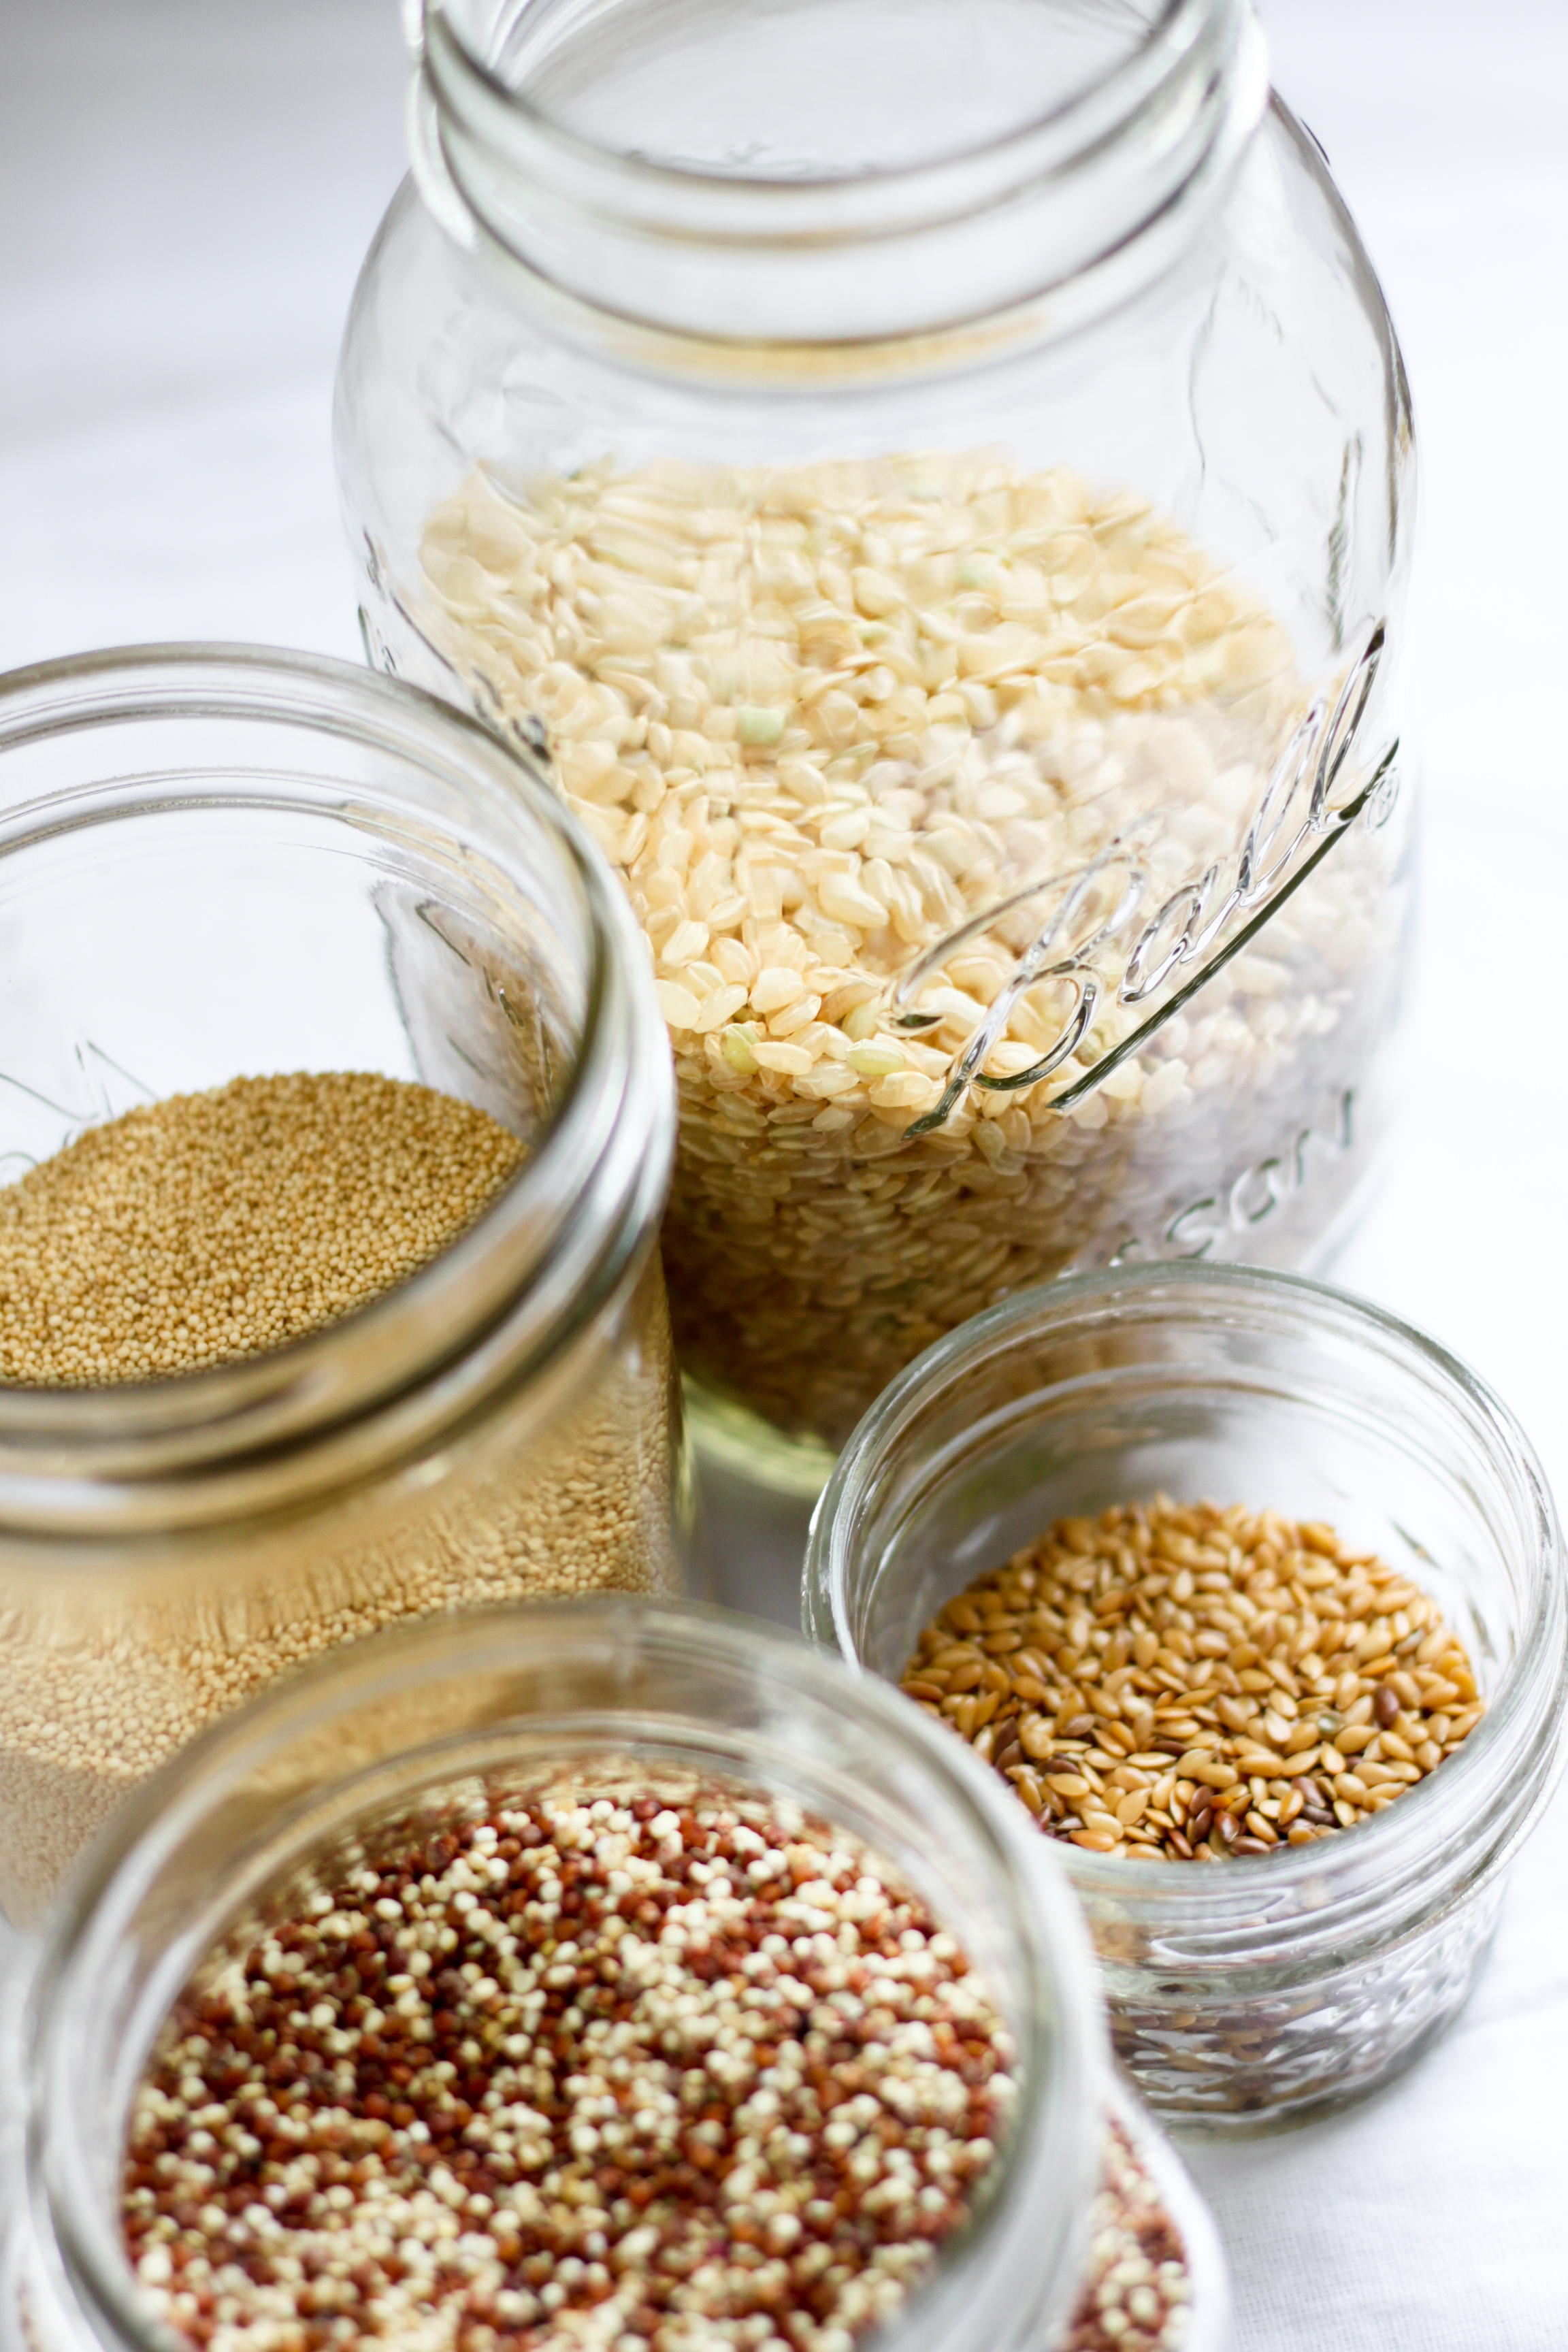
The kernels of whole grains, for some reason, are called 'berries'. Wheat berries, rye berries, spelt berries...these are not bizarre gain-fruit hybrids, but the complete edible kernel of the unprocessed grain. You cook whole grains just as you would rice, but they won't absorb the water as much. Soaking your grains overnight in water with a splash of apple cider vinegar or lemon will help unlock their nutritional benefits and make them easier for you to digest after they are cooked. Whole grains are a fantastic source of fiber, often have significant amounts of protein and are quite chewy and satisfying to eat. Rye is particularly high in magnesium, a mineral that helps regulate the body's use of glucose (blood sugar) and insulin production. In helping control blood sugar, rye has been shown to help reduce the risk of type 2 diabetes. I chose rye berries for this recipe because that is what I had on hand, but feel free to sub them for wheat berries, spelt berries, or whatever whole grain you're curious to try out!
Drawing from winter citrus and aromatic Middle Eastern flavors, this is a bright salad for cold months. If you particularly like tart or biting flavors, feel free to throw in some olives, preserved lemon or thinly sliced red onion, too.
//
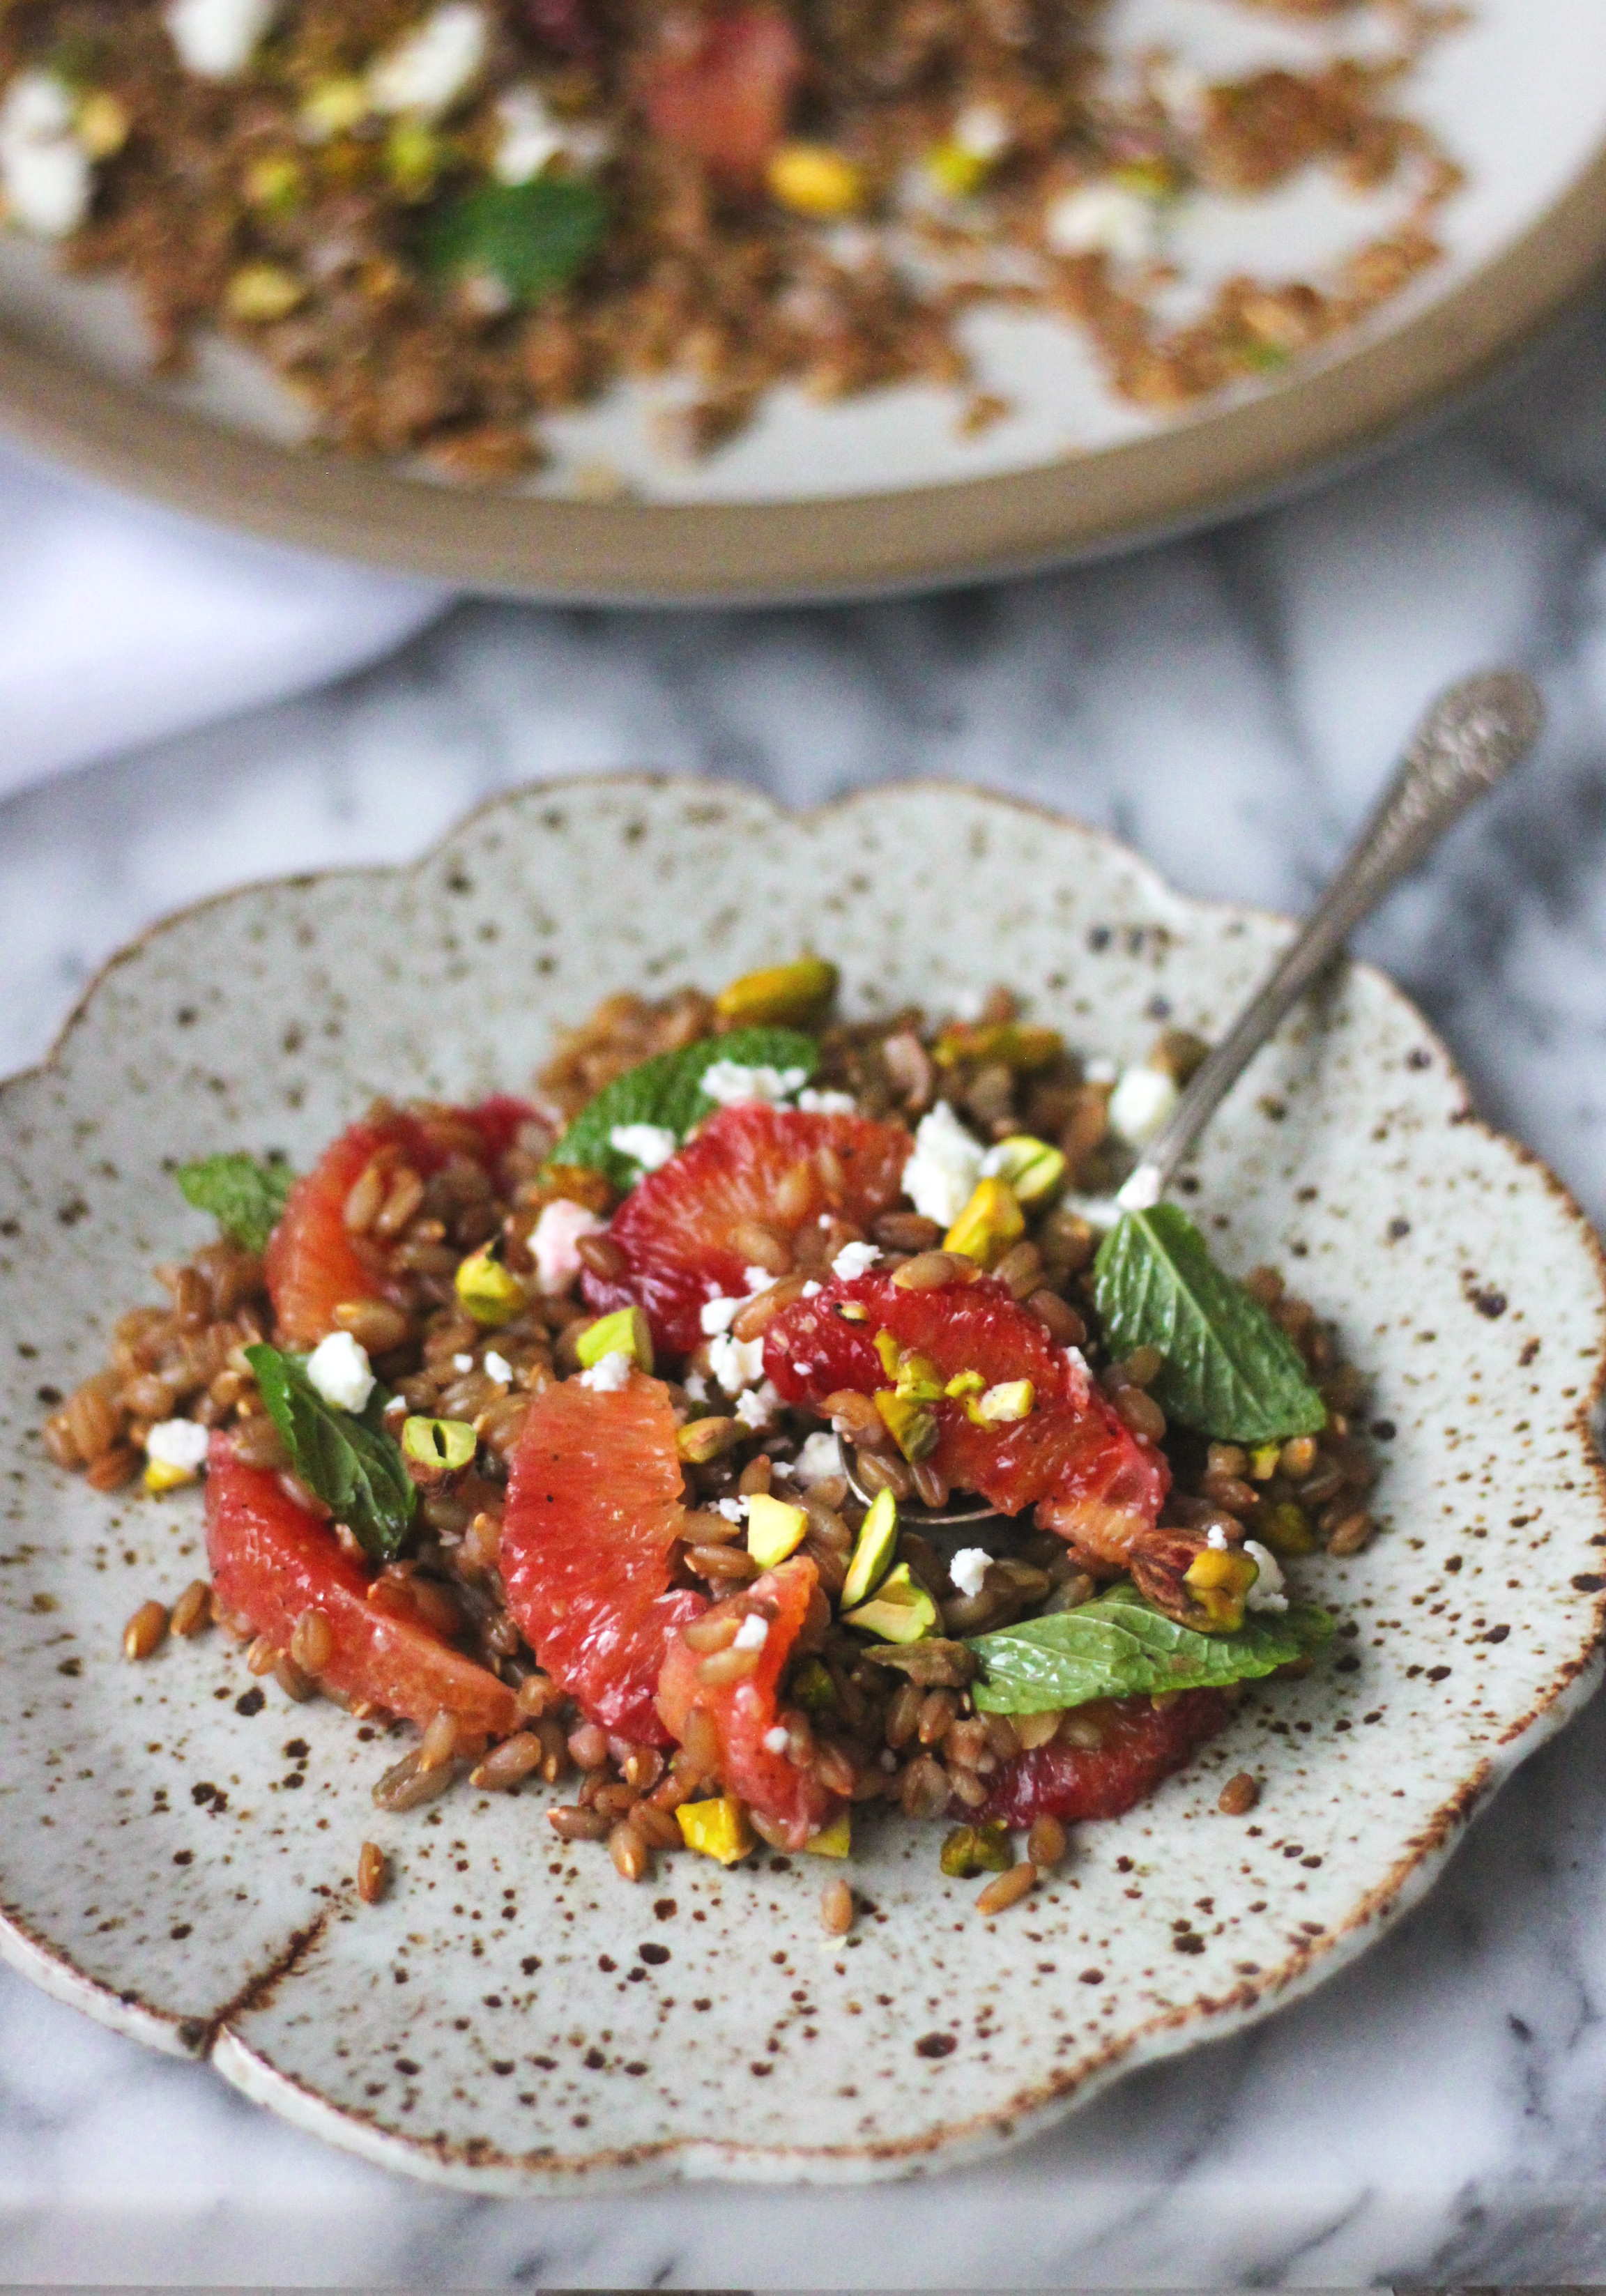
Rye Berry, Blood Orange, Pistachio & Herb Salad
Serves four
Ingredients
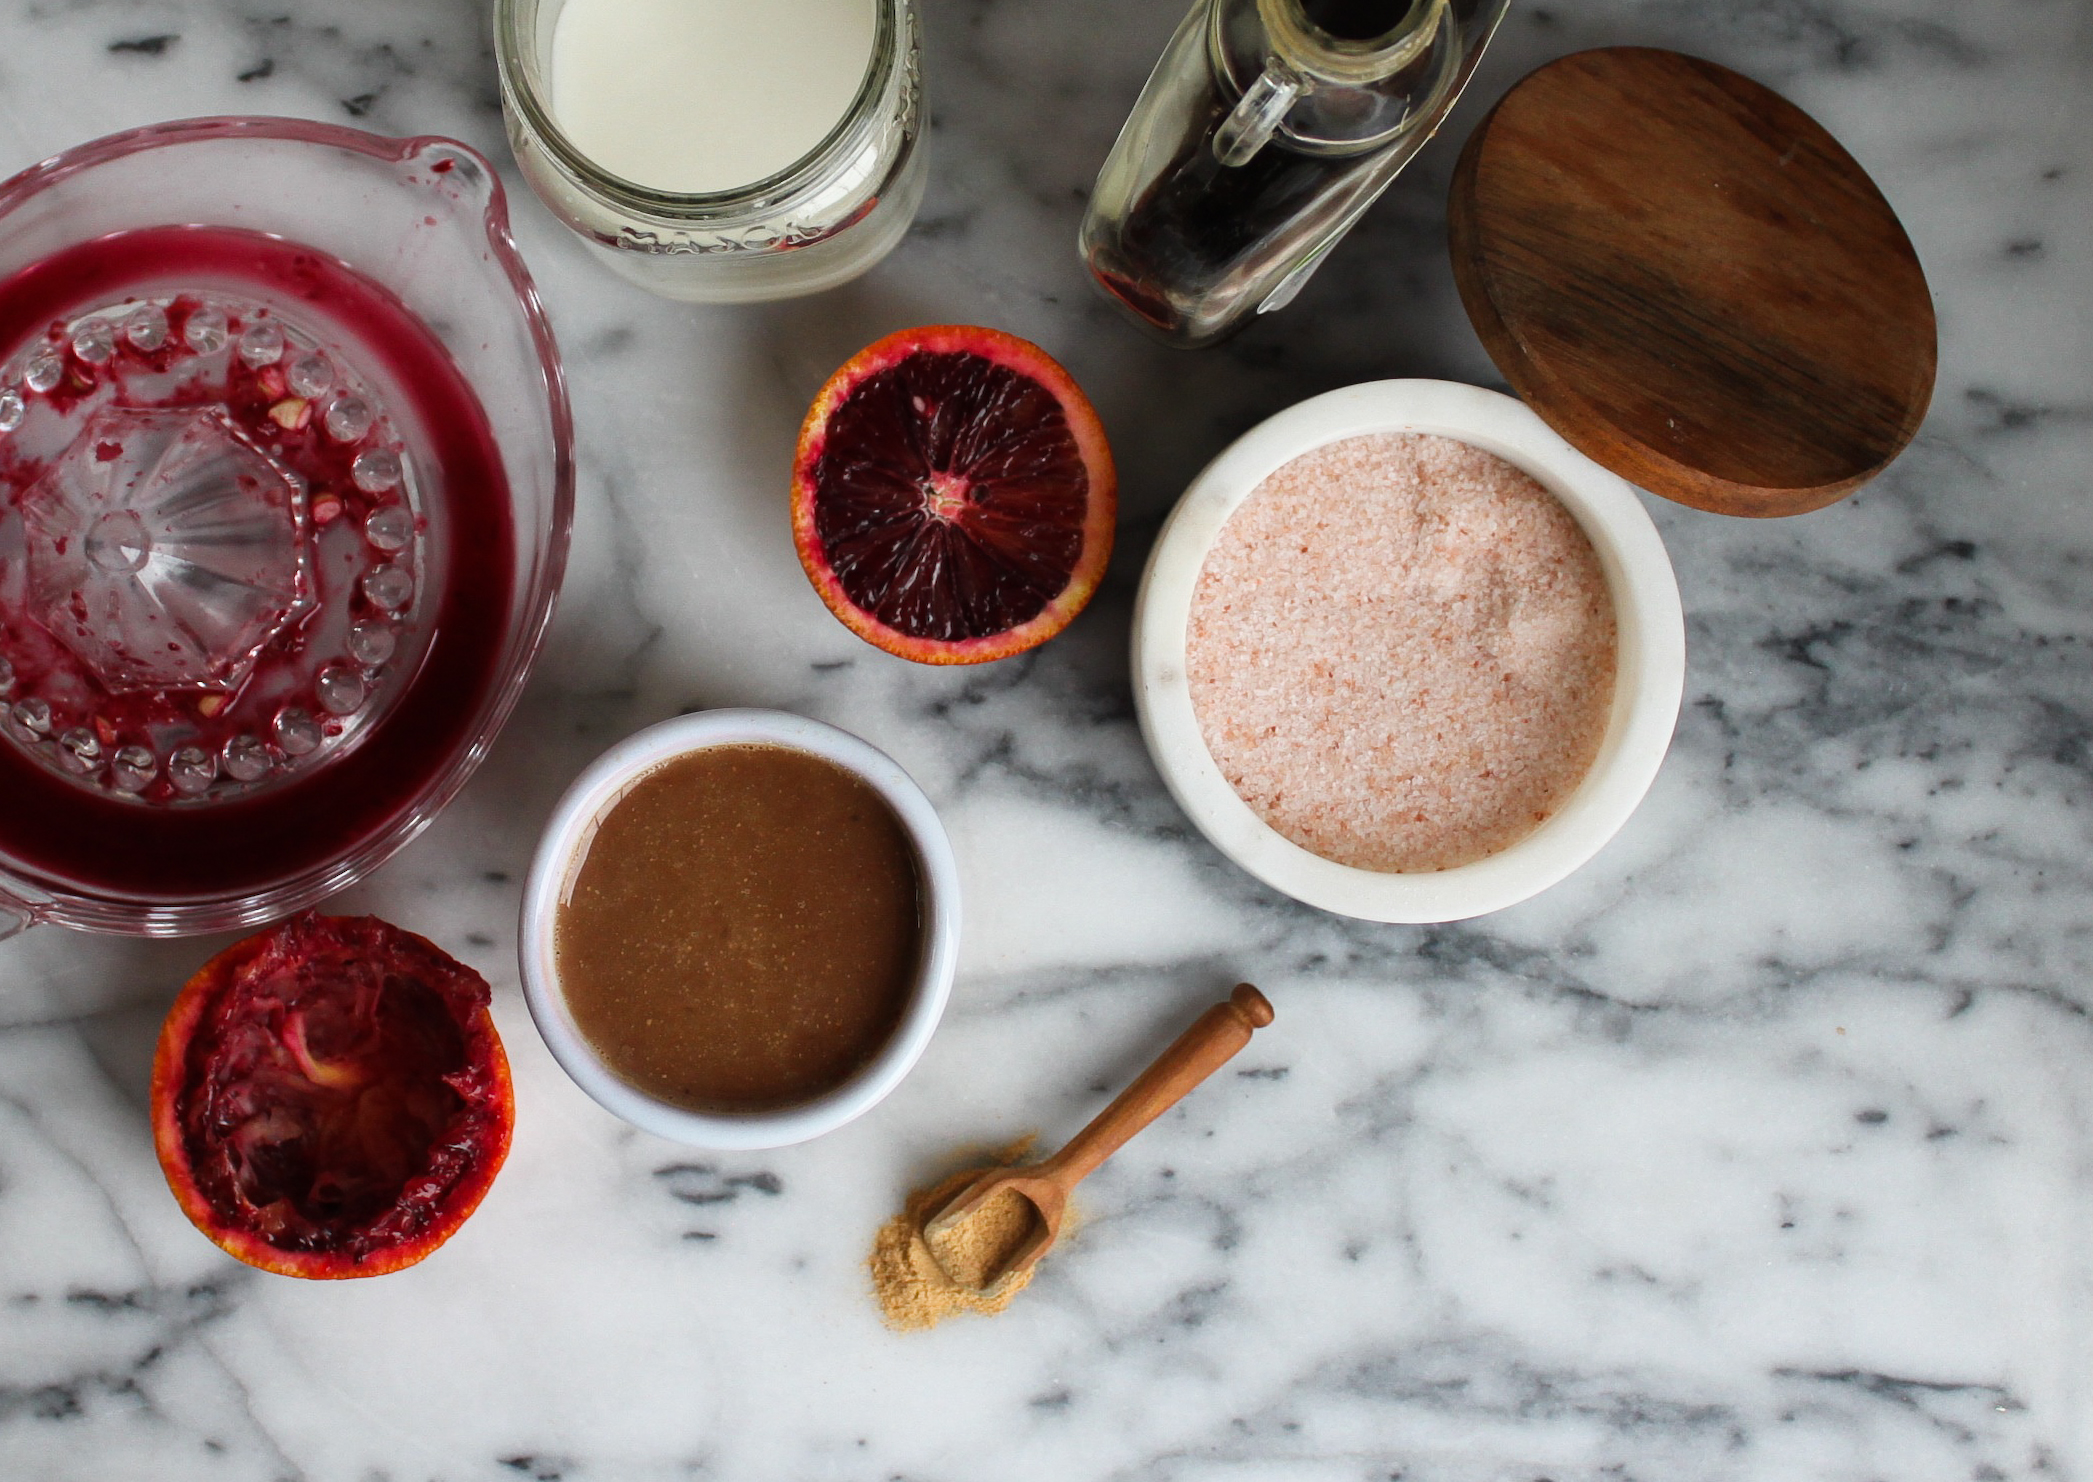
Salad
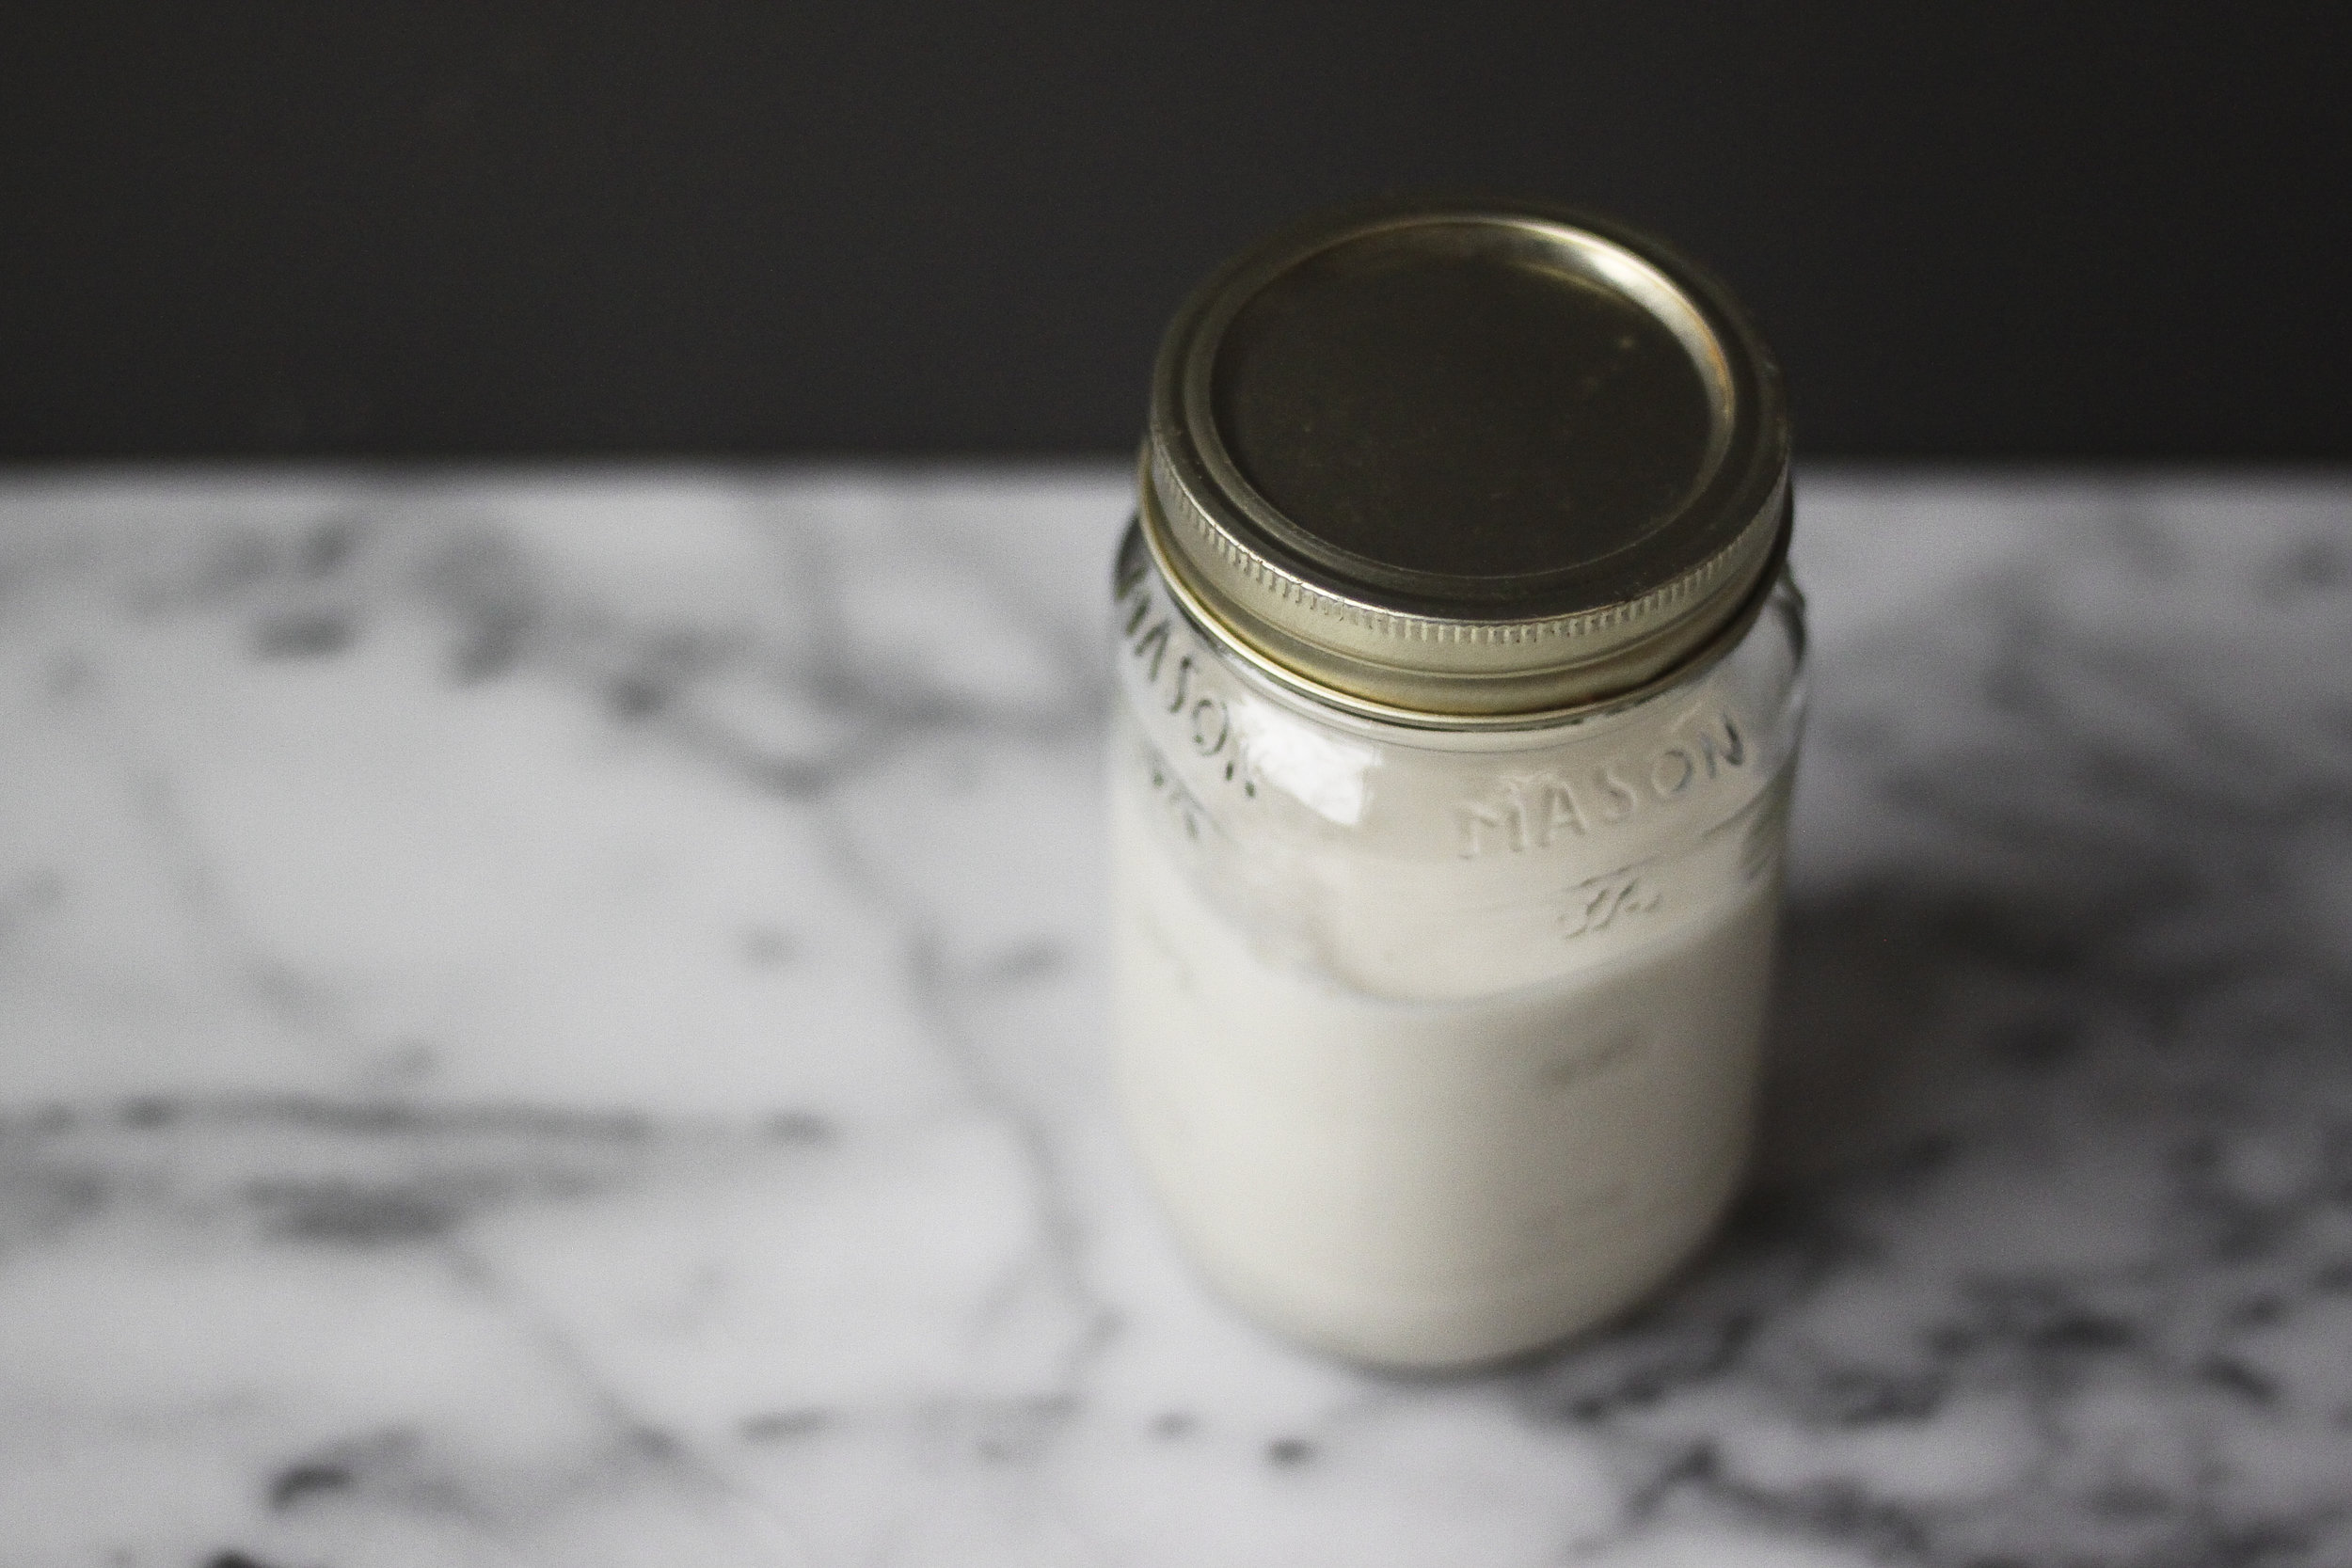
1/2 cup rye berries, preferably soaked overnight
1/2 cup pistachios, de-shelled, lightly roasted if they're raw, and roughly chopped
3 blood oranges
1/2 bunch mint, roughly chopped
1/2 bunch chives, minced
1/4 cup sheep's feta, crumbled
Dressing
1/4 cup cold-pressed olive oil
2 Tbsp. lemon juice, fresh squeezed
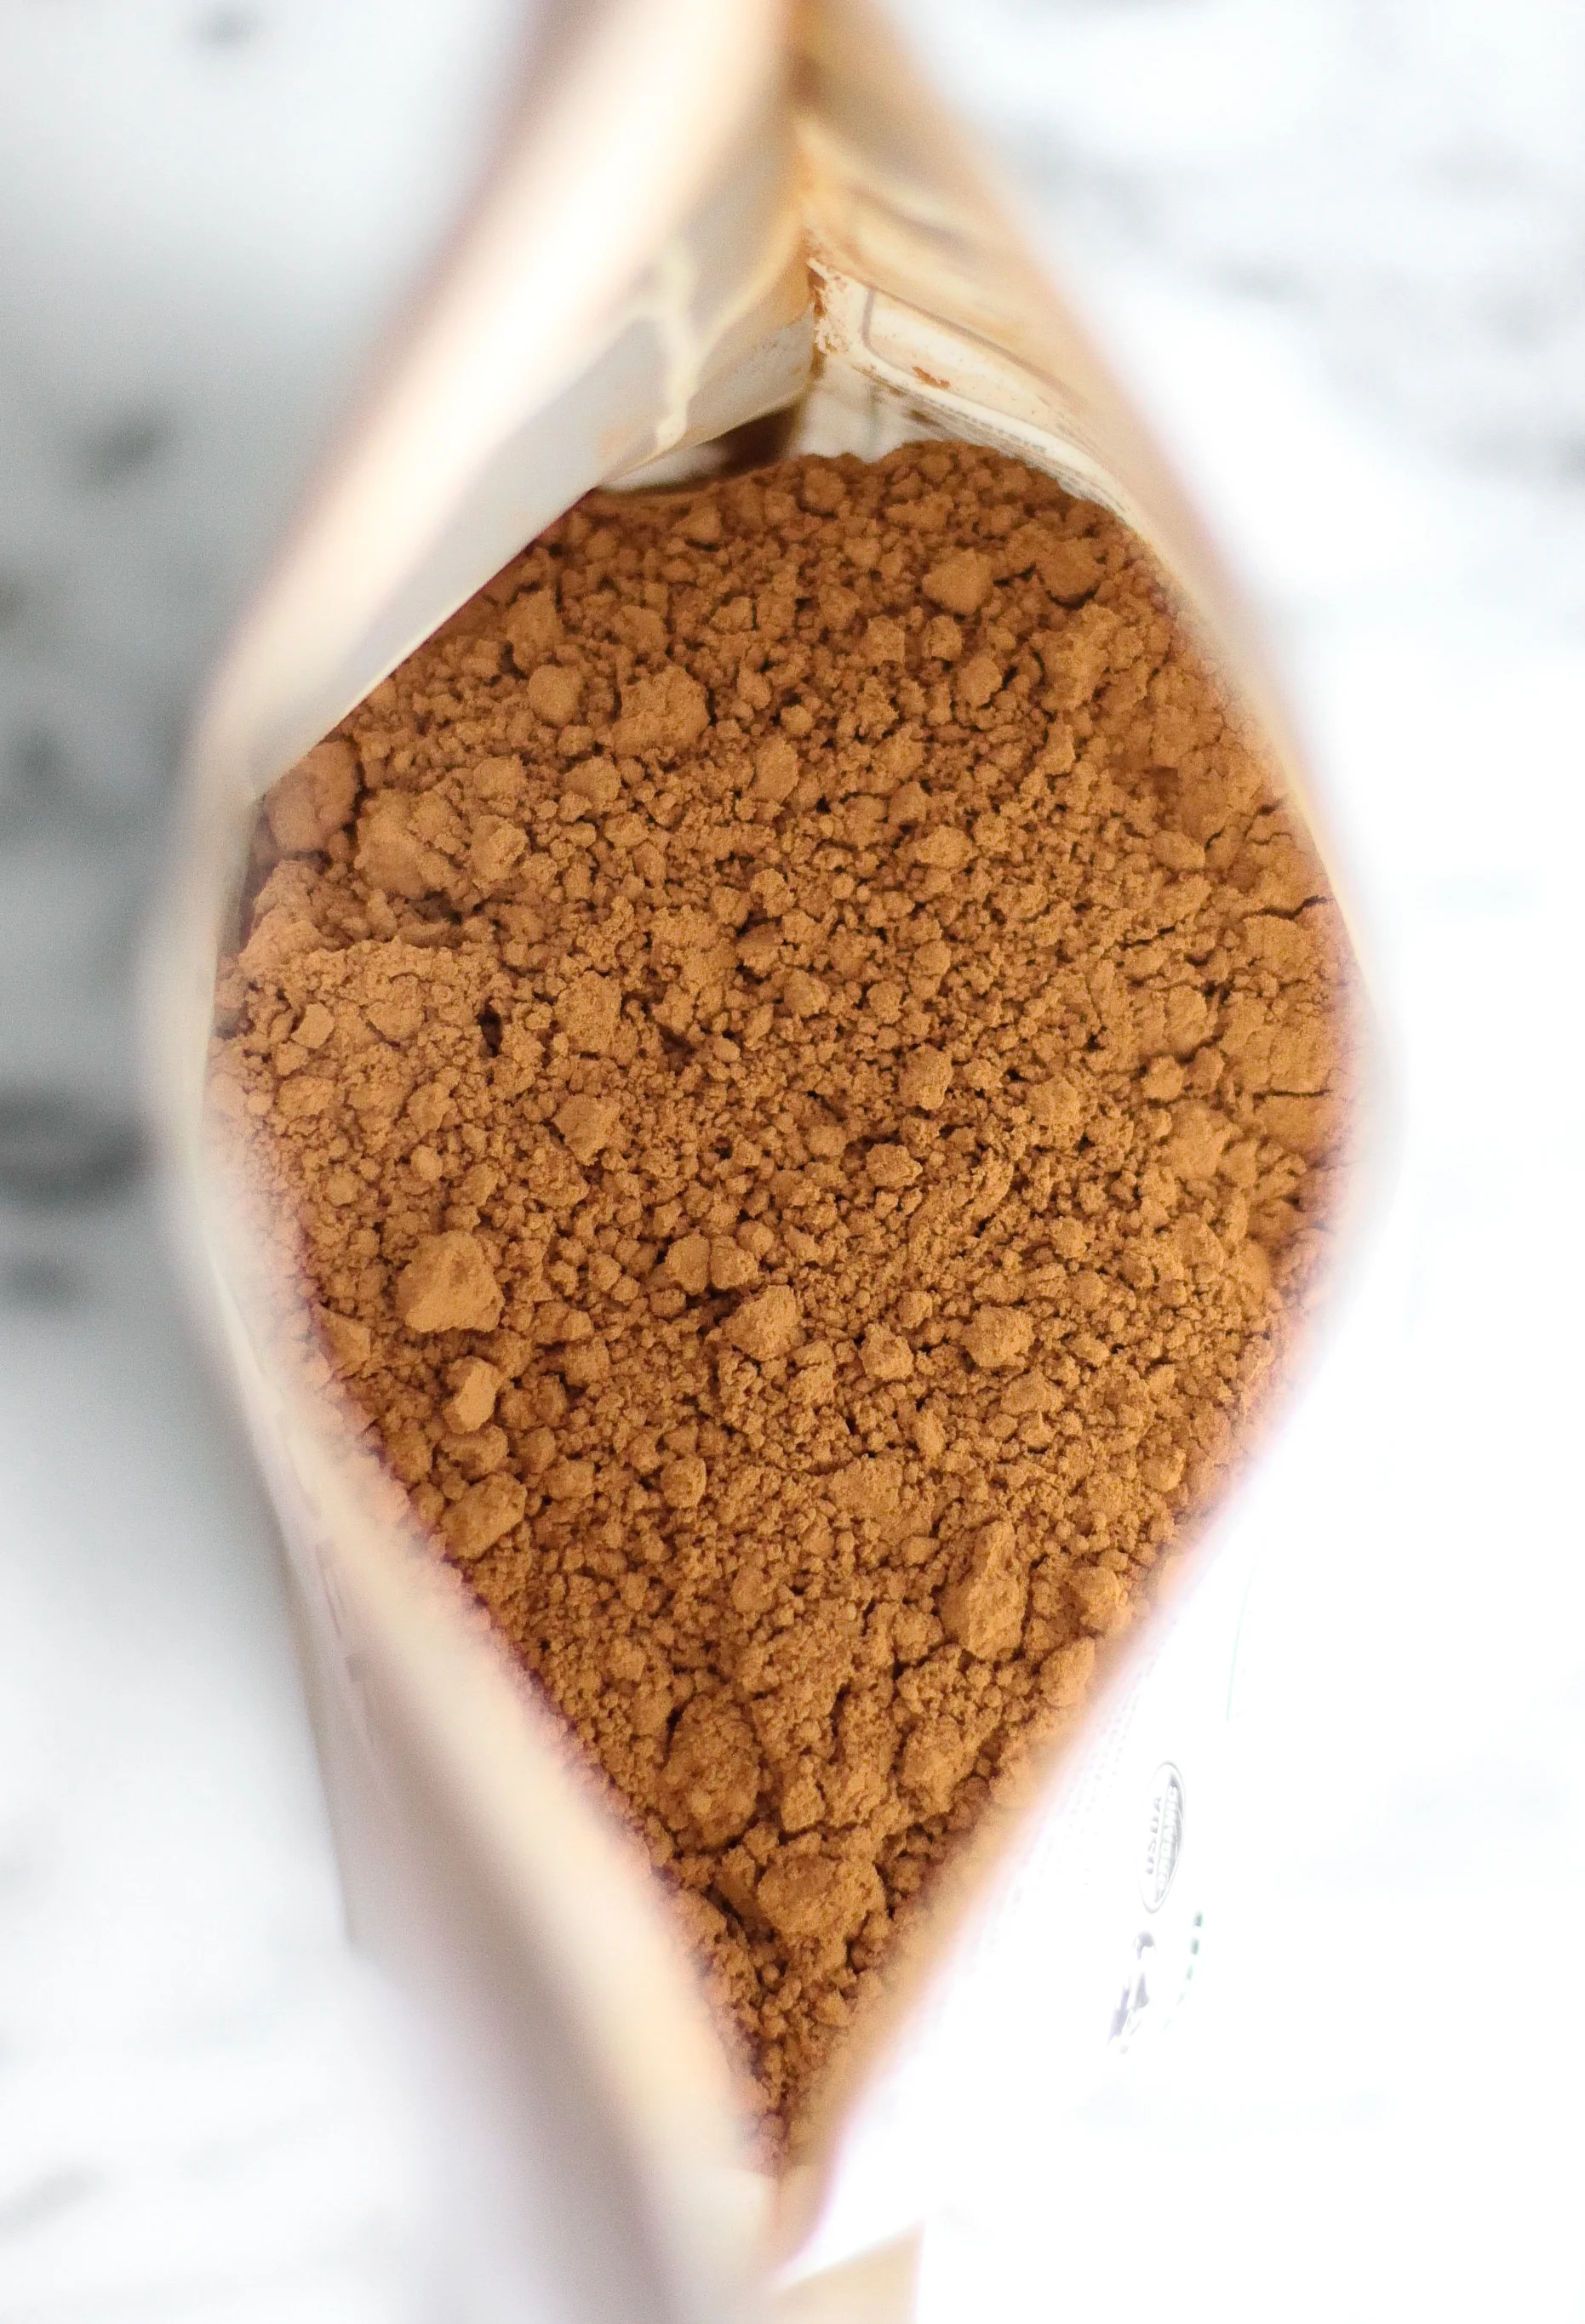
1 tsp. coriander, ground
1/2 tsp. sea salt
1/4 tsp. black pepper
zest of 1 blood orange
Directions
1. Rinse the rye berries. If you soaked them, strain and rinse them. Put in a pot with fresh water. Bring to a boil, reduce to a simmer and cook until tender, 25-35 minutes.
2. Zest one orange and place zest in a jar with the remainder of the dressing ingredients. Shake vigorously to emulsify and set aside.
3. Peel and segment the oranges. Cut each segment into thirds and set aside.
4. When the rye berries are cooked, strain, pour into a large bowl and then immediately toss with half of the dressing. (Grains and legumes soak up flavors much better when they're warm.)
5. Add the herbs, half of the pistachios and oranges to the rye berries and gently mix. Sprinkle the remaining pistachios and feta on the top of the salad (or on top of the salad on each individual plate).
Salad can be enjoyed warm or cooled. Keeps for 4-5 days, but I would keep the feta separate if you're able.