Spring Green Veggie & Herb Lettuce Cups

lettucecups1.jpg
asparagus1.jpg
englishpea.jpg

Super simple and fresh, this is essentially a handheld salad that celebrates the early bounties of spring.

I opted to stick with lemon and olive oil for the dressing to let the brightness of the vegetables shine through; if you’re keen to douse the lettuce cups in tahini or have a green goddess or other dressing that you like, definitely do!

Great as a side dish, these lettuce cups can easily become a full meal by mixing in some flaked salmon, chickpeas or other protein of choice. Happy spring!

untitled (6 of 11).jpg
asparagus2.jpg
lettucecup2.jpg
lettucecup3.jpg
lettucecups_duo.jpg

Spring Green Veggie & Herb Lettuce Cups
Makes 4 lettuce cups

Ingredients
1/2 bunch asparagus
1/2 lb English peas (in their pod)
1 Meyer lemon
2 Tbsp. pine nuts
2 Tbsp. olive oil
1/4 cup mixed herbs (mint, dill, chives, parsley, chervil are some nice options), roughly chopped
1 avocado, sliced
a few handfuls alfalfa sprouts
4 large butter lettuce leaves
salt & pepper

Directions
1. Cut off the bottom woody ends off the asparagus (1”-2” up from the bottom) and discard. Cut each asparagus stalk into 1/4” slivers at an angle and put into a medium sized bowl.
2. Zest the lemon and set zest aside. Squeeze the juice from the entire lemon over the asparagus. Add a couple pinches of salt, toss and set aside.
3. De-pod the English peas, adding the peas to the bowl with the asparagus as you go. Mix the two together.
4. In a small pan, toast the pine nuts over medium-low heat until golden brown, 5-7 minutes, stirring or tossing frequently. Once they’re golden, transfer immediately to a cutting board so they don’t burn. Roughly chop.
5. Add the olive oil, lemon zest, 3 Tbsp. of the chopped herbs and a few grinds of black pepper to the asparagus and peas. Stir to combine. Taste and adjust salt and pepper as needed.
6. Assemble the lettuce cups: In each butter lettuce leaf, place a layer of alfalfa sprouts, slices from 1/4 the avocado, and a couple spoonfuls of the asparagus and pea mixture (and its lemon-oil-herb dressing). Finish off with a few pinches of chopped pine nuts and the remaining fresh herbs.

Vegan Turmeric Eggnog

turmericeggnog.jpg
eggnog_ingredients.jpg
nutmeg.jpg

I had the pleasure of co-developing this recipe for a project at work and got to make and share it with our entire team (definitely snag Navitas Organics Turmeric Powder and Cashews for this if you can; they’re amazing quality—and I’m not just saying that because I work there!).

Eggnog has loooong been a favorite of mine, but since becoming health-aware and vigilant about checking the ingredients in processed foods, I steer pretty clear of the stuff sold in grocery stores (which is, most often, insanely high in sugar if not also full of junky ingredients).

The added bonus about this recipe is that it is vegan—so everyone can enjoy it—and is refined sugar-free without compromising any of the thick, luscious texture or sweet, nutmeg-y flavor! The taste of the turmeric is subtle but adds a bright golden color and anti-inflammatory benefits, which certainly never hurt this time of year.

pour.jpg
eggnog_areal.jpg

Vegan Turmeric Eggnog
slightly adapted from Will Frolic for Food
serves 2-3

Ingredients
I Cup raw cashews, preferably soaked 4 hours 
4 Medjool dates, pitted
¼ tsp. freshly grated nutmeg 
¼ tsp. cinnamon 
¼ tsp. cardamom 
¼ tsp. turmeric powder
¼ tsp. vanilla extract or paste 
pinch of sea salt 
grind of black pepper 
3 Cups water, hot but not boiling 

Directions
1. Add all ingredients to a high speed blender.
2 Blend on low and then increase to high until smooth and creamy. Garnish with extra cinnamon or nutmeg. Enjoy!

Roasted Broccolini with Browned Butter Tahini Sauce & Za'atar

untitled (1 of 1)-2.jpg
untitled (3 of 12).jpg
untitled (4 of 12).jpg
zaatar1.jpg
zaatar2.jpg
butter.jpg

I have been SUPER into roasting broccolini lately, mostly because of how dang easy it is. You literally don’t have to do anything but cut off a bit of the bottoms, toss them in a high-heat oil (refined coconut or avocado oil), season with salt and pepper and BAM, into the oven they go! No peeling, no chopping, no salting and waiting to draw out the excess water…it literally could not be any easier. Add a sauce rich in healthy fats (like the one in this recipe), maybe some hemp seeds, nuts or beans for protein and voilà, you’ve got yourself a meal! Sometimes low maintenance is just what life requires.

For such a simple recipe, this roasted broccolini packs a flavor punch. It makes for a great side dish at special meals and can just as well be eaten for lunch on any given weekday.

Use whole sesame tahini if you’re able (this is my favorite brand). If you’re unfamiliar with tahini or that there are different types out there, you can read up on the amazing ingredient here!

Za’atar is a Middle Eastern spice blend made out of sumac, sesame seeds, thyme and salt. You can totally make your own, or purchase it from a Middle Eastern market or specialty spice shop. I get mine from this local cafe in Berkeley called Bartavelle because it’s the best za’atar I’ve ever had in my life, so. Thanks, Bartavelle! This recipe is also absolutely delicious using roasted Brussels sprouts instead of broccolini. I make both on a regular basis. Go with what your gut tells you :).

untitled (11 of 12).jpg
untitled (12 of 12).jpg

Roasted Broccolini with Browned Butter Tahini Sauce & Za’atar
Serves two hungry people or four as a side

Ingredients
1 bunch broccolini
1 Tbsp. avocado oil, coconut oil or ghee
2 Tbsp. butter (organic & pastured/grass-fed, if possible)
1/4 cup tahini
1/2 Tbsp. lemon juice, fresh squeezed
small clove of garlic, grated on a microplane
1/2 Tbsp. za’atar
sea salt & pepper

Directions
1. Preheat the oven to 400°F. Trim the bottom 1/4” of the stems off the broccolini. Toss in oil (you can rub it with your hands if it’s not melted) and season generously with salt and pepper. Lay on a baking sheet lined with parchment paper, spreading out the broccolini so that they aren’t overlapping.
2. Roast broccolini for 6-8 minutes, until browning on the bottom. Flip the stalks over on the tray and roast for another 4-6 minutes, until tender.
3. Meanwhile, make the sauce. Melt the butter in a small saucepan on medium-low heat. Swirl the pot consistently as the butter begins to bubble to prevent it from burning. As soon as the butter turns an amber color and brown flecks begin to develop on the bottom of the pot, remove it from the heat. Pour the butter into a heat-proof jar with a lid, using a spatula to scrape all the browned bits into it too.
4. Add the tahini, lemon juice, grated garlic and a hefty pinch of salt to the jar. Shake vigorously. Taste and adjust lemon and salt as needed.
5. Place roasted broccolini on a serving plate. Pour sauce over the broccolini in whatever way your heart desires. Sprinkle evenly with za’atar. Serve immediately.*

*Note: Because butter is solid when cold, this sauce will become very thick once it cools. If you have any sauce leftover, reheat it before using. Alternatively, add water (1 Tbsp. at a time, so as to not compromise the consistency) and shake vigorously until the sauce reaches the consistency of runny honey.

Heirloom Tomato, Apricot & Cucumber Salad with Yogurt & Za'atar

OH HEY, IT'S SUMMER! This basically means you don't have to cook at all if you don't want to, because everything is luscious and ripe and can be sunk into off the vine with your teeth (no silverware necessary).

This salad is a celebration of the ease of summer eating and the inherent vibrant flavors that make the produce this time of year shine. It is a cooling salad with some Middle Eastern vibes because they're my favorite (full disclosure of cuisine bias here). The one ingredient with which you may be unfamiliar is za'atar, which is a Middle Eastern spice blend made of thyme, oregano, sesame seeds, sumac and salt. It's delicious! You can make your own or buy a jar at specialty spice shops or Middle Eastern markets.

I've also used unusual varieties of cucumbers and tomatoes here because they're fun and you can only get them during the summer! If you can't find them, don't sweat it; a normal, ripe, preferably relatively local cucumber or tomato will do the trick just as well. Enjoy!

Heirloom Tomato, Apricot & Cucumber Salad with Yogurt & Za'atar
Serves four as a starter or two as a main

Ingredients
3 medium heirloom tomatoes, cut into large wedges
4 apricots, pit removed and cut into quarters
1 avocado, cut into 1/2" cubes
2 lemon cucumbers or 1 painted serpent cucumber (or 2 Persian cucumbers, failing those), cut into 1" chunks
6 Tbsp. plain whole milk Greek yogurt
1 Tbsp. good quality cold-pressed olive oil, plus more for drizzling
2 Tbsp. mint, roughly chopped
2 Tbsp. dill fronds
1 lemon
1 Tbsp. za'atar
salt + pepper

Directions
1. In a small bowl, mix together the Greek yogurt, 1 Tbsp. olive oil and a pinch of salt.
2. Spread the yogurt mixture on the bottom of your serving platter.
3. Arrange the slices of tomato, avocado, apricot and cucumber together on top of the yogurt. Scatter herbs and za'atar on top.
4. Finish off with a generous drizzle of olive oil, the juice of half a lemon, salt and pepper. Adjust to taste.

Lemony Fava Bean Tartine

IMG_4108.jpg

This is a super simple celebration of spring. As the bounties of the season begin to pour in, we are blessed with vibrant and delicious produce that often requires little to no cooking. I also love the revelations that come with tasting fresh foods straight from the pod or the cob that you might eat from frozen at other times during the year; there is no comparison! Fava beans are less common in the standard American diet than, say, peas, which is a shame because they are suuuuper delicious. They also happen to be crazy nutrient dense, containing an array of vitamins (folate, thiamine, vitamin K, vitamin B6) and minerals (iron, manganese, potassium, copper, zinc, magnesium) in addition to fiber and protein! 

I used dill and tarragon in this recipe because I seem to perpetually have leftovers of those herbs in my fridge as of late. This would also be delicious with mint, basil, chives, chervil, parsley, or some combination thereof. You can have it on toast or off; with an egg or without. The basic equation here is fava beans + herbs + lemon = yum. It's pretty much that simple.

Lemony Fava Bean Tartine
Makes two toasts

Ingredients
1 1/2 cup fava beans (from about 1 lb. favas-in-the-pod)
1 unwaxed, organic lemon, zested
1 1/2 Tbsp. fresh squeezed lemon juice
3 Tbsp. cold-pressed, good quality olive oil
1/8 tsp. pink or sea salt
2 handfuls pea shoots
1 Tbsp. dill fronds, fresh
1 Tbsp. tarragon leaves, fresh
Two slices whole grain or country sourdough
Soft boiled egg (or cooked to preference)
Fresh ground pepper, to finish

Directions
1. Bring a medium pot of water to a boil. Fill a medium bowl with ice water and set aside. Cook fava beans in the boiling water for 1 minute, then strain and transfer to the ice water. Peel the waxy outer coating from the fava beans.
2. In a medium sized jar with a lid, shake together the lemon zest, lemon juice, olive oil and salt. Add the fava beans to the jar and gently shake to coat.
3. Toast your bread — a toaster is great but a grill pan with some olive oil would be extra delicious.
4. Place one big handful of pea shoots on each toast slice. Pour the favas and their oil on top of the greens (you may have a bit of oil leftover; it makes great salad dressing!). Sprinkle 1/2 Tbsp. of each herb onto each slice. Top with an egg if desired and a few twists of freshly cracked black pepper. Enjoy!

Springtime Greens, Herbs & Citrus Salad with Warm Pistachio Vinaigrette

pea1.jpg

I recently made a new friend, Alanna, who happens to be an immensely talented blogger/photographer/food maker extraordinaire (don't take my word for it; go see for yourself). She also happens to be a super generous human being who spent an afternoon with me a couple weeks ago styling food and sharing her props and teaching me how to change the aperture on the manual setting of my not-always-the-most-intuitive camera. If you're thinking these photos look wayyyy fancier than my normal ones do, it's because they are. Thanks, Alanna!! You're the best.

This salad quite possibly epitomizes the transition from winter to spring, pulling together late season citrus and a whole mess of fresh, sweet and peppery spring greens (including pea tendrils!!! If you haven't had those before, you're in for a treat. They're seriously amazing). Essentially, this means that this is a salad for RIGHT NOW, while farmers and locally-inclined markets still have unusual seasonal citrus like Cara Cara oranges overlapping with get-em-while-you-can spring greens. It's vibrant and fresh, great for supporting your body in its transition towards lighter, warmer weather foods, while still being quite satiating thanks to the healthy fats from the avocado and pistachio vinaigrette. 

//

Springtime Greens, Herbs & Citrus Salad with Warm Pistachio Vinaigrette
Serves 4

Ingredients
Salad
1 bunch watercress
1 head frisée, roughly chopped
1 bunch pea tendrils (or sub other fresh, leafy spring green if you can't find them)
1 fennel bulb, thinly sliced
1 avocado, diced
2 Cara Cara oranges, sliced into 1/4" rounds
3 Tbsp. dill fronds (fresh)
3 Tbsp. tarragon leaves (fresh)

Dressing
1/4 cup cold-pressed extra-virgin olive oil
1 small shallot, minced
2 Tbsp. champagne vinegar (or sub white wine vinegar)
1/3 cup raw pistachios, roughly chopped
1/4 tsp. sea salt
black pepper

Directions
1. Toss together all the greens, fennel, avocado, orange slices and herbs and place in a large serving bowl or on a platter.
2. In a small frying pan, warm the olive oil over low heat for two minutes. Add the minced shallot and cook for a few minutes, until translucent.
3. Add the vinegar, salt and a few grinds of black pepper to the saucepan and stir to combine. Add the pistachios and toss to coat.
4. Spoon the pistachio vinaigrette over the salad. Finish off with a couple more grinds of black pepper and finishing salt (if you have it) to taste.

Sarah B.'s Coconut-Quinoa Coleslaw with Minty Tahini Dressing

Sarah Britton is one of the most infectious people I've ever met: infectious in her absolute love and lust for making nourishing foods taste delicious; in her unparalleled capacity to geek out about the properties of whole foods that foster vibrant physical health; and in her unflinching wonder at and gratitude for the bounties that the earth provides. I think you'd be hard pressed to find any writing about Sarah B. that doesn't completely gush about her, both as a person and as a holistic nutritionist/educator/plant based chef. Clearly, I am not immune to this particular condition.

Before I knew Sarah as a person and had the pleasure of calling her a friend, I knew her through her writing on her stunning blog My New Roots and via cooking up an endless number of the recipes she shared. Back in 2012, when I was first getting into food and teaching myself how to cook, I devoured food blogs like it was going out of style (rather than just coming into it). Yet, not caring about this person's kitchen remodel or that person's trip to Hawaii, I would routinely skip directly to the recipes at the bottom of each post...until I found My New Roots. A blog that was as engaging and educational as it was absolutely fucking gorgeous. For a week straight, every moment not spent in class at my grad school program or in the kitchen actually cooking, I spent reading My New Roots, cover to cover.

Without ever having spoken to her, Sarah taught me about the difference between refined and whole grains; the nutritional and digestive benefits of soaking pulses, nuts and seeds; why refined sugar is so damaging to our bodies and what we can replace it with; why dairy is so hard to digest; and how to make healthy food taste delicious, among countless other things. Her writing was passionate, totally goofy, incredibly informative and inspiring beyond measure. My personal whole foods revolution had begun and Sarah was instrumental in setting it in motion.

I had the pleasure of meeting Sarah at a workshop she led in January of 2013. Like a total nutcase, I impulsively offered my editorial services to her after she shared with the group that she had just secured her first cookbook deal. Luckily for me, Sarah didn't think I was as batshit as I felt; shortly thereafter, she asked me to copyedit her self-published eBook, Stocking the Pantry. We became friends. In July of 2015, I spent five days in Copenhagen assisting her as she created and shot recipes for her second cookbook, Naturally Nourished. And now the book is finally here!

The clarity and enthusiasm of Sarah's writing and recipes (not to mention stunning photography), which permeate My New Roots and amplified my own excitement around learning to cook and eat well, are present on every page of Naturally Nourished. It is the perfect book for anyone and everyone, but particularly for those of you who are less confident in the kitchen and/or have limited access to fancy/intimidating ingredients that often pop up in plant based recipes. Constructing every recipe exclusively from foods that you can find at your run-of-the-mill supermarket, Sarah focuses on simple cooking techniques and flavor combinations that you can use to transform everyday whole foods (vegetables, legumes, whole grains, nuts, seeds, fruits, herbs) into divine tasting and super satisfying meals. 

Broken into chapters based on course—Soups, Salads, Mains, Sides and Small Plates, and Savory and Sweet Snacks—Sarah helpfully includes an introductory section in which she discusses the building blocks of composing a meal, why your freezer should be your new best friend, and how to boost flavor in any dish. With this, you'll easily develop an understanding of the why behind the recipes tasting delicious when you make them, in addition to skills to help you easily integrate healthy, from-scratch cooking into your everyday routine.

I chose to share Sarah B.'s Coconut-Quinoa Coleslaw with Minty Tahini Dressing for a number of reasons. #1: Tahini. I am totally obsessed. (Sarah is too, incidentally.) #2: Mint. My absolute favorite herb, enhancing everything from salads to shakshuka to smoothies. #3: Seasonality. We're just now starting to see produce turn from winter to spring, but not enough that I felt comfortable taking on any of her spring-focused recipes. Cabbage is not only abundant in winter, but all year long! This means you can make this dish now as well as a few months from now. Which is great, because...#4: Picnics. Everyone's favorite summer pastime, whether at a park, a creek or the beach. This recipe is great for a crowd, super easy to transport and totally satiating (which will come in handy when you need something to absorb all that picnic beer).

A mayo-free, much more flavorful (in my humble opinion) riff on coleslaw, this dish is like a crunchy, vibrant party in your mouth. Filled with protein from the quinoa, antioxidants and fiber (nearly 1 gram for every 10 calories!) from the raw cabbage, natural sweetness from the toasted coconut and healthy fats and calcium from the tahini sauce, coleslaw never made your body so happy. Seriously.

So hey, go make this slaw. Then go get yourself a copy of Naturally Nourished and dig in to initiate the whole foods revolution that will, slowly but surely, change your life. 

Sarah B.'s Coconut-Quinoa Coleslaw with Minty Tahini Dressing
From Naturally Nourished, by Sarah Britton
Serves 6 as a main, 8 as a side

Ingredients
Quinoa
1/2 cup (85 g) quinoa, soaked if possible
Scant 1 cup (250 ml) water
1/4 tsp. fine sea salt

Minty Tahini Dressing
1/2 cup (125 ml) tahini
1/4 cup (60 ml) freshly squeezed lime juice
2 Tbsp. cold-pressed olive oil
1 Tbsp. pure maple syrup
3/4 cup (185 ml) water
pinch of sea salt, plus more as needed
1 packed cup (25 g) fresh mint leaves

Vegetables
2 packed cups (130 g) shredded red cabbage
2 packed cups (130 g) shredded green cabbage
3 medium carrots, julienned
1 red bell pepper (stem, seeds and ribs removed), julienned
1/4 cup (60 ml) freshly squeezed lemon juice
1 Tbsp. cold-pressed olive oil
1/4 tsp. fine sea salt
1 cup unsweetened desiccated coconut

Directions
1. Make the quinoa: Rinse the quinoa well. In a small saucepan, combine the quinoa, water, and salt. Bring to a boil, reduce the heat to low, and cook, covered, until all the water has been absorbed and the quinoa grains are tender, about 20 minutes. Fluff with a fork.
2. Meanwhile, make the dressing: In a blender, combine the tahini, lime juice, olive oil, maple syrup, water, salt, and mint leaves; blend on high until smooth and creamy. Season with more salt as needed. Set aside.
3. In a large bowl, combine the cabbages, kale, carrots and bell pepper.
4. In a small bowl, whisk the lemon juice, olive oil, and salt together and pour over the vegetables. Toss well and lightly massage the liquid into the kale and cabbage, then let marinate for 5 to 10 minutes.
5. Preheat a dry skillet over medium heat. When hot, toast the coconut, stirring often, until golden brown and fragrant, 2 to 3 minutes. Immediately remove the pan from the heat and set it aside.
6. Finish the salad: Add the quinoa and coconut to the vegetable bowl. Toss well to combine. When ready to serve, dish out portions and allow guests to pour the dressing on their salads.

Sweet or Savory Ancient Grain Porridge (with Dates, Pear & Pomegranate)

This porridge is inspired by a divine, 5 grain porridge at a local cafe called Bartavelle. I love its robust texture and heartiness and have been attempting to sufficiently replicate it at home for the past two years. In addition to being super satiating because it is made of whole grains and seeds, which are packed with protein, fiber and healthy fats, it is also GLUTEN-FREE! Horray.

To simplify things, I've scaled the porridge down to four "grains": Quinoa, amaranth, flax and brown rice. Most of these are actually seeds, but "Sweet or Savory Seed Porridge" sounded kind of like a thing for birds...so we'll go with the common misconceptions. Quinoa is one such seed that is generally acknowledged as a grain. It is also one of the few plants that contains all 9 essential amino acids that make a complete protein. Similarly, Amaranth is a tiny seed that behaves like a grain and was a staple food of the Aztecs. It has a toasty flavor, is also a complete protein, and is rich in iron, calcium and vitamin C. Flax seeds are revered for their high omega-3 content, which is a type of essential fatty acid that is necessary for healthy functioning and can only be obtained through the foods we eat. Flax is also a great source of fiber, antioxidants and minerals including manganese and magnesium. Brown rice is delicious. And, unlike white rice, contains a hefty amount of fiber to help keep our guts and hearts healthy!

Eaten straight with no salt, this porridge is incredibly savory. When you add salt it's still savory, but tastes a lot better. I love adding a generous teaspoonful or two of melted ghee to the porridge regardless of my toppings, as its rich toasty flavor balances out the earthiness of the "grains" super well. If you don't have ghee, you can use browned or melted butter. From there, the toppings are up to you!

Sweet or Savory Ancient Grain Porridge (with Dates, Pear & Pomegranate) 
Serves two

Ingredients
Porridge
2 1/2 Tbsp. short grain brown rice
2 1/2 Tbsp. quinoa, any color
2 Tbsp. amaranth
1 Tbsp. flax seeds
generous pinch or two sea salt

Sweet
Ghee
Chopped dates
Pure maple syrup
+ Seasonal fruit toppings
Pear slices
Pomegranate seeds

Savory
Ghee or cold-pressed oilve oil
Soft boiled egg
Flaky or herbed salt
Gomasio
+ Seasonal veg toppings, if desired
Sauteéd mushrooms
Caramelized onions
Sauteéd kale

Directions
1. If you can have the foresight, soak the quinoa, brown rice and amaranth overnight (but not the flax) in filtered water with a splash of lemon or apple cider vinegar. In the morning, strain and rinse well.
2. If you weren't able to soak the grains overnight, the porridge will still work! It just won't be activated. Place the grains in a fine mesh strainer and rinse, rubbing them together with your hands to clean thoroughly. 
3. Place the rinsed grains in a small pot, add the flax and 1 cup of water. With the pot covered, bring to a boil, reduce to a simmer, and let cook undisturbed for 25 minutes.
4. Turn off the heat and let the porridge sit, still covered, for 10 minutes.
5. Add salt to taste. Finish off with sweet or savory toppings and enjoy!

Kabocha Squash & Miso Hummus | On Overhauling Thanksgiving

Maybe it's just me, but I wouldn't bat an eyelash at seeing some roasted squash hummus on a Thanksgiving table (yes, even if it had miso in it). Growing up, my family always made pretty traditional items for Thanksgiving: smashed sweet potato rounds hidden beneath a thick blanket of singed marshmallows; overly soft green beans tossed with store bought, oven refreshed bread crumbs. It was as All-American as All-American gets. The first Thanksgiving I shared with my family after living abroad for two years and falling in love with food, I made this amazing, bold, and very Middle Eastern dish of roasted butternut squash and red onions with tahini, parsley and za'atar for the Thanksgiving table. Some members of our party were skeptics, but the undeniable deliciousness of the dish won them over. (I also, after quite a contentious argument, persuaded my parents to make the stuffing with whole wheat instead of traditional white bread. They may remember differently, but I'm pretty sure no one noticed.)

It's a hard time to be an American, for many people, right now. It's a hard time to celebrate what this country stands for. A hard time to even know what this country stands for anymore. (Though truthfully, we've always been a divided nation, although not always one so blatantly shameful.) It's also, for many, a hard time to feel grateful. The weight of a Trump administration is a frightening and heavy weight to bear.

When I first brought distinctively un-American flavors to the Thanksgiving table it was because, quite frankly, I thought they tasted better. But now that choice is striking me as a subtle political act, too. Not that it needs to be, by any means. I'm just curious about the metaphor that could rest within such a gesture of cultural diversity and inclusivity at a gathering in which we express thanks for our nation, our abundance and independence.

Instagram, food blogs and official food publications have been awash with Thanksgiving related recipes for days, if not weeks. I'm a little late to the game—but hopefully not too late for you to consider including this Kabocha Squash & Miso Hummus as part of your feast (or as a starter before the main event). I made this hummus for the Rosh Hashanah dinner I hosted at the beginning of September—the Jewish new year, another celebratory gathering of family and friends—and literally at least three of the ten people who attended asked me for the recipe. If it doesn't end up making the final cut for this Thanksgiving, that's totally chill. It's hummus, so you are literally justified in making it whenever you want (or whenever winter squash is available).

The cool thing about making things from scratch that you often buy at the store—like beans, salad dressings, or hummus—is that once you know the formula and process, you can get really wild with your flavors and mix-ins. Winter squash, chickpeas and tahini are a no-brainer together; the secret, wow-factor ingredient here is definitely the miso.

Miso: Your New (Probiotic) Secret Weapon Flavor Bomb

Miso, probably most familiar to Westerners in the form of miso soup, is a traditional Japanese paste made when soybeans, barley and/or rice are fermented with a fungus called Aspergillus oryzae. After hanging out with the fungus in a very dark spot for some months or years, miso is born and we get to reap its many benefits. If you hate kimchi (like I do), miso is a great fermented ingredient to incorporate into your diet. (I also encourage you to incorporate it into your diet even if you like kimchi, because it is far more delicious [subjective opinion] and far more versatile [objective fact]). As a probiotic, it helps support digestion and maintain (or enhance) the health of the bacterial flora in your gut—which is super important in our overall health! Additionally, miso has a unique blend of salty, sweet and umami (savory) flavors, which makes it an awesome staple ingredient to add depth of flavor to vegetarian cooking.

Because miso is a probiotic food, it should be stored in the refrigerator and never boiled or heated in the oven—else the live, active cultures, enzymes and nutrients will be decimated. For this same reason, be sure to buy organic, unpasturized miso paste when you shop for it. Miso comes in a variety of flavors or colors depending on its ingredients and the length of its fermentation process. Varieties range from "white" to "dark brown," with the lighter colors leaning towards a more mild, sweet flavor and the darker colors being more salty and pungent (you can get a complete guide here). Because of its lighter flavor, I find the sweet white or yellow miso to be best in recipes where no heat is involved, like dressings and dips.

Kabocha Squash: Butternut's Cooler Cousin

I had never heard of Kabocha squash until I worked at a farm-to-table online grocer two years ago. Once I first learned how to say "kabocha," my mouth could no longer articulate the word "kombucha". (I've since been cured of that particular affliction.) Once I first baked it, my taste buds refused to let me cook butternut anymore. It is somehow just a bit richer, a bit denser, a bit sweeter, and a bit more flavorful, cumulatively creating the most amazing winter squash experience I've ever had. To be fair, it is a pain in the ass to peel and cube. But if you are puréeing a squash for any reason, kabocha is the way to go. (And if for some reason you are unable to find kabocha at the market, you may sub Butternut in this recipe.)

Of Japanese origin, kabocha squash finds common ground with its winter squash kin as one of the most substantial sources of alpha-carotene and beta-carotene in our entire diet. These carotenoids are primary antioxidants, which help fight free-radicals in our bodies and have anti-inflammatory and immune supporting properties.  

Suffice to say that between the protein packed chickpeas, calcium and omega rich tahini, chock-full-of-probiotic miso and carotenoid crazy squash, this is one health supportive dip. I don't know whether it's a good or bad thing that no one will be thinking about how healthy it is when they taste how delicious it is. But hey, both nutritional health and real food flavor are small yet mighty things to be grateful for this Thanksgiving...even when our world feels like it's falling apart.


*Sources: SF Gate, My New Roots & WH Foods.

Kabocha Squash & Miso Hummus
Makes enough for a small crowd

Ingredients
Hummus
1 cups cooked chickpeas (from about 1/2 cup dried chickpeas, cooked following this method) (If you don't have time to cook your own, canned are fine. Just rinse them off first!)
2 cups kabocha squash purée, from one large squash
1 clove garlic, minced
1/2 cup tahini, preferably unhulled
1/4 cup sweet white or mellow yellow miso, organic & unpasturized
1/4 cup lemon juice, fresh squeezed (from about 1 large lemon)
1/4 tsp. sea salt
6 Tbsp. ice water
oilve oil, to finish

Maple Sesame & Pepita Sprinkle
2 Tbsp. raw, unhulled sesame seeds (brown or black)
1 Tbsp. raw pepitas
1 tsp. olive oil
2 tsp. pure maple syrup
pinch salt

Directions
Hummus
1. Pre-heat oven to 400F. Line a baking sheet with parchment paper.
2. Carefully cut the kabocha squash in half horizontally. Scoop out and discard the seeds. Smear a dab of coconut oil or ghee along the rim of each side.
3. Place both halves of the squash face down on the baking sheet and bake until tender, about 40-55 minutes. You will know it's ready when the top of the squash has deflated/collapsed in on itself. Once done, remove from the oven and carefully flip upside down to cool.
4. Place cooked chickpeas in a food processor and blitz until they have formed a stiff paste. You may need to stop and scrape down the sides of the bowl a few times.
5. Once the squash is cool, scoop out the flesh and measure out two cups. (If you have any left over, it's great to add to porridge or waffle mix!) Add the two cups of squash to the food processor and blend with the chickpeas until thoroughly combined.
6. Add garlic, tahini, miso, lemon, and salt. Blend until thoroughly combined.
7. With the motor running, slowly stream in the ice water, 1 Tbsp. at a time, stopping after 4 Tbsp. Let the food processor run for about 5 minutes, until the hummus is super smooth and creamy. Taste and assess the consistency and flavor. If you'd like it thinner, add more ice water. Add more salt, lemon and garlic to your taste preference and blend until smooth.
8. To serve, spread in a bowl or on a plate and garnish with quality olive oil and maple, sesame and pepita sprinkle.

Maple, Sesame & Pepita Sprinkle
1. Pre-heat toaster oven or big oven to 350F. Line a baking sheet with parchment paper.
2. Mix together all ingredients.
3. Spread mix in an even layer onto parchment paper. Bake until fragrant and slightly browned, 15-20 minutes.
4. Let cool completely before handling or tasting. It will be very hot straight out of the oven and not completely hardened yet!

Roasted Sweet Potato, Black Bean & Pickled Persimmon Tacos

taco_vert.jpg

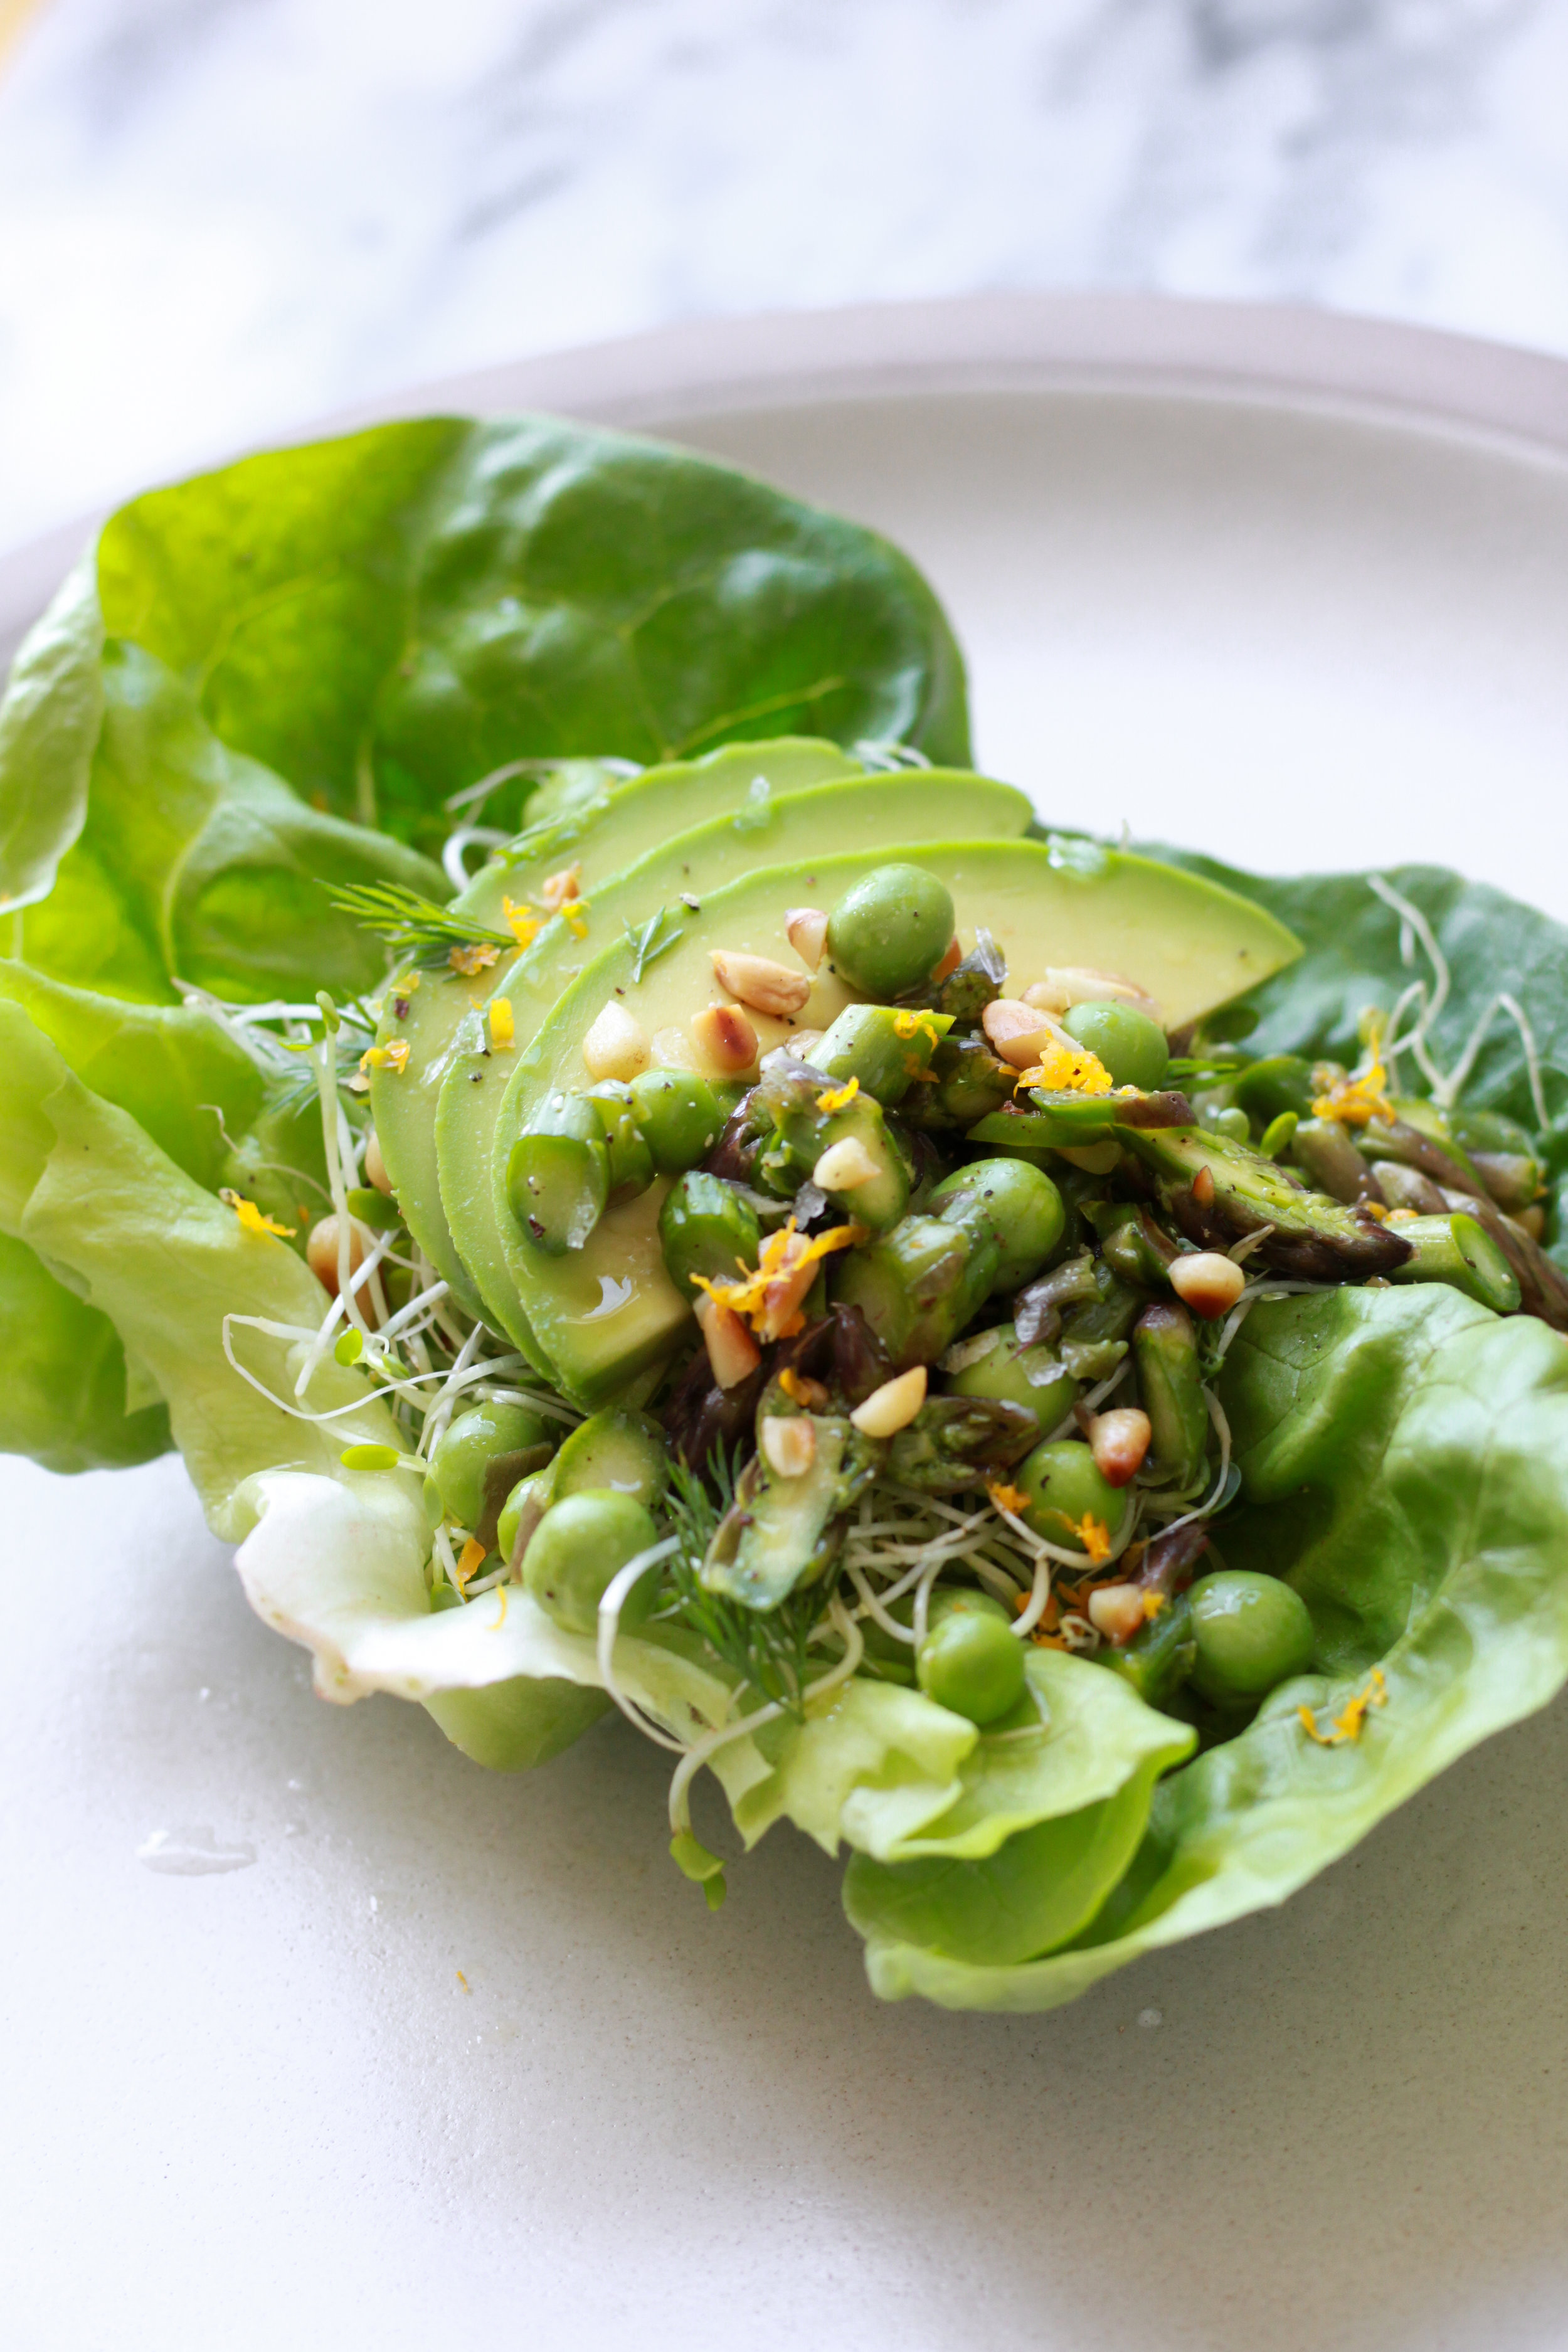
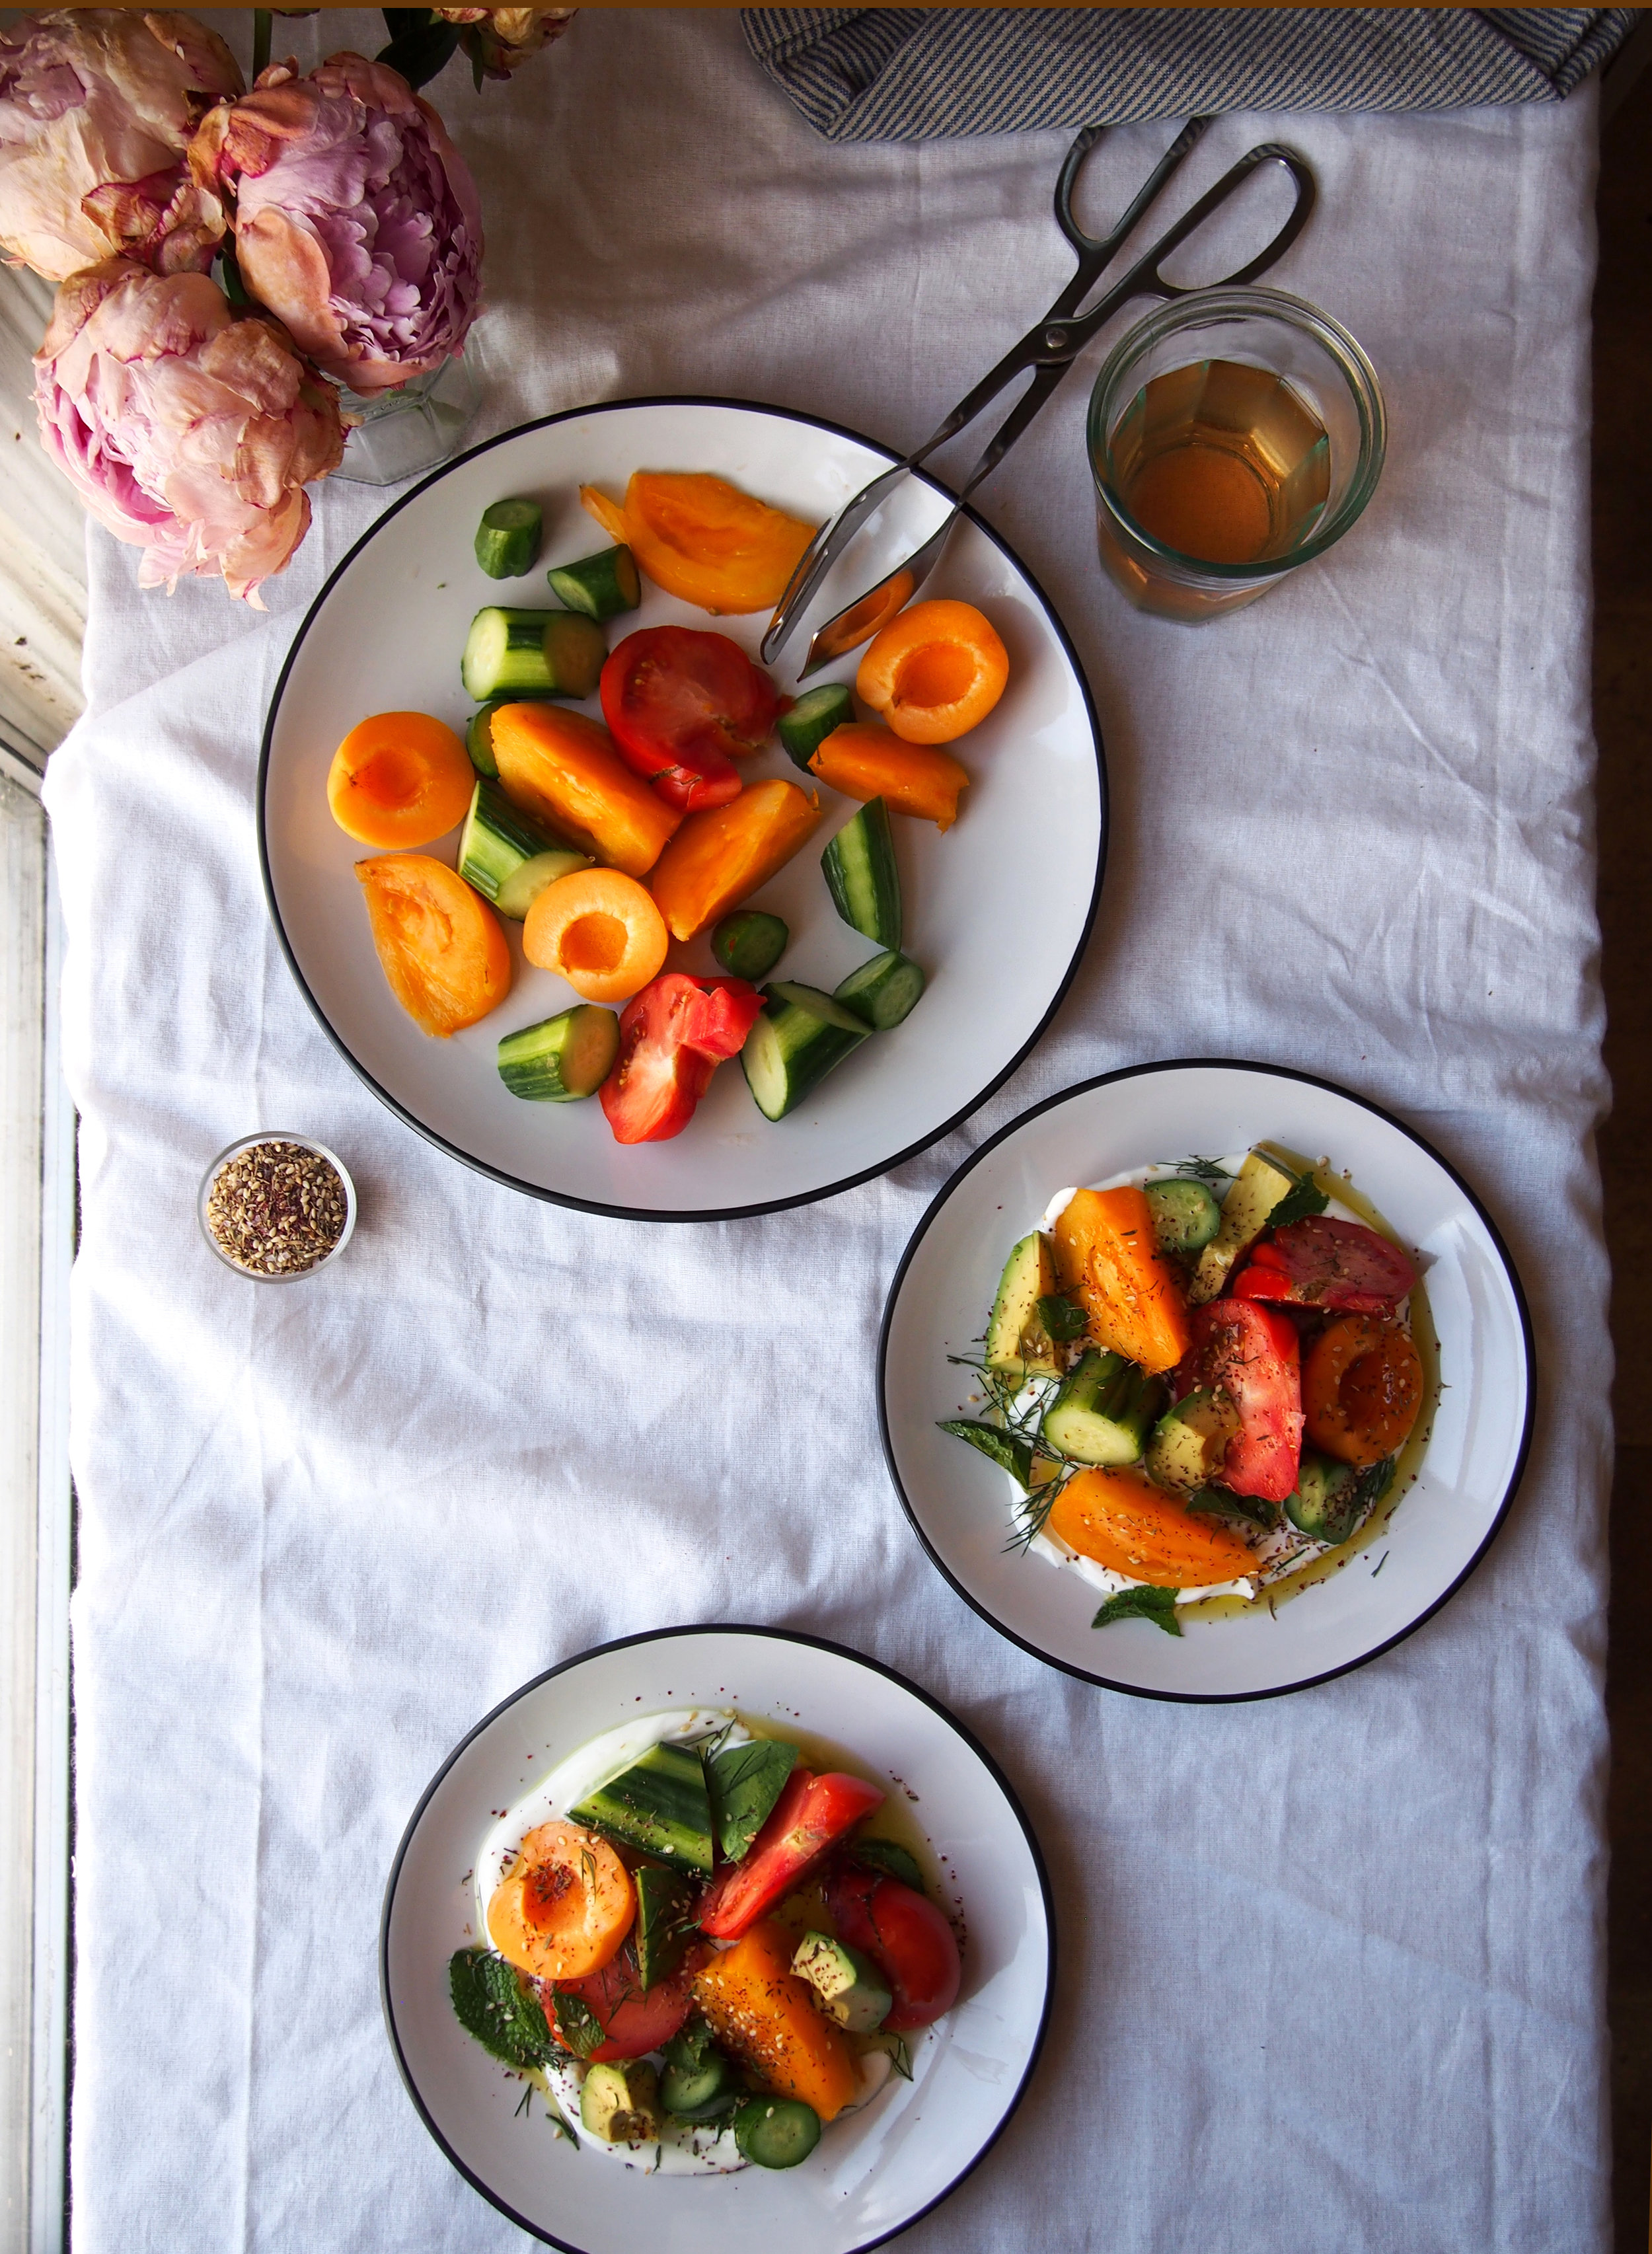
It feels a little ridiculous to post photos of food on Instagram right now, to share recipes, to have conversations that are about anything other than the political, social, economic and emotional state of America. But we need to eat. And we need to create. As people mobilize and artists of all kinds use their uniquely magical expressions to make sense of and shape our world, I am continuing to do what I do. Because the world keeps spinning and every act of generosity, thoughtfulness and nourishment counts. So here are some seasonal, mildly wacky, California style tacos. Beans from scratch that are infused with flavor by boiling them with spices and plant based aromatics. Sweet winter persimmons turned into tart pickled bursts of flavor. Food transformed through ingenuity, patience, care, attention, time. We will get there, America. There are too many of us with abundant love, compassion and power for it not to be so.

Full essay here.

//

Roasted Sweet Potato, Black Bean & Pickled Persimmon Tacos
Serves 4
*Note: The black beans need to be soaked in water the night before and the pickled persimmon, while a quick pickle, takes 2 hours of soaking time in the brine before it's ready. Plan accordingly! :)

Ingredients
Pickled Persimmon
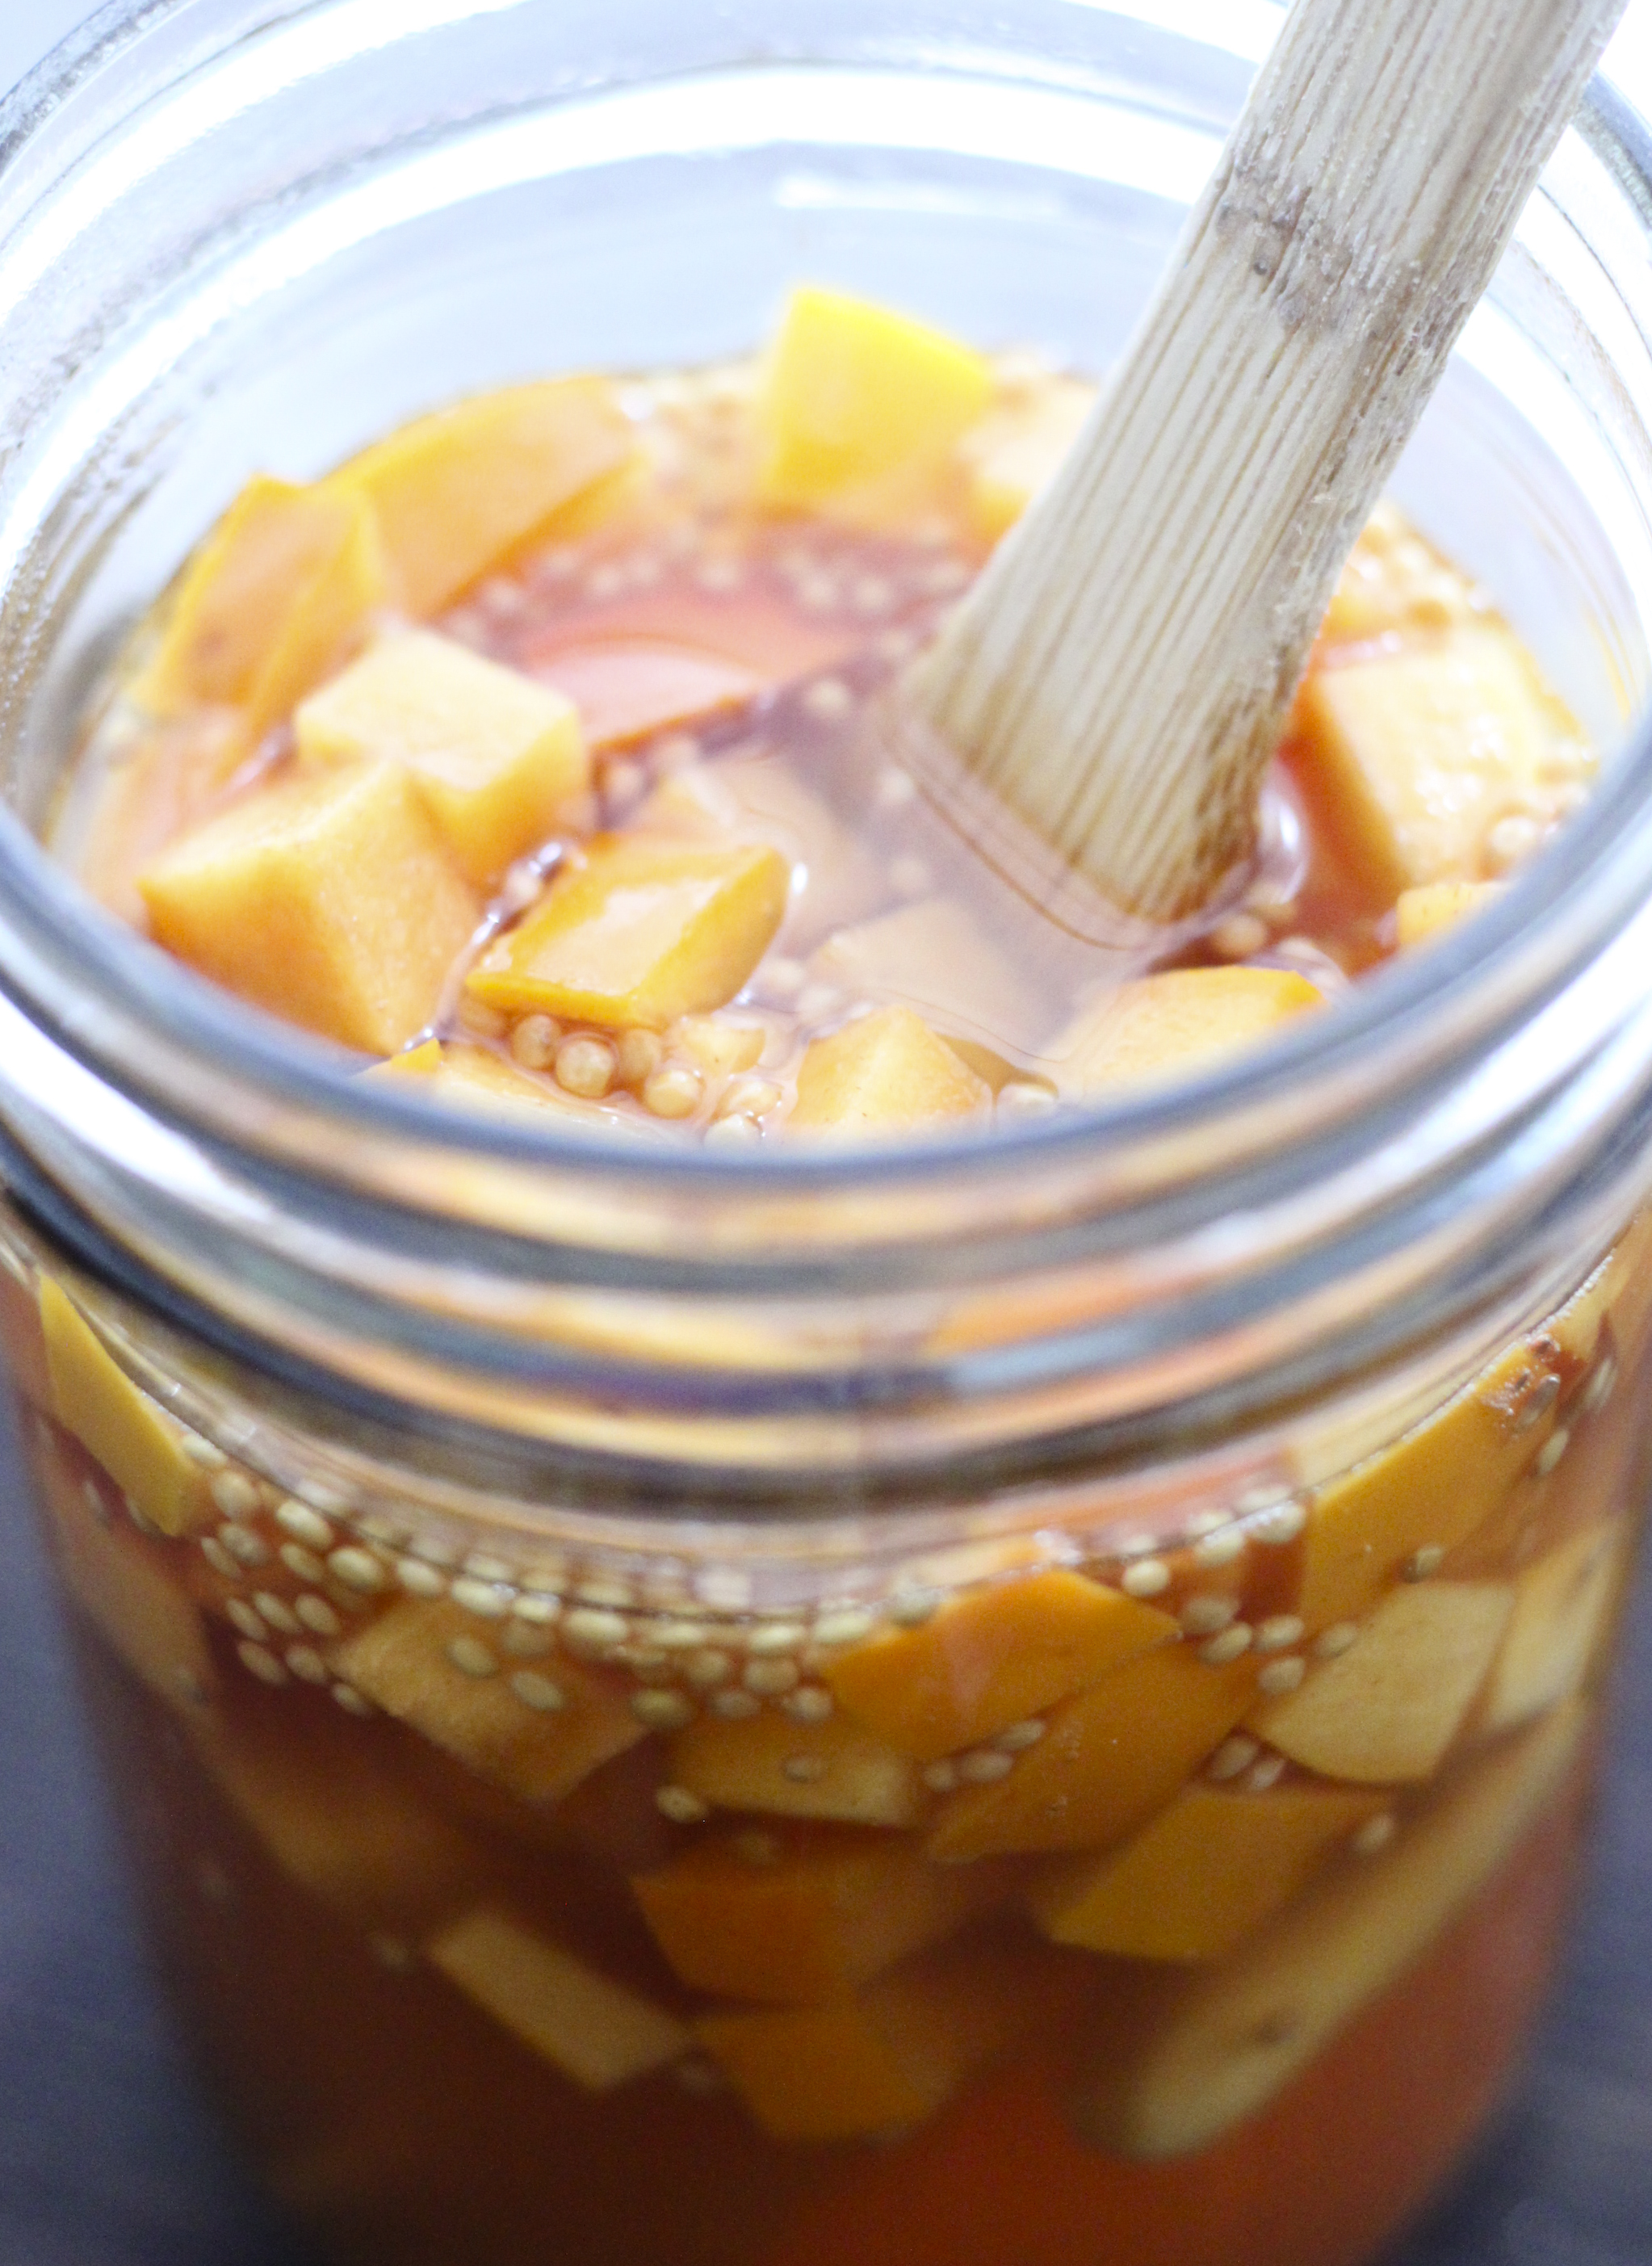
1 large or 2 small persimmons, diced into 1/4" cubes
1 cup unfiltered apple cider vinegar
1/4 cup + 2 Tbsp pure maple syrup or honey
1 Tbsp. sea salt
1 tsp. mustard seeds
a few peppercorns
1" knob ginger root, peeled and sliced thin

Black Beans
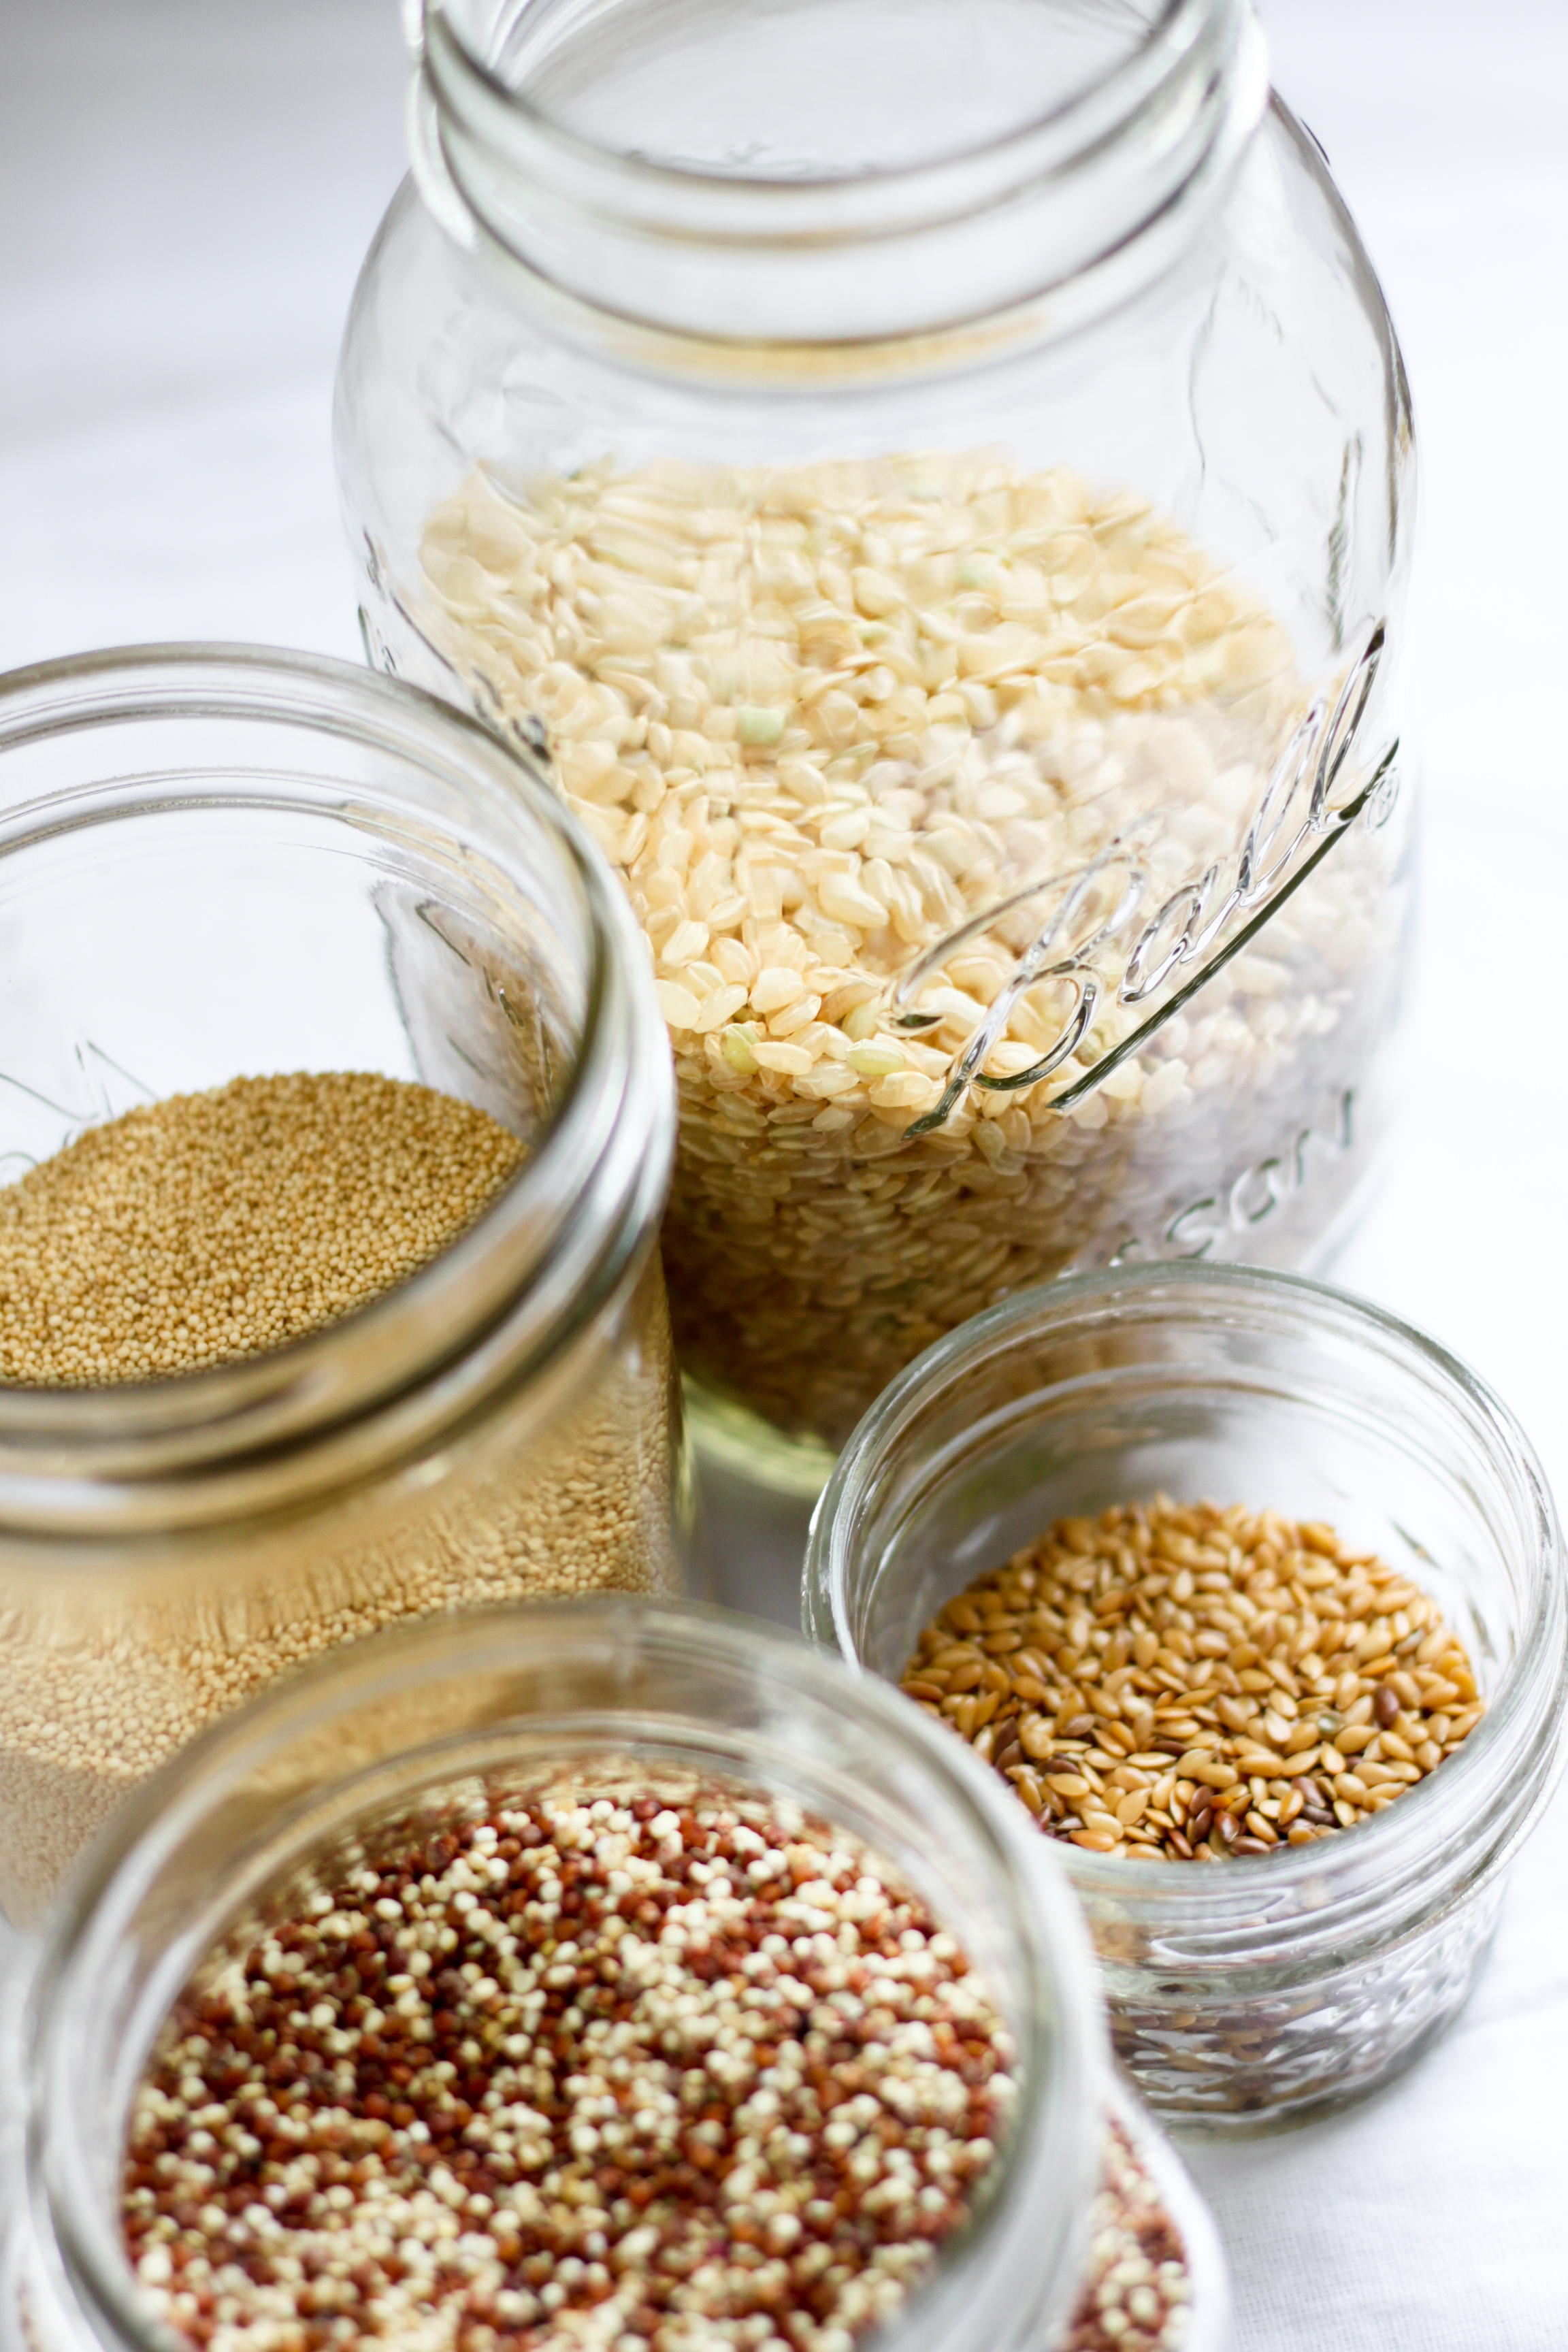
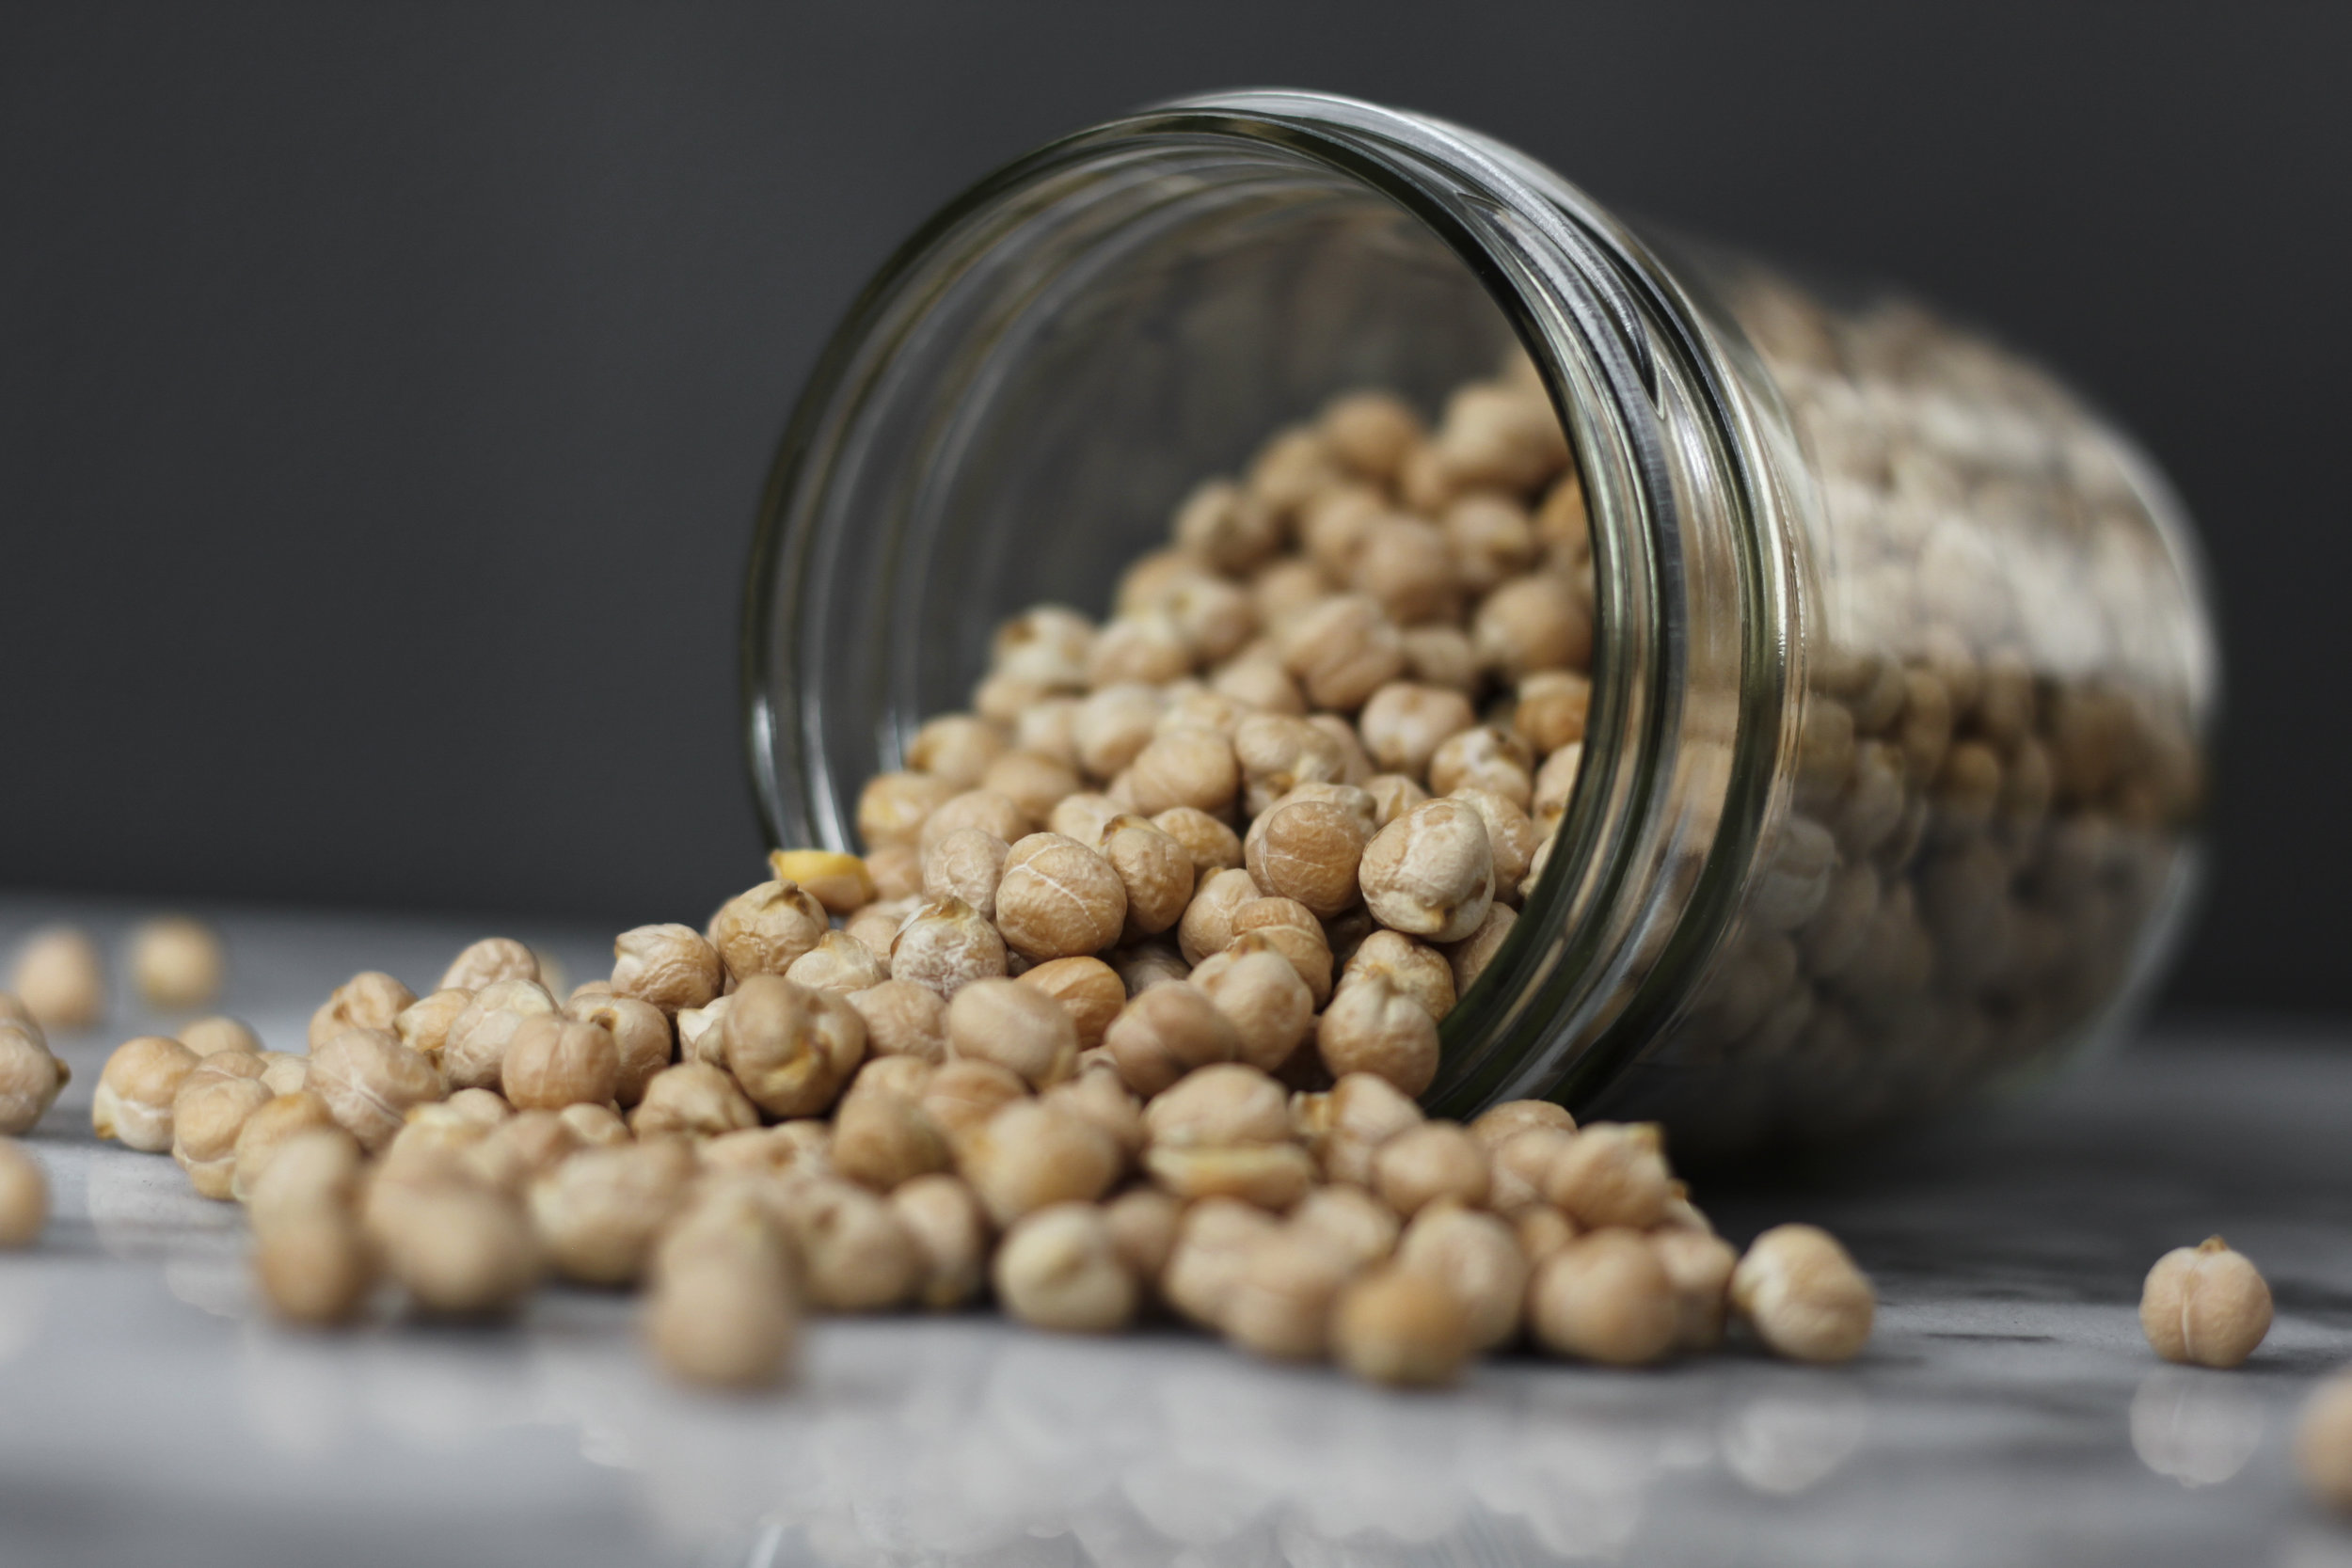
1 cup dried black beans, soaked overnight
1 large carrot, chopped in a few big chunks
1 large garlic clove, smashed
1/2 yellow onion, peeled
1 cinnamon stick
1/2 tsp. whole coriander
1/2 tsp. whole cumin

Roasted Sweet Potato
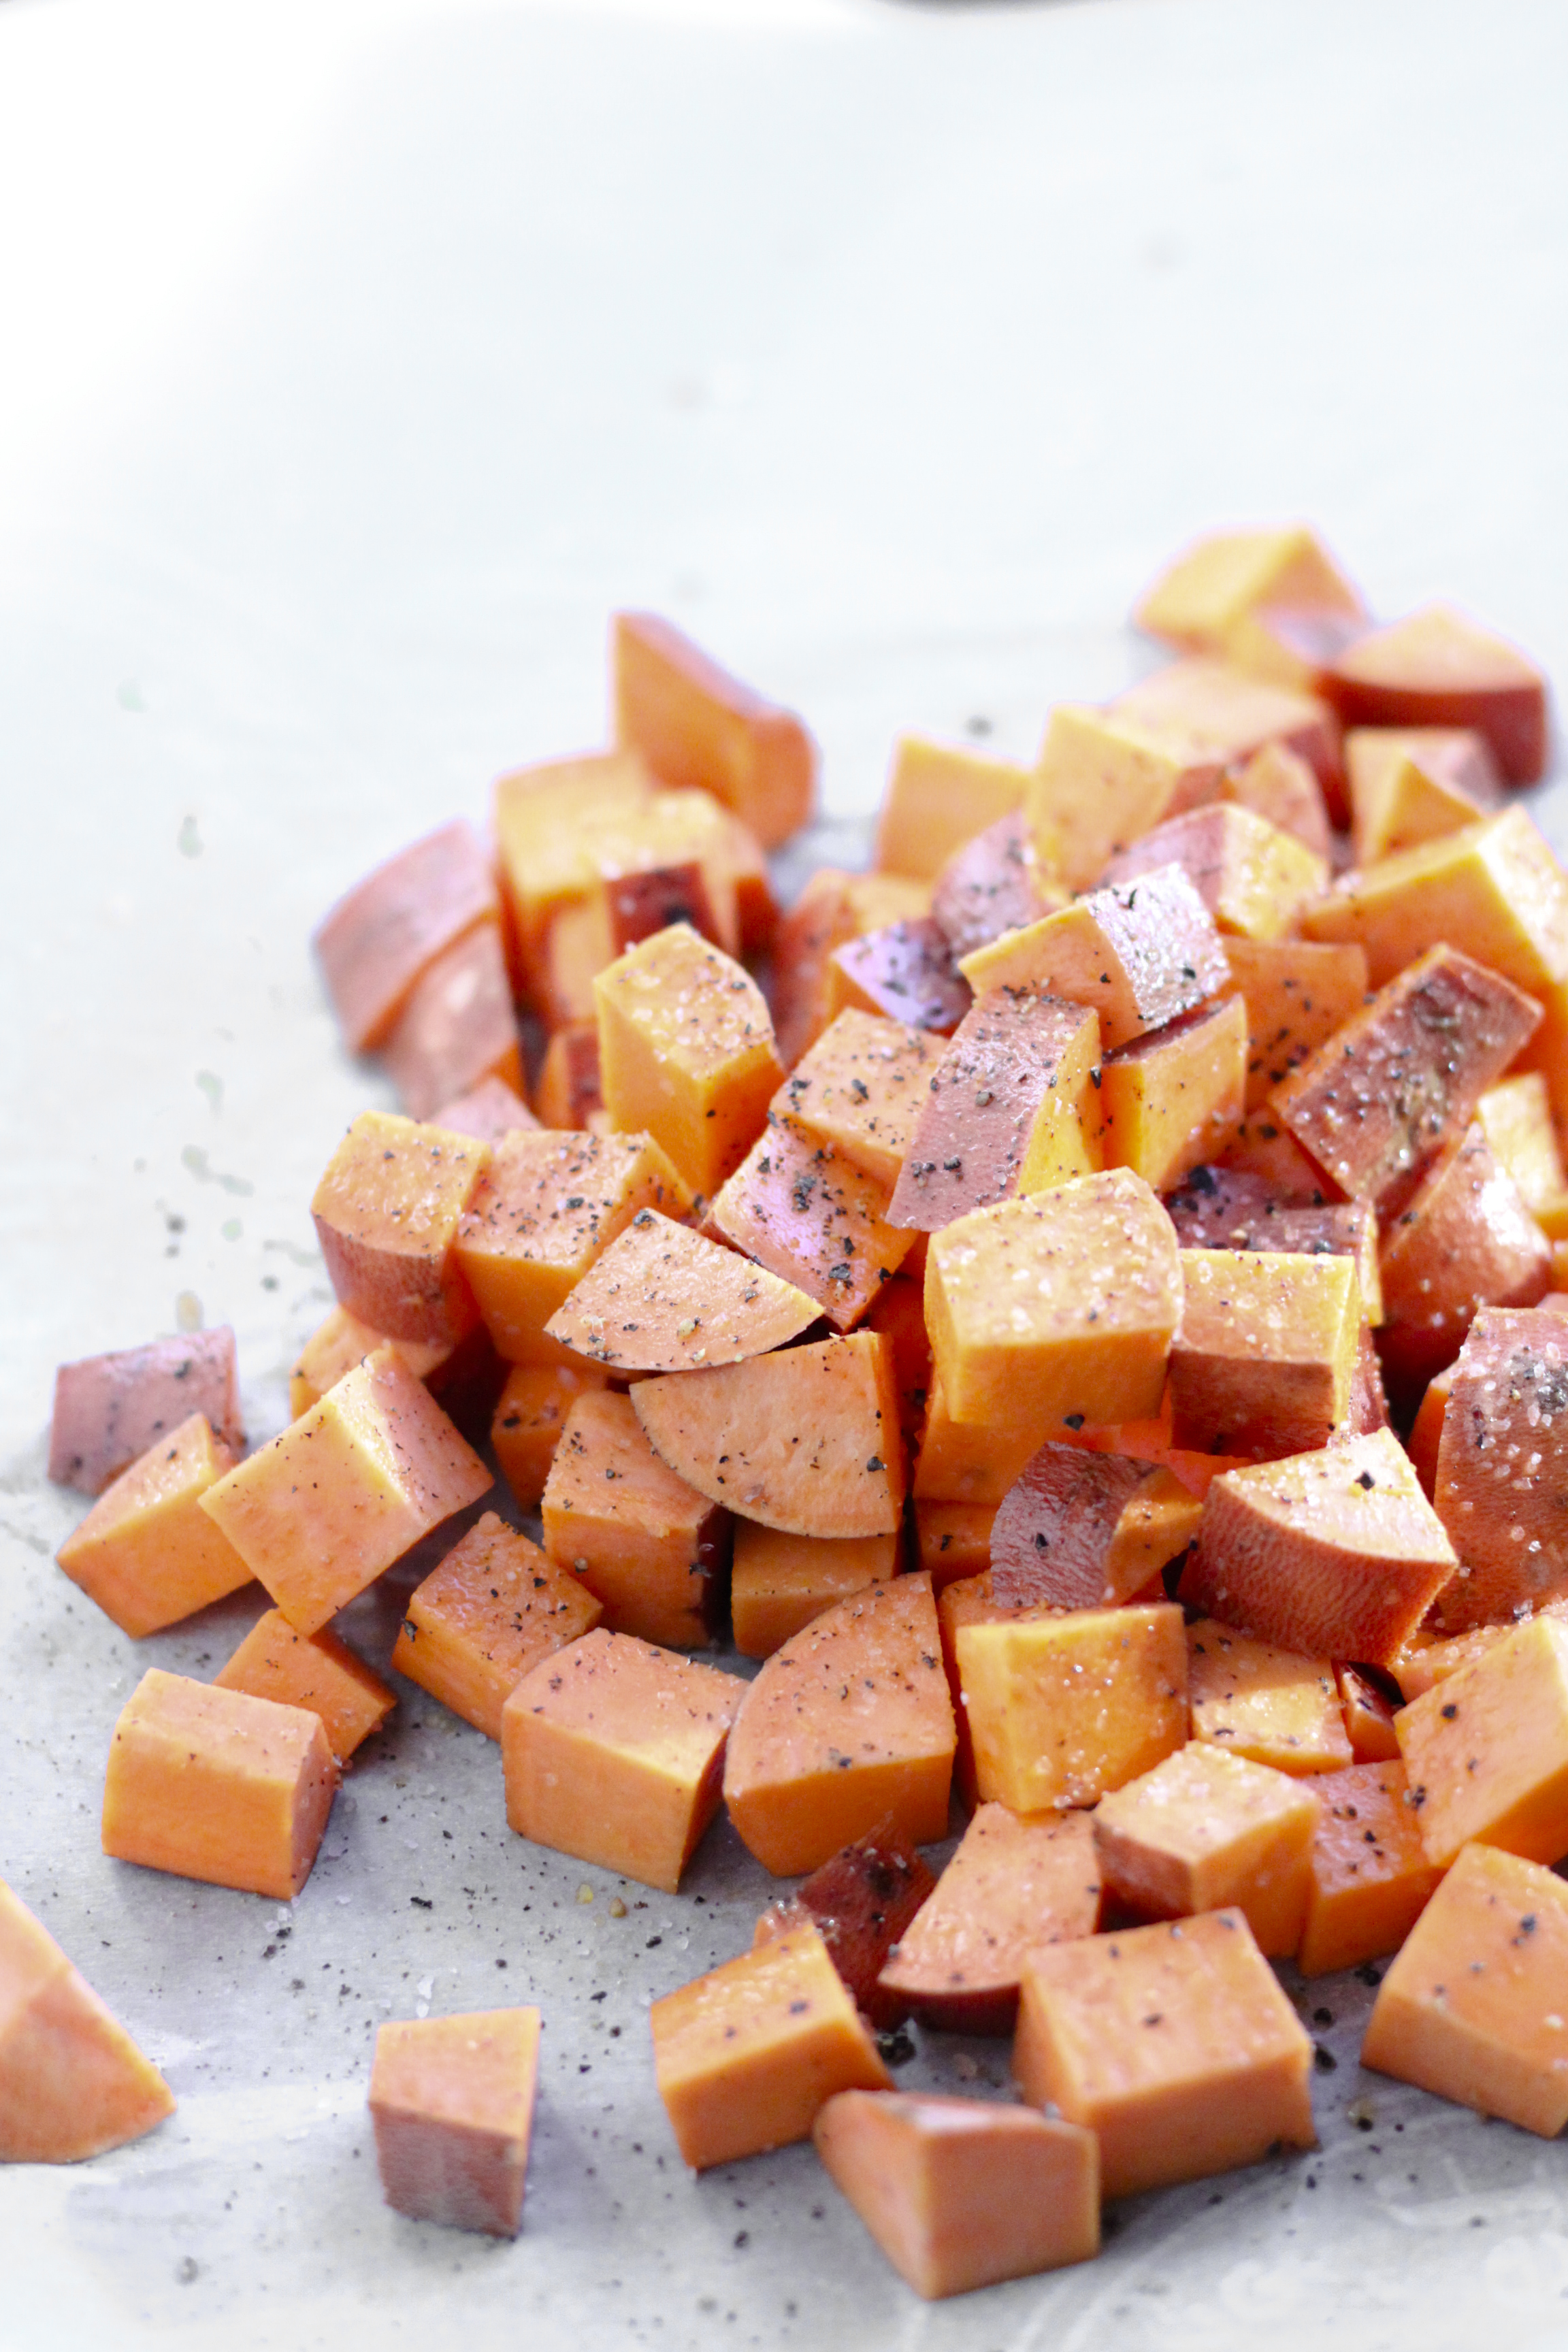
1 large sweet potato, diced into 1/4" cubes
1/2 Tbsp. coconut oil or ghee
salt & pepper

To Serve
8 corn tortillas (make sure the only ingredients are corn, water and lime, if possible)
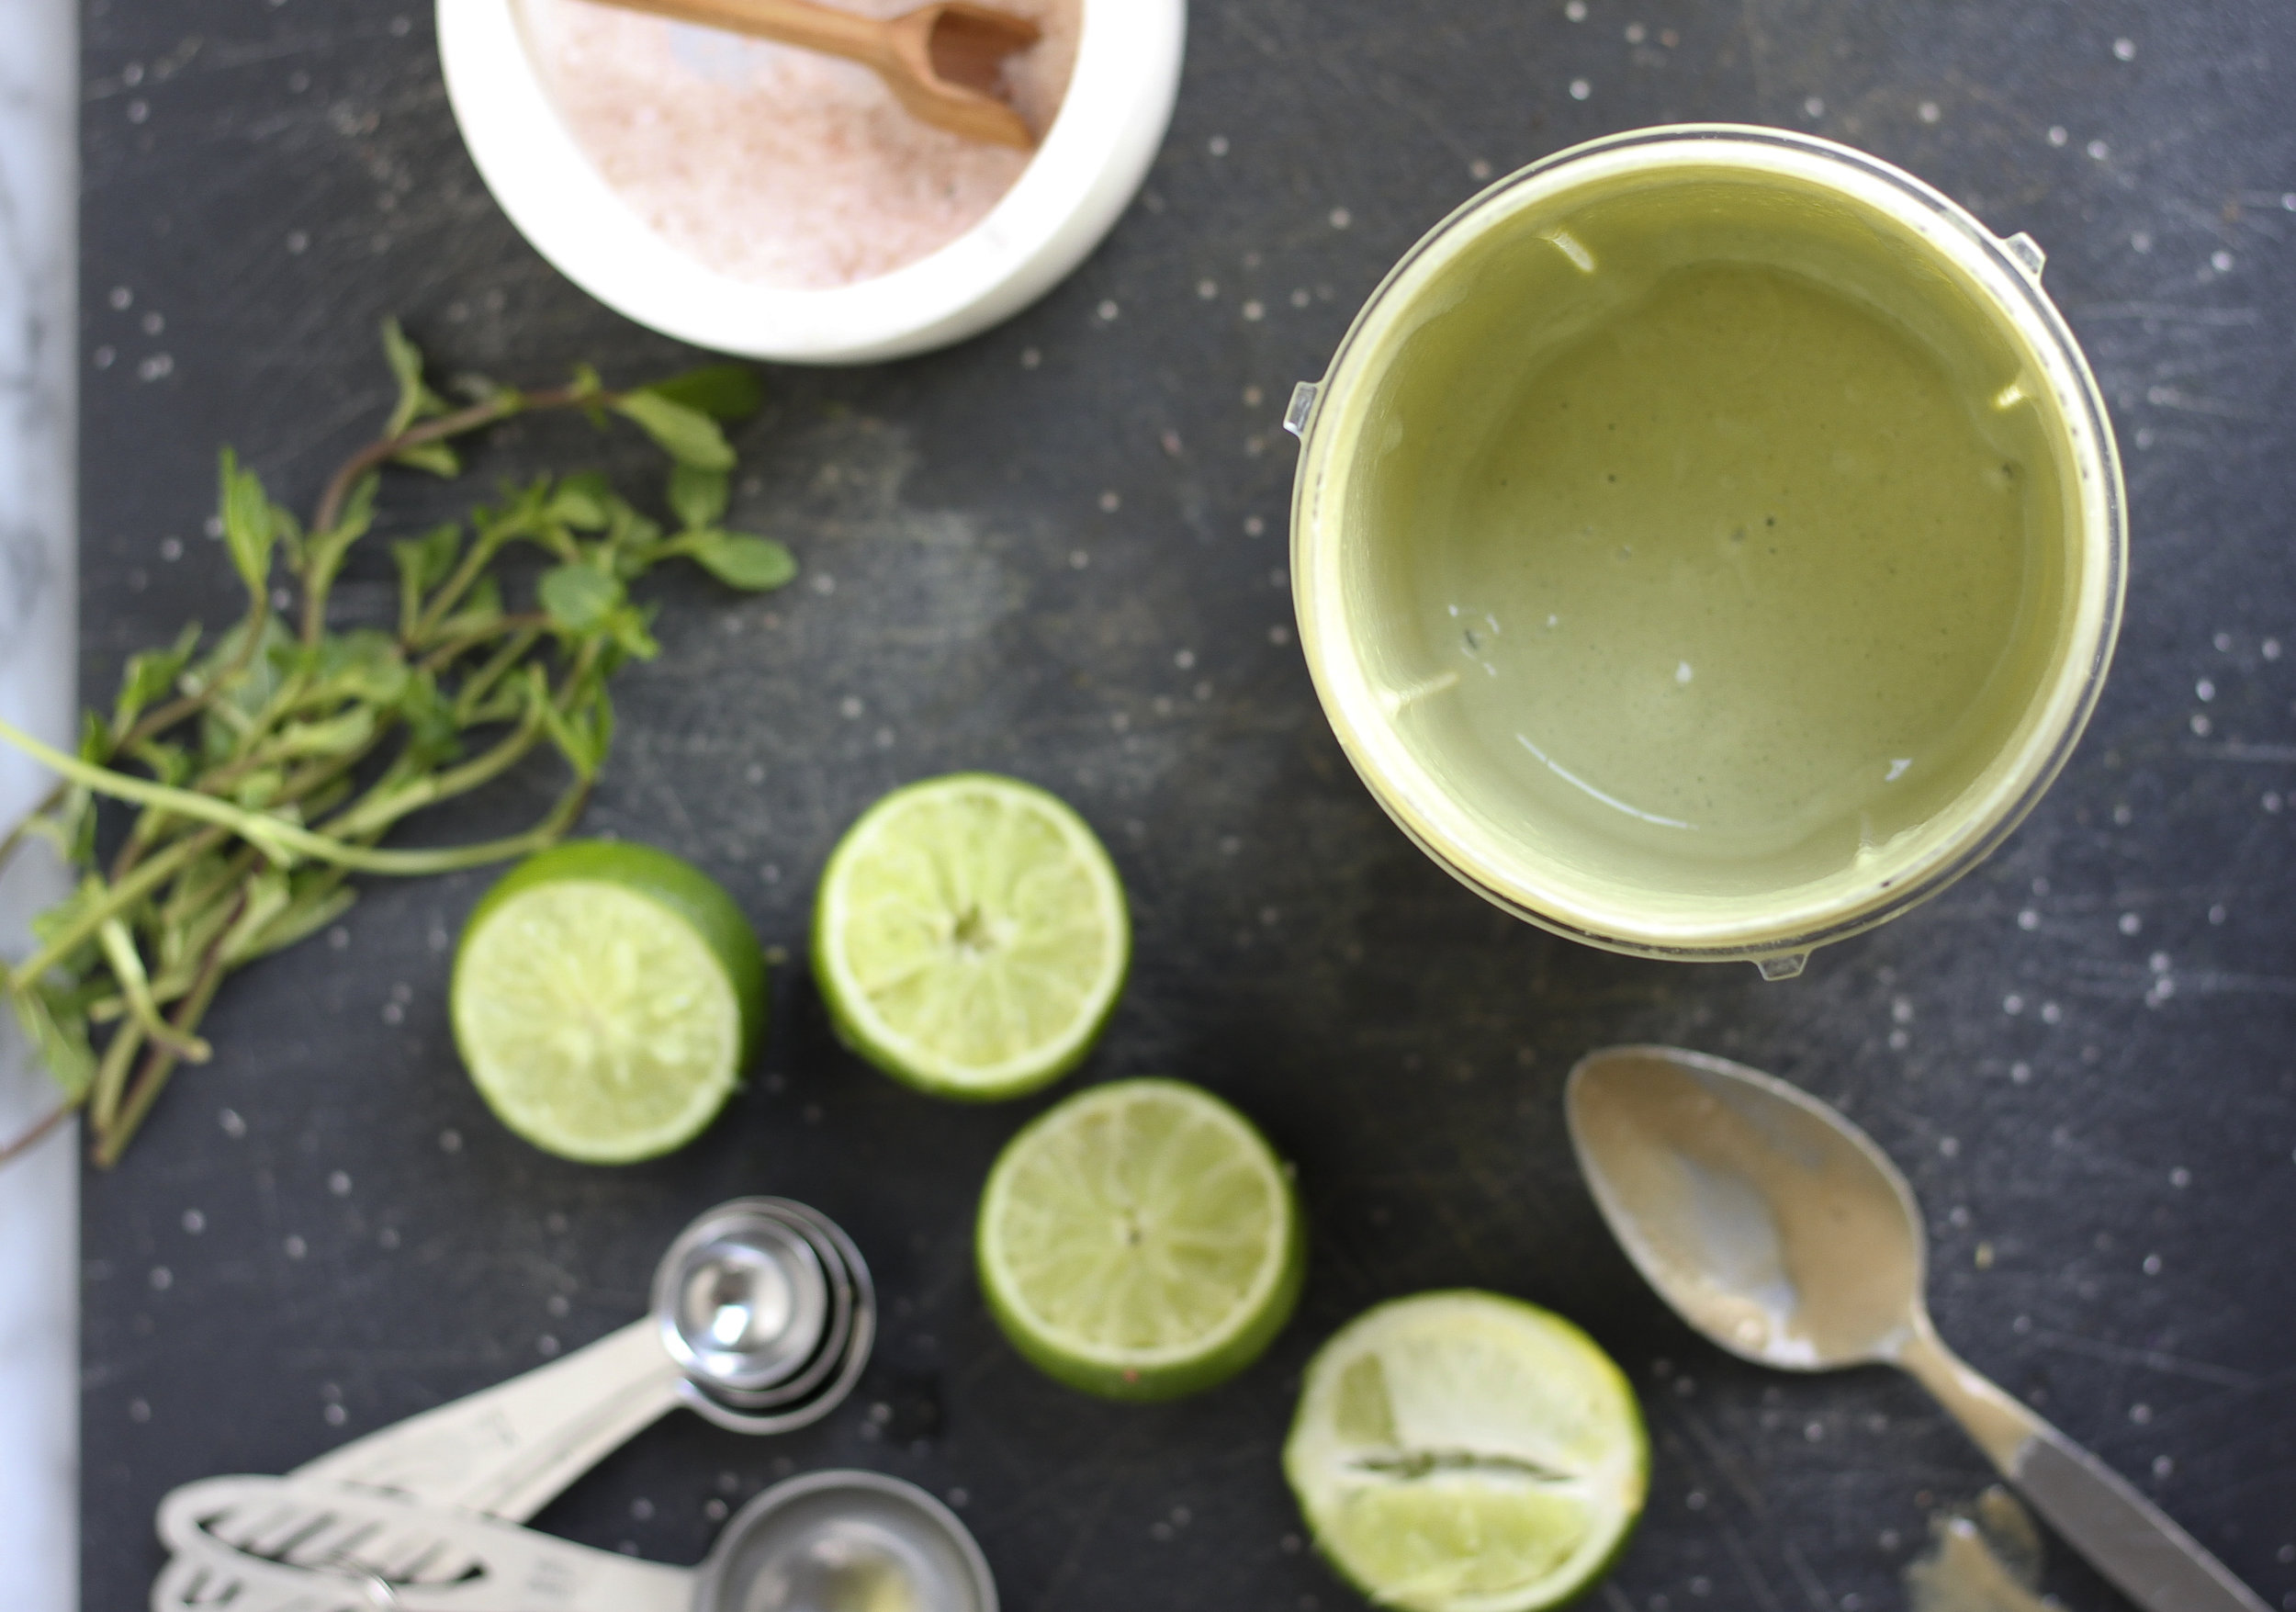
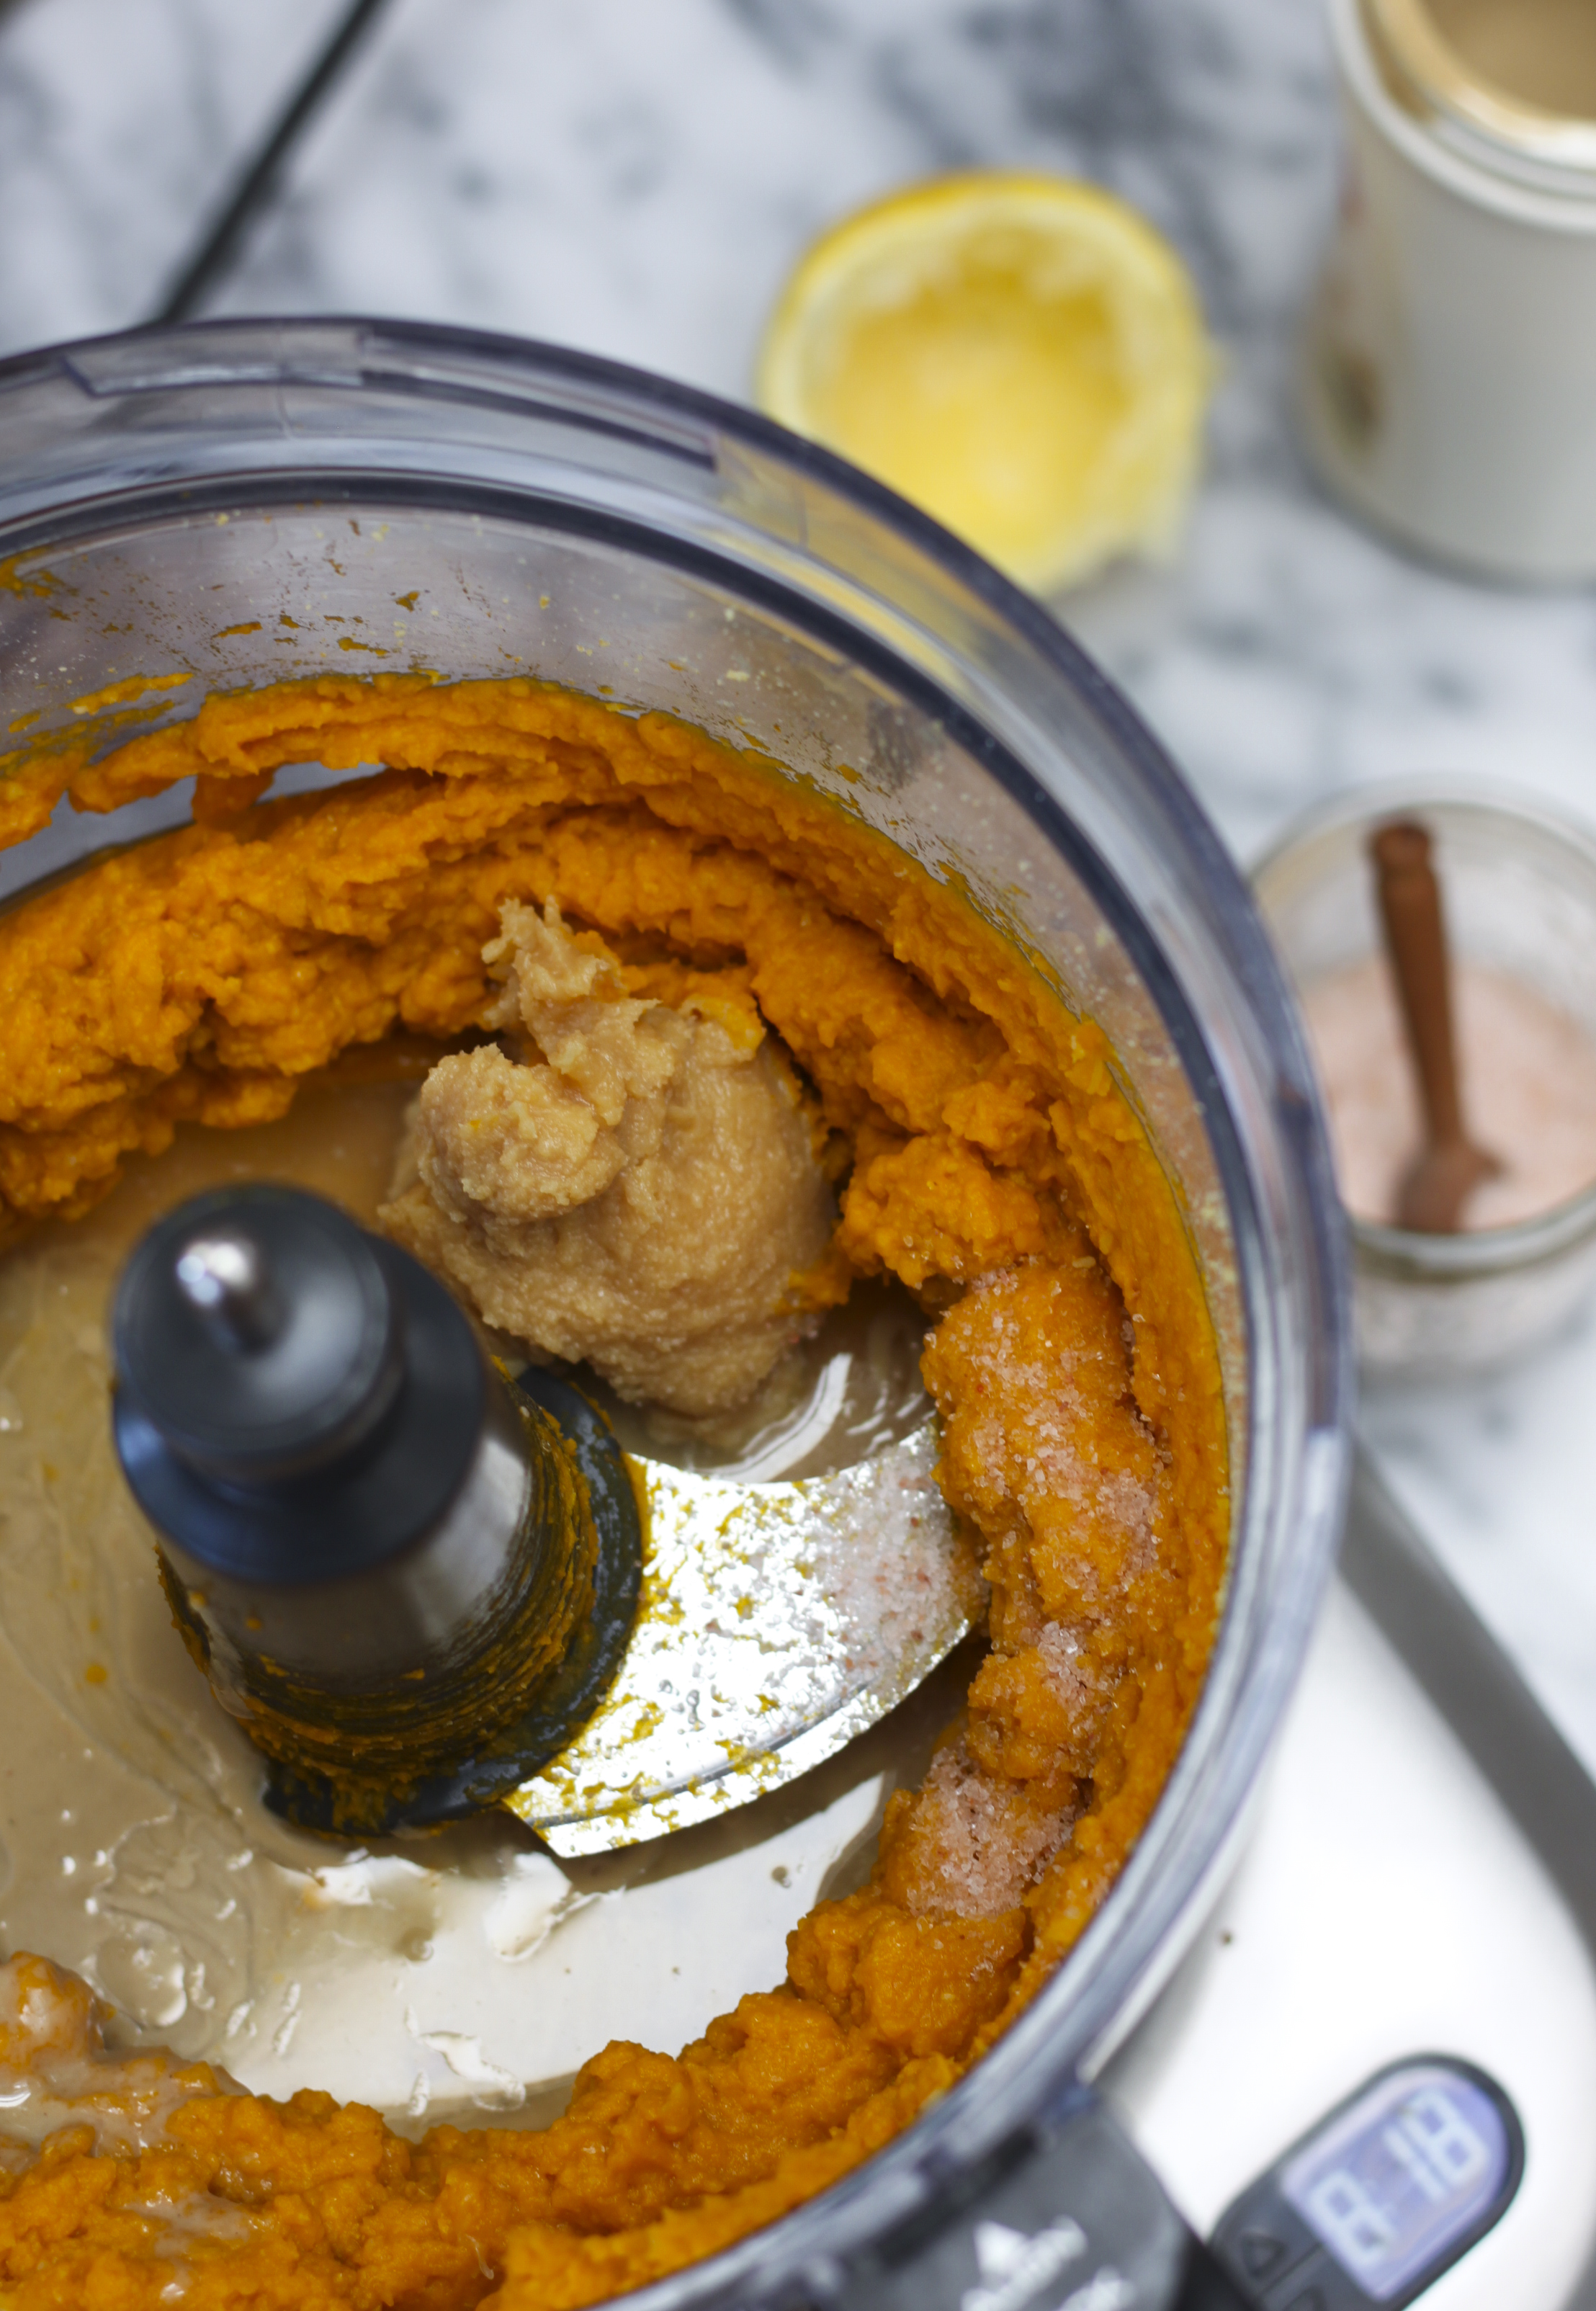
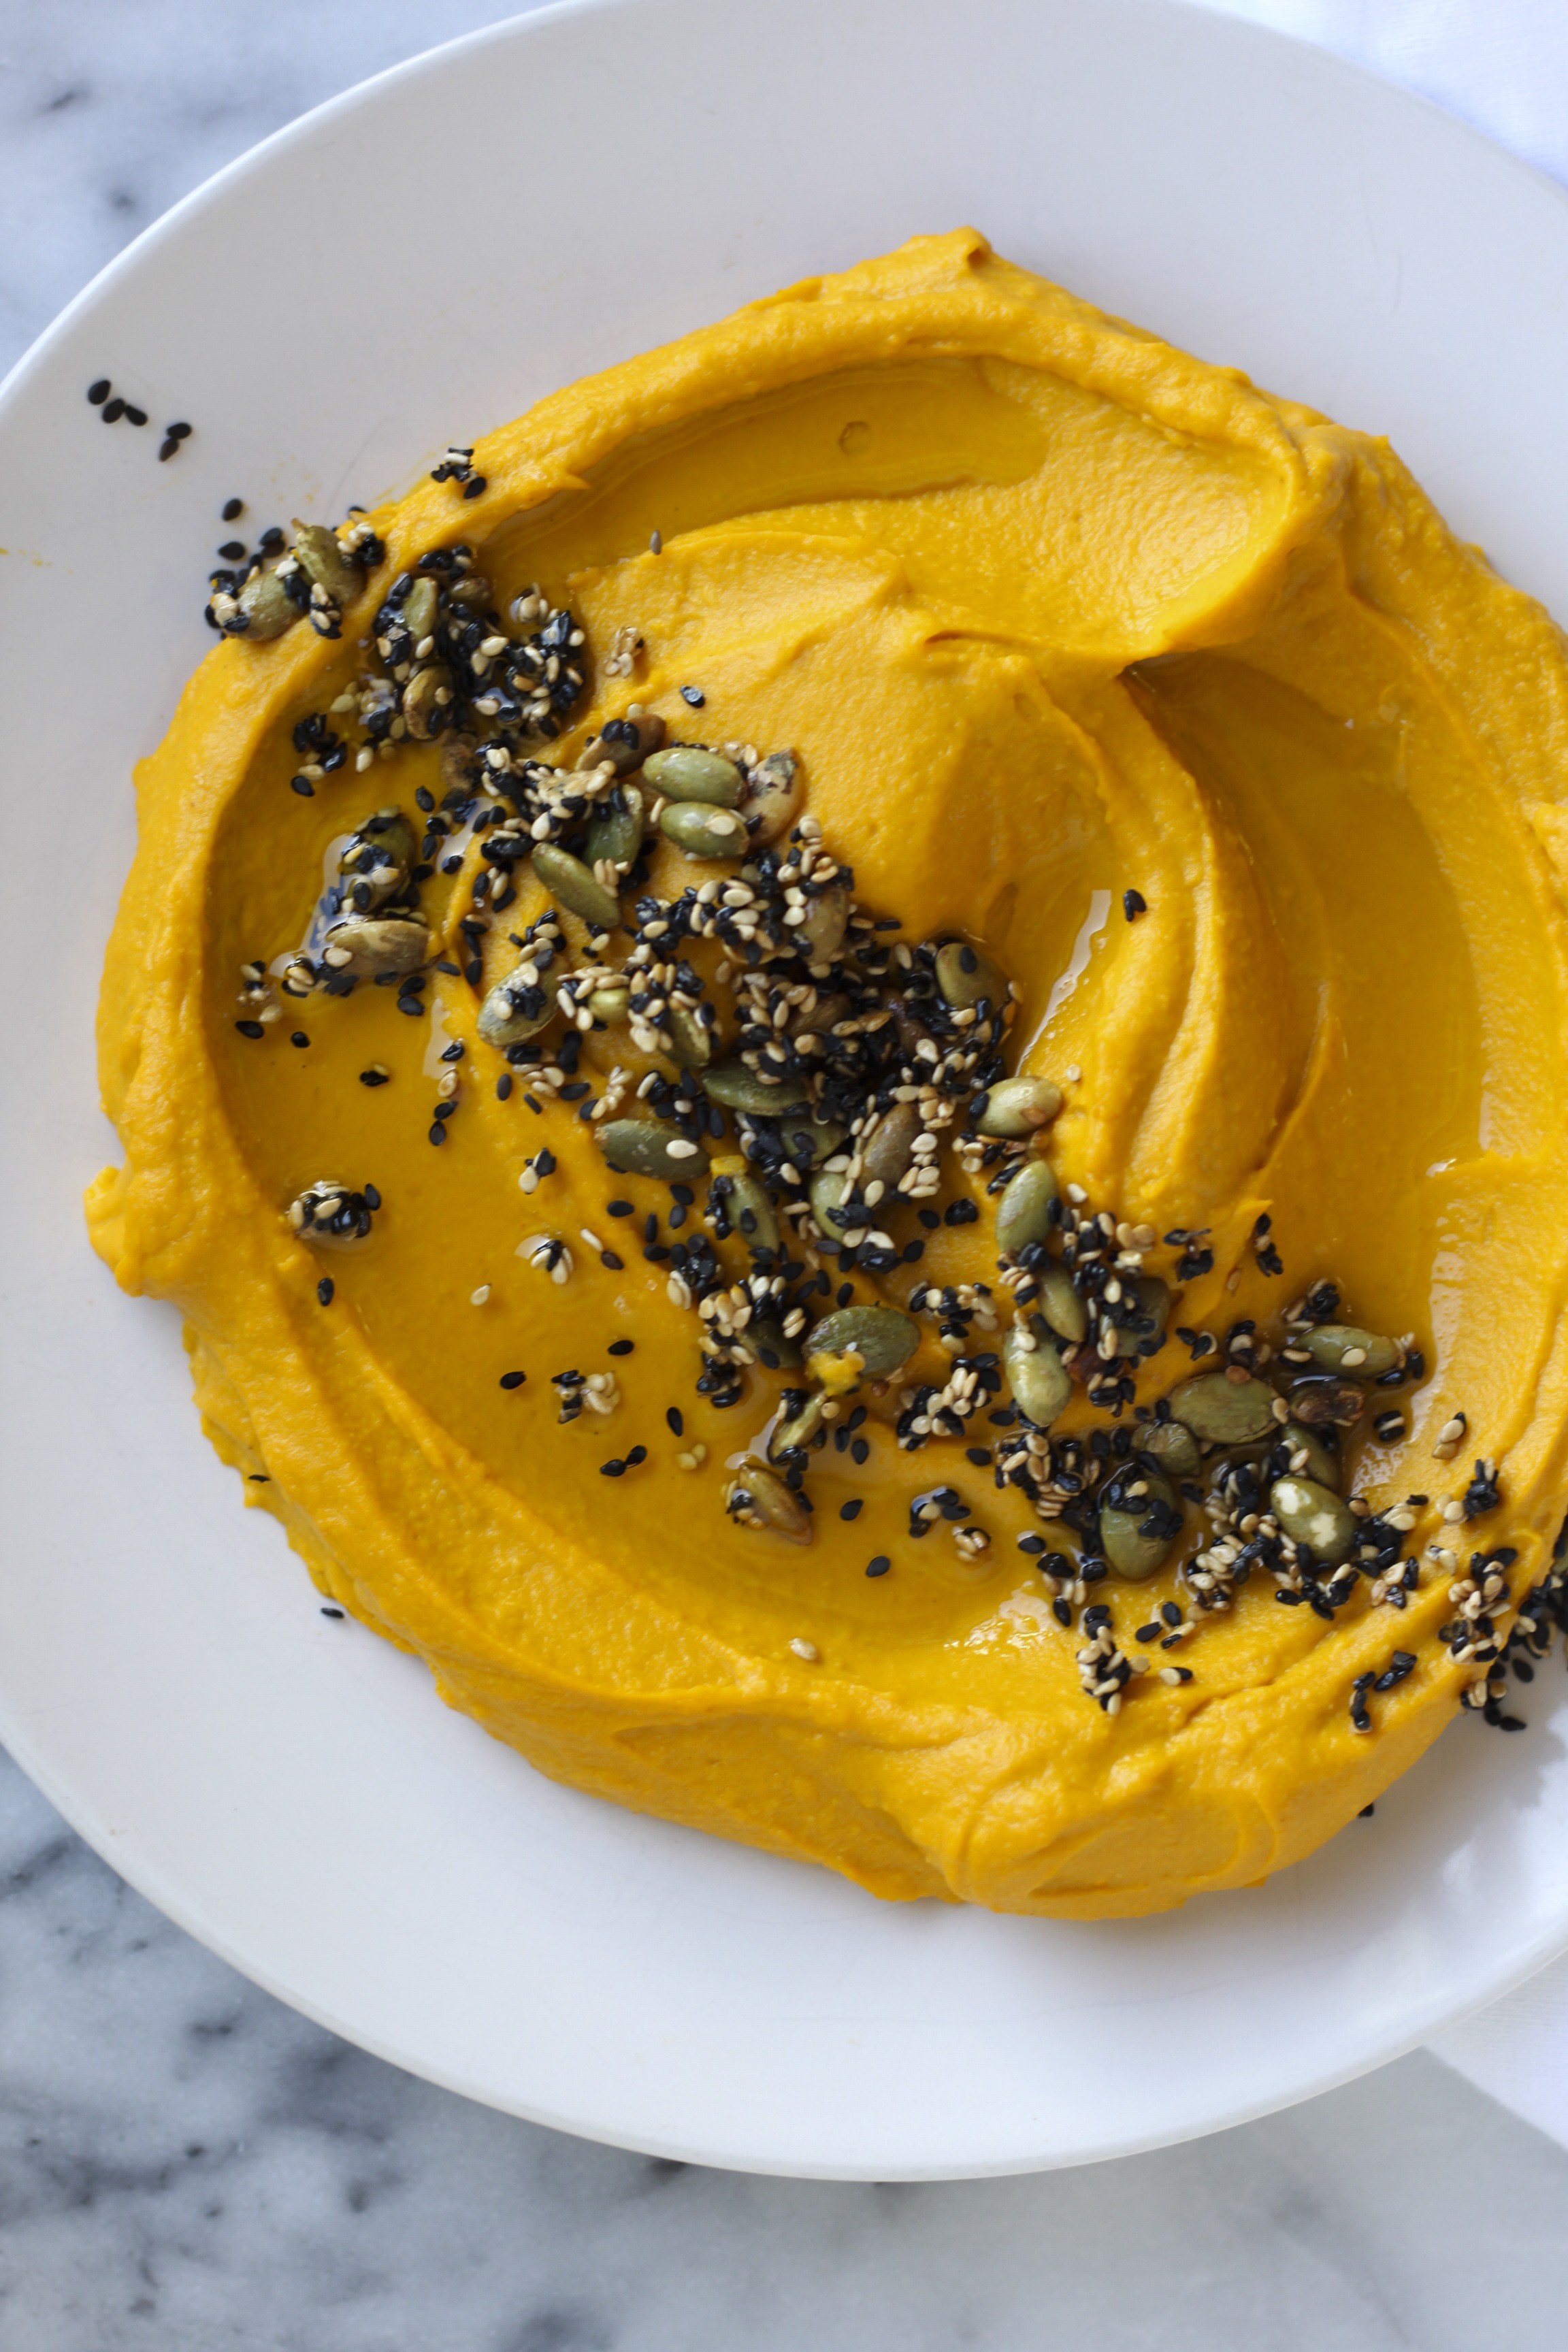
avocado (I made an avocado creme by blending guacamole ingredients in a blender)
cilantro
lime

Directions
For the Pickled Persimmon
1. Combine all ingredients except the persimmon in a small saucepan and set over high heat. Bring to a boil, stirring occasionally.
2. Once it's boiling, reduce to a simmer and cook for 10 minutes, stirring occasionally.
3. While the brine is cooking, put the diced persimmon in a clean glass jar with a lid.
4. After 10 minutes, pour the brine into the jar with the persimmon. Let cool.
5. Once cool, put on the lid and refrigerate. It will be ready in 2 hours.

For the Black Beans
1. Rinse the beans (which you have soaked overnight) and discard any split or broken ones.
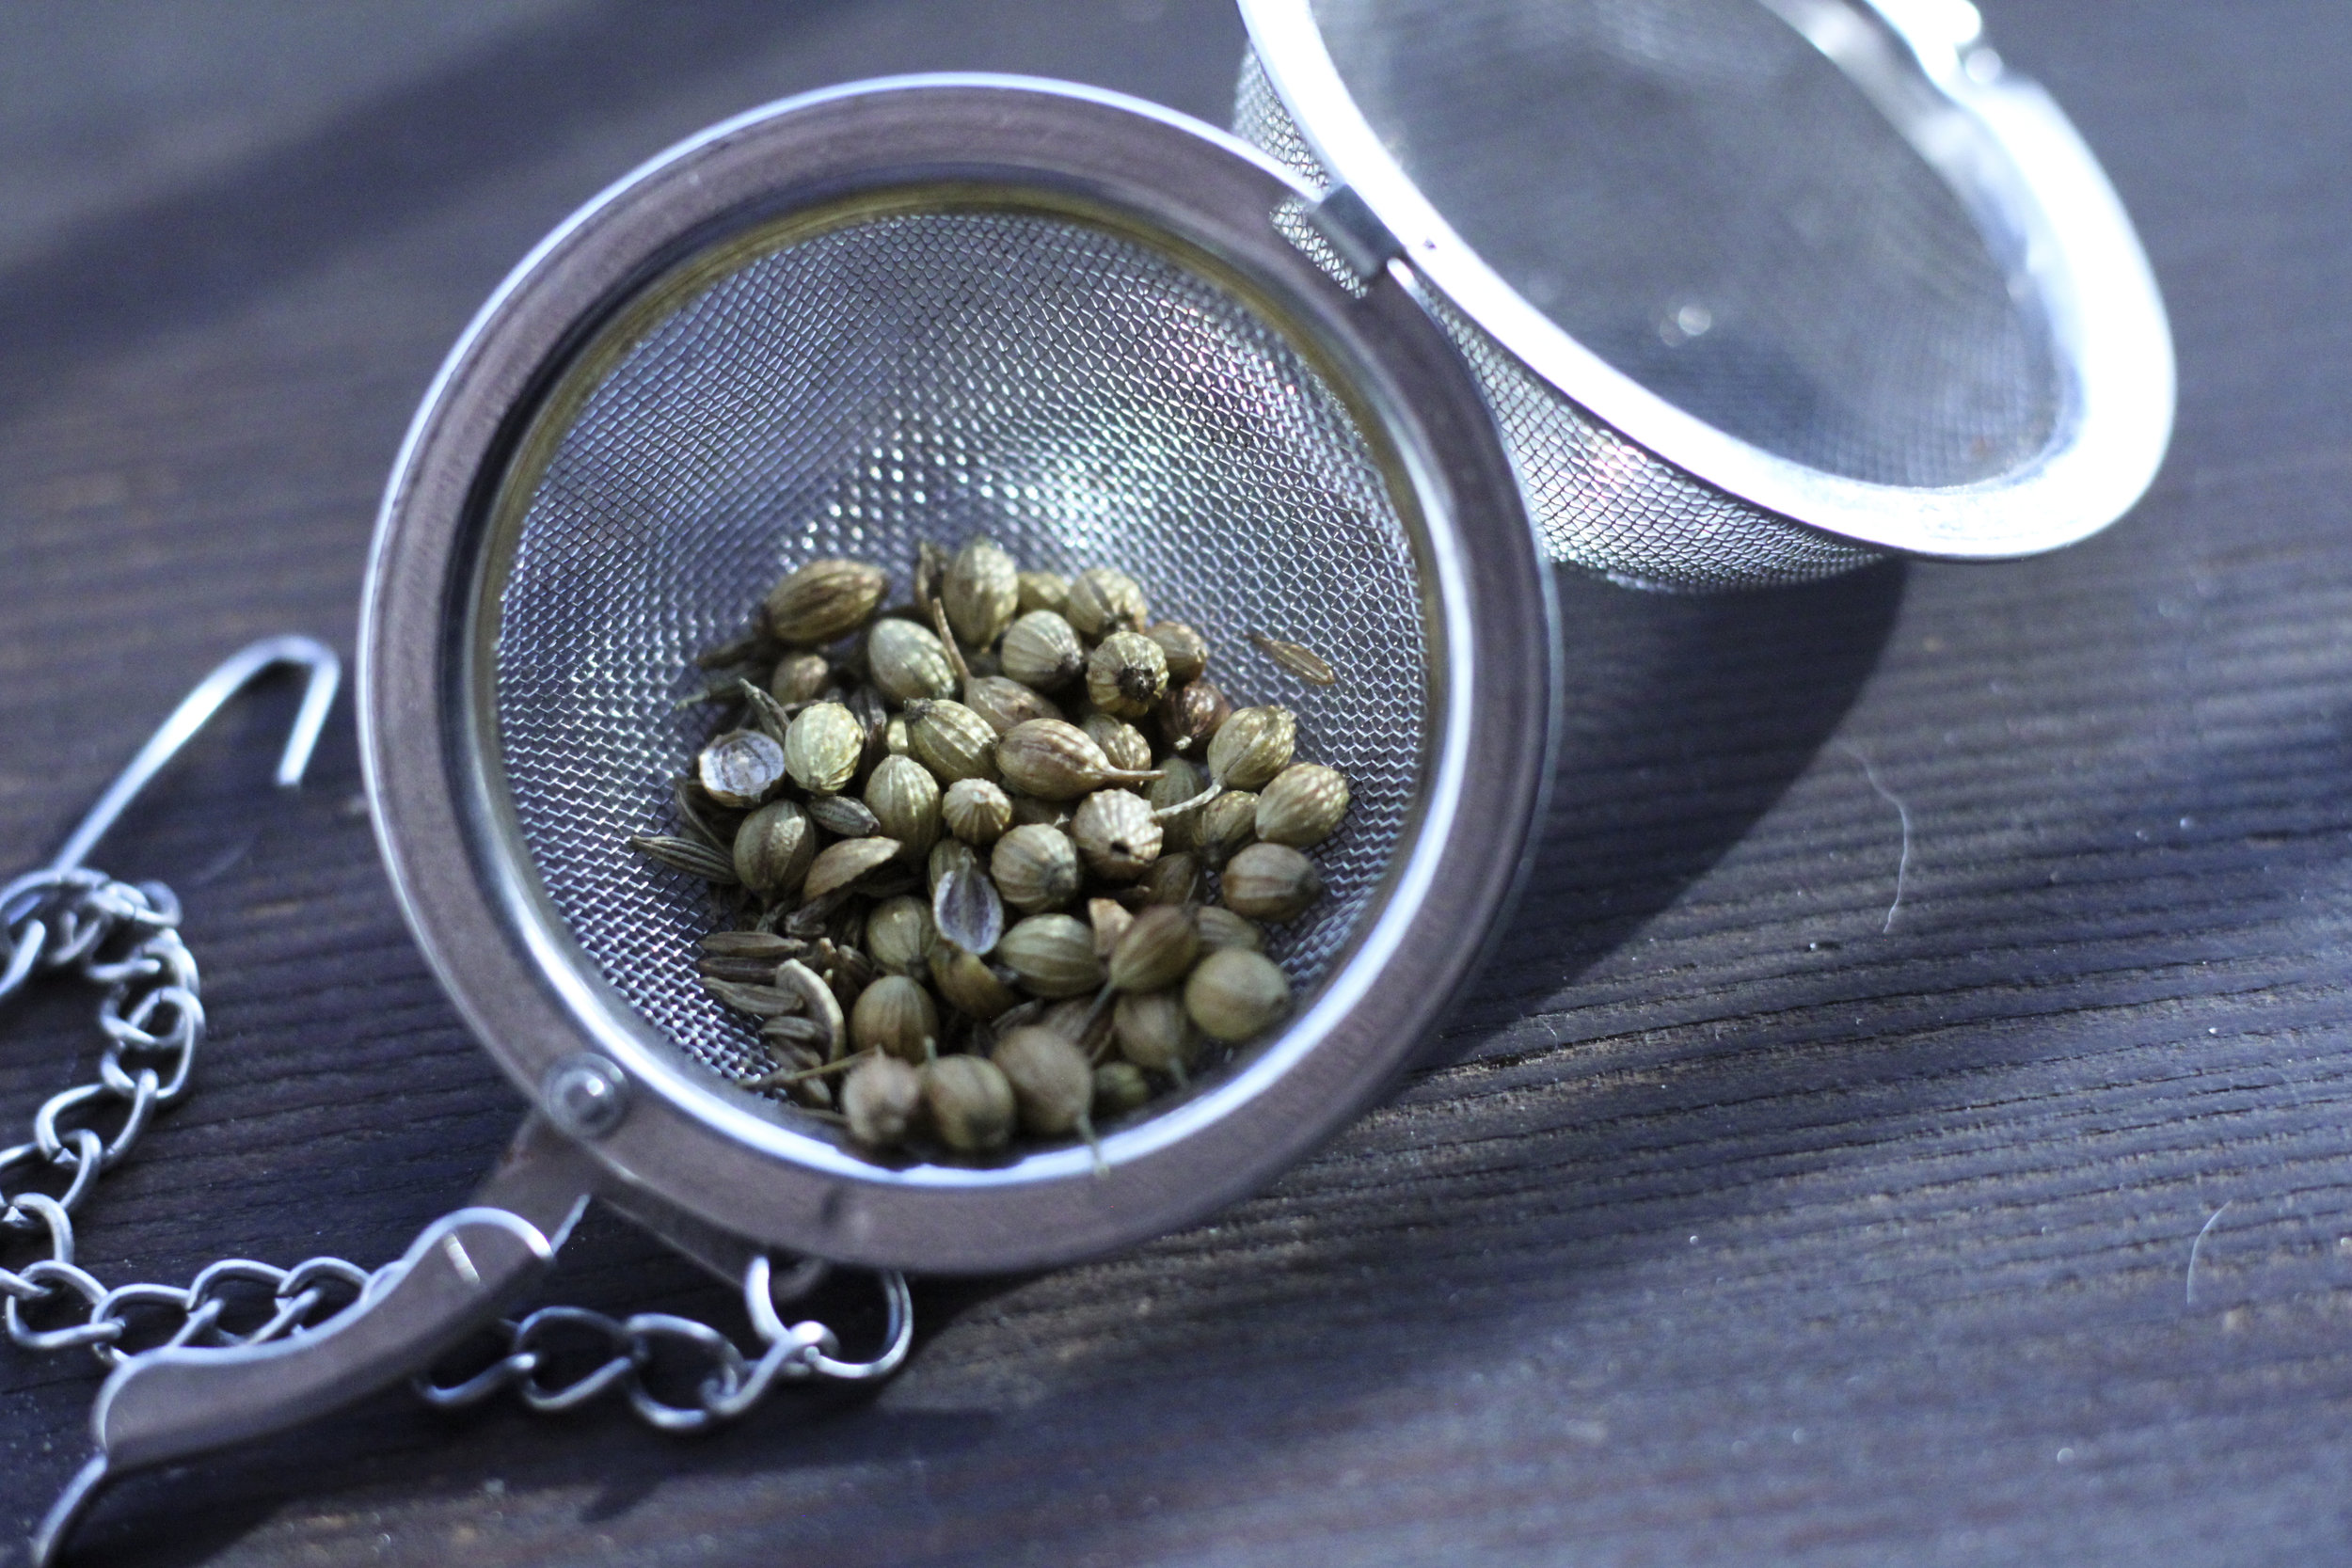
2. In a small skillet over medium heat, toast the cumin and coriander, swishing in the pan frequently, for 3-5 minutes (you'll know they're ready when they darken a bit in color and become quite fragrant).
3. Put the spices in a loose tea holder or make a sachet for them out of a small bit of cheesecloth. You can also put them directly in the water, you just may have to fish them out later (or get a big bite of spice in your taco).
4. Combine all of the bean ingredients in a large pot and submerge in water, about 2" above the beans. Bring to a boil, reduce to a simmer and cook until tender, about 45 minutes. If foam collects on the surface of the water, skim it off.
5. When the beans taste almost soft, add a very generous few pinches of salt to the water.
6. Once the beans are cooked to the consistency you like, turn off the heat and let them cool in the water. 
7. When ready to eat, drain the water and discard the aromatics. Taste and add salt if needed.

For the Sweet Potato
1. Preheat oven to 400F.
2. Line a baking tray or roasting dish with parchment or aluminum foil. 
3. Toss sweet potato cubes in oil (melt it first if it is solid) and sprinkle generously with salt and pepper. Spread them on the baking sheet in an even layer, so every cube has a surface touching the metal.
4. Roast for 15 minutes. Carefully toss. Roast for 10 minutes more and check for doneness. Sweet potato should be soft with some browning on its outer edges.

Assembly
1. I like charring my tortillas over an open flame on the stove. Do this carefully if you choose to try it, please! 
2. Pile beans, sweet potato and persimmon onto tortillas. Avocado/guacamole, cilantro and a generous squeeze of lime are all nice finishing touches.