Let’s be honest: food is contentious. It is personal, it is cultural, it is political, it is emotional.
We all have a diet (a general, baseline set of foods we do and don’t eat); we go on diets; and we can be very convicted about what foods we believe should or shouldn’t be included in a healthy diet.
Some people are purists. Give them a pizza made with a cauliflower crust and they’re like, EXCUSE ME THAT IS NOT PIZZA. Which is a fair stance to take. Some people are open to culinary interpretation, playing with new ways of iterating classics. Oftentimes, substitutions are made to accommodate dietary preferences or restrictions, which is how I came to use a lot of the ingredients I do (especially in sweets :).
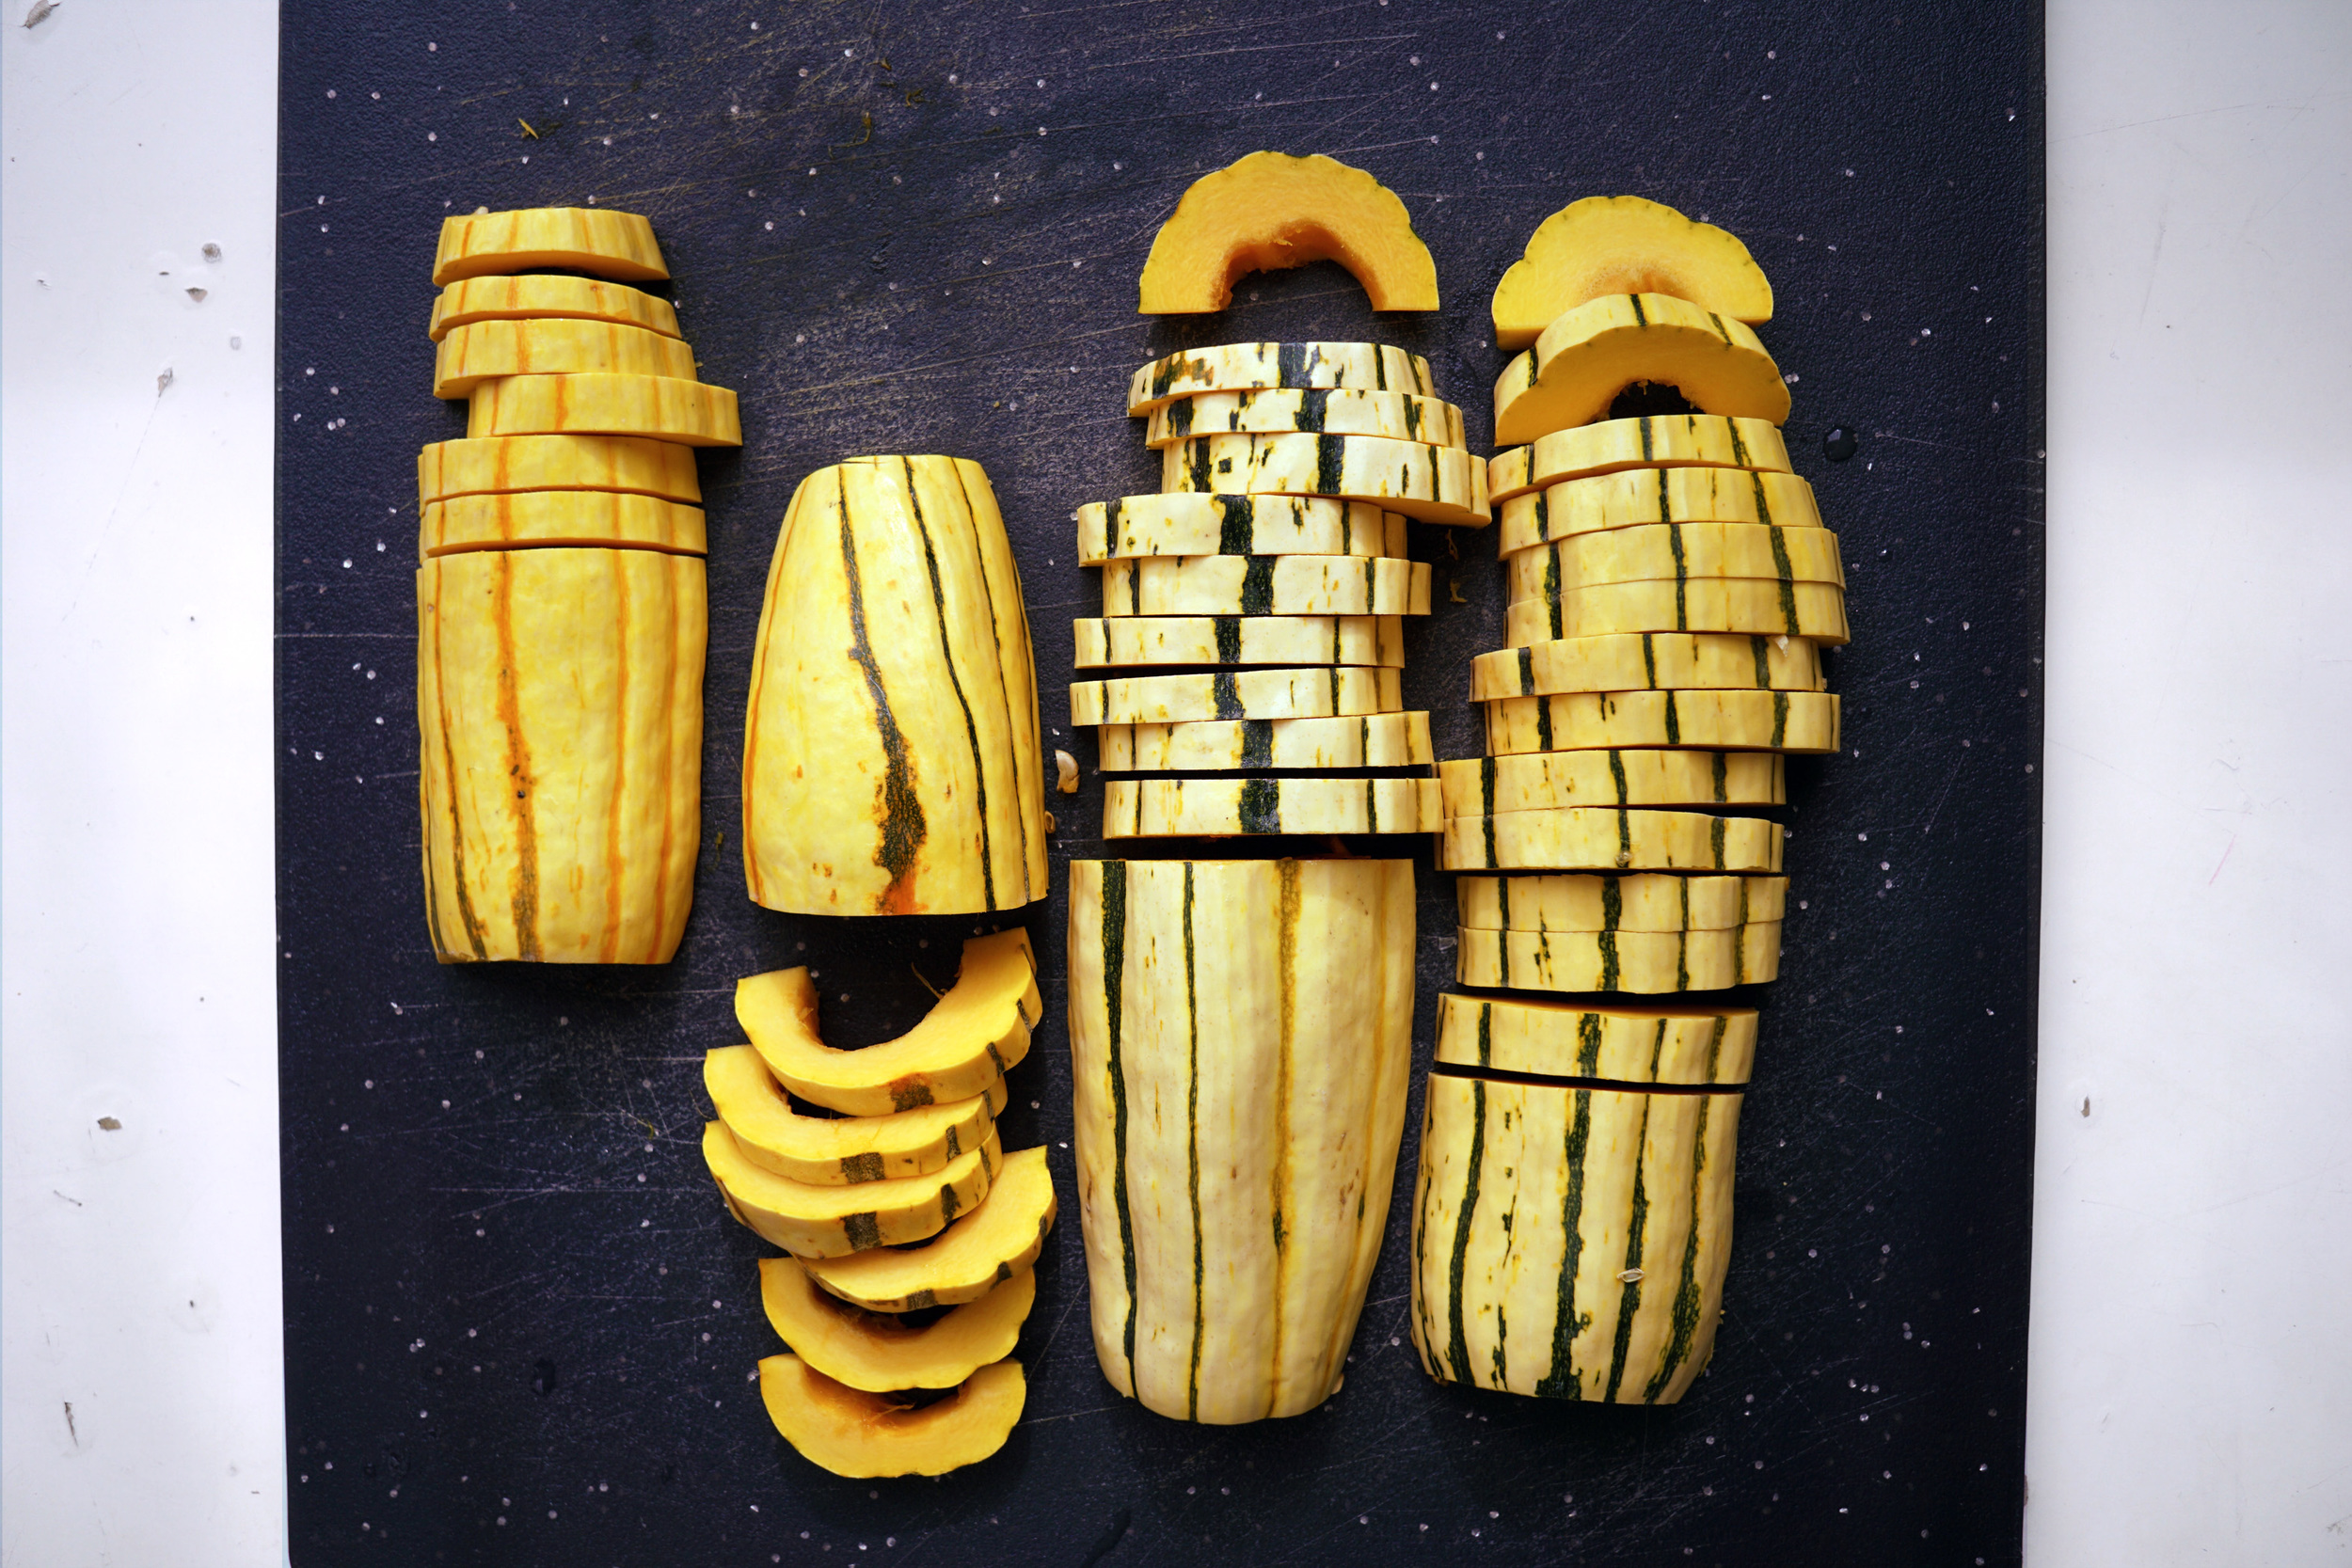
So, zucchini noodle lasagna. Arguably not lasagna. But maybe it is lasagna! Call it whatever you want. Ultimately, it is freakin’ delicious (I made it four times before I finally dedicated time and effort to photographing it to share with you all) and—yes, I am going to go there—much healthier for you than traditional lasagna.
Modern nutritional science has evolved enough at this point to recognize that refined, white flour is not good for us. Yes, it makes dough light and elastic and taste divine. But it is massively inflammatory and our bodies do not like it, especially in excess.
Do I eat white flour? Yes. In fancy croissants and sourdough pizza, mostly. Am I conscious about the amount and quality of white flour I consume? I try to be.
We have to pick our battles. If we value health and value pleasure, both of which I believe are absolutely vital to life, we need to determine what percentage of each feels like balance for us and we must, at times, make some adjustments to keep those scales aligned. I bake cookies with whole grain flour and turn cauliflower into rice in service of health.
That being said, zucchini is a fantastic substitute for white flour in the form of pasta. Is it the exact same thing? No. Will it satiate the cravings steeped in familial memory of your Italian grandmother? Probably not. Is it still delicious and WAY healthier for you? Yes, 100%.
Funnily enough, my inspiration for this lasagna came not from wanting to have lasagna sans flour, but from an approach to food that I developed during the two weeks last year that I was hardcore Keto (…just to see what it would be like). A diet centered around foods with a high percentage of fat, Keto suddenly thrust a number of ingredients that were atypical for me into a primary position in my life—cheese among them. I ditched the diet pretty quickly (not because I didn’t feel good on it, but because I was bored AF with such a limited palette to choose from—especially as someone who doesn’t eat meat), but some of its key ingredients and general approach to macronutrients stuck. And so, this lasagna was born.
We can sit here and categorize this zucchini noodle lasagna however much we want: Keto, paleo, vegetarian, low-carb, gluten-free, grain-free, sugar-free (…and yes it is all of those things). We can debate about whether or not it’s actually lasagna. At the end of the day, it’s real food—90% or so from the earth—with diverse and dense nutrients and amazing flavor.
Food politics and preferences aside, my hope is that you will love the taste and the experience of eating it as much as your body will feel nourished from it afterwards. <3


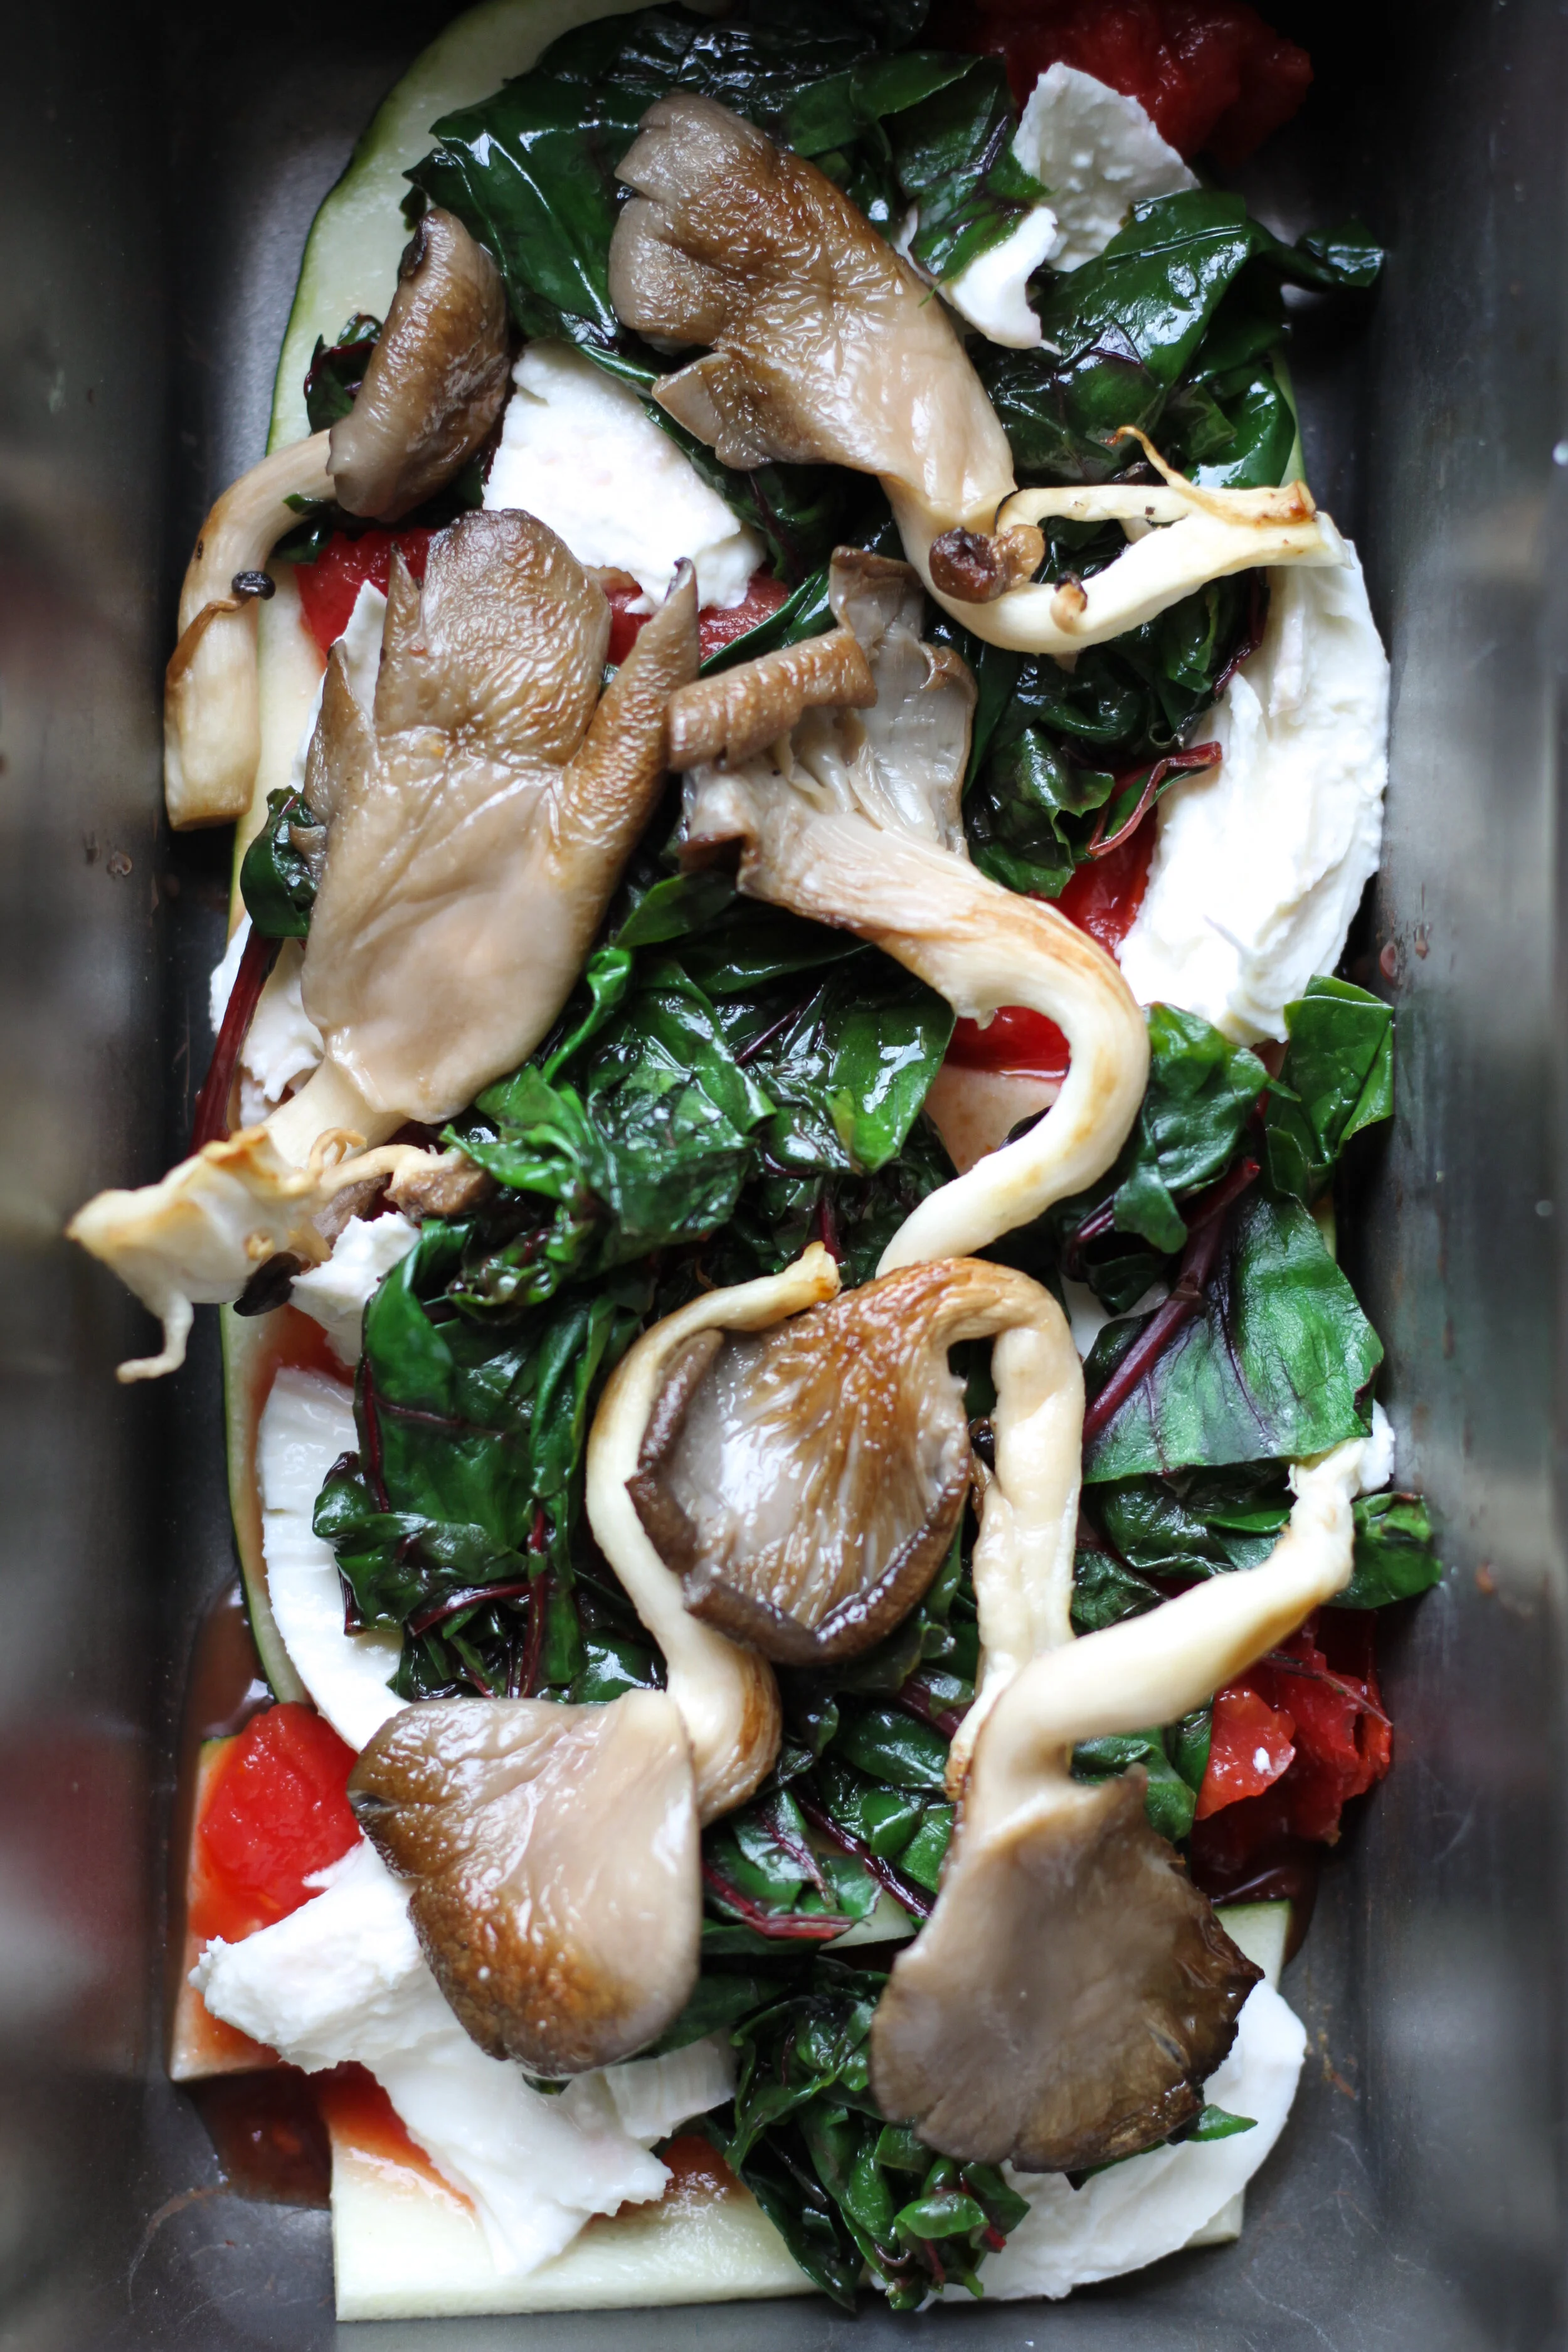
Zucchini Noodle Lasagna with Oyster Mushrooms, Basil & Swiss Chard
Serves 3-4
Ingredients
1 large or 2 medium zucchini
1/2 tablespoon sea salt (to be drawn from at various points)
1 tablespoon ghee or avocado oil
1.5 ounces oyster mushrooms (basically two large handfuls)
1 teaspoon extra virgin olive oil
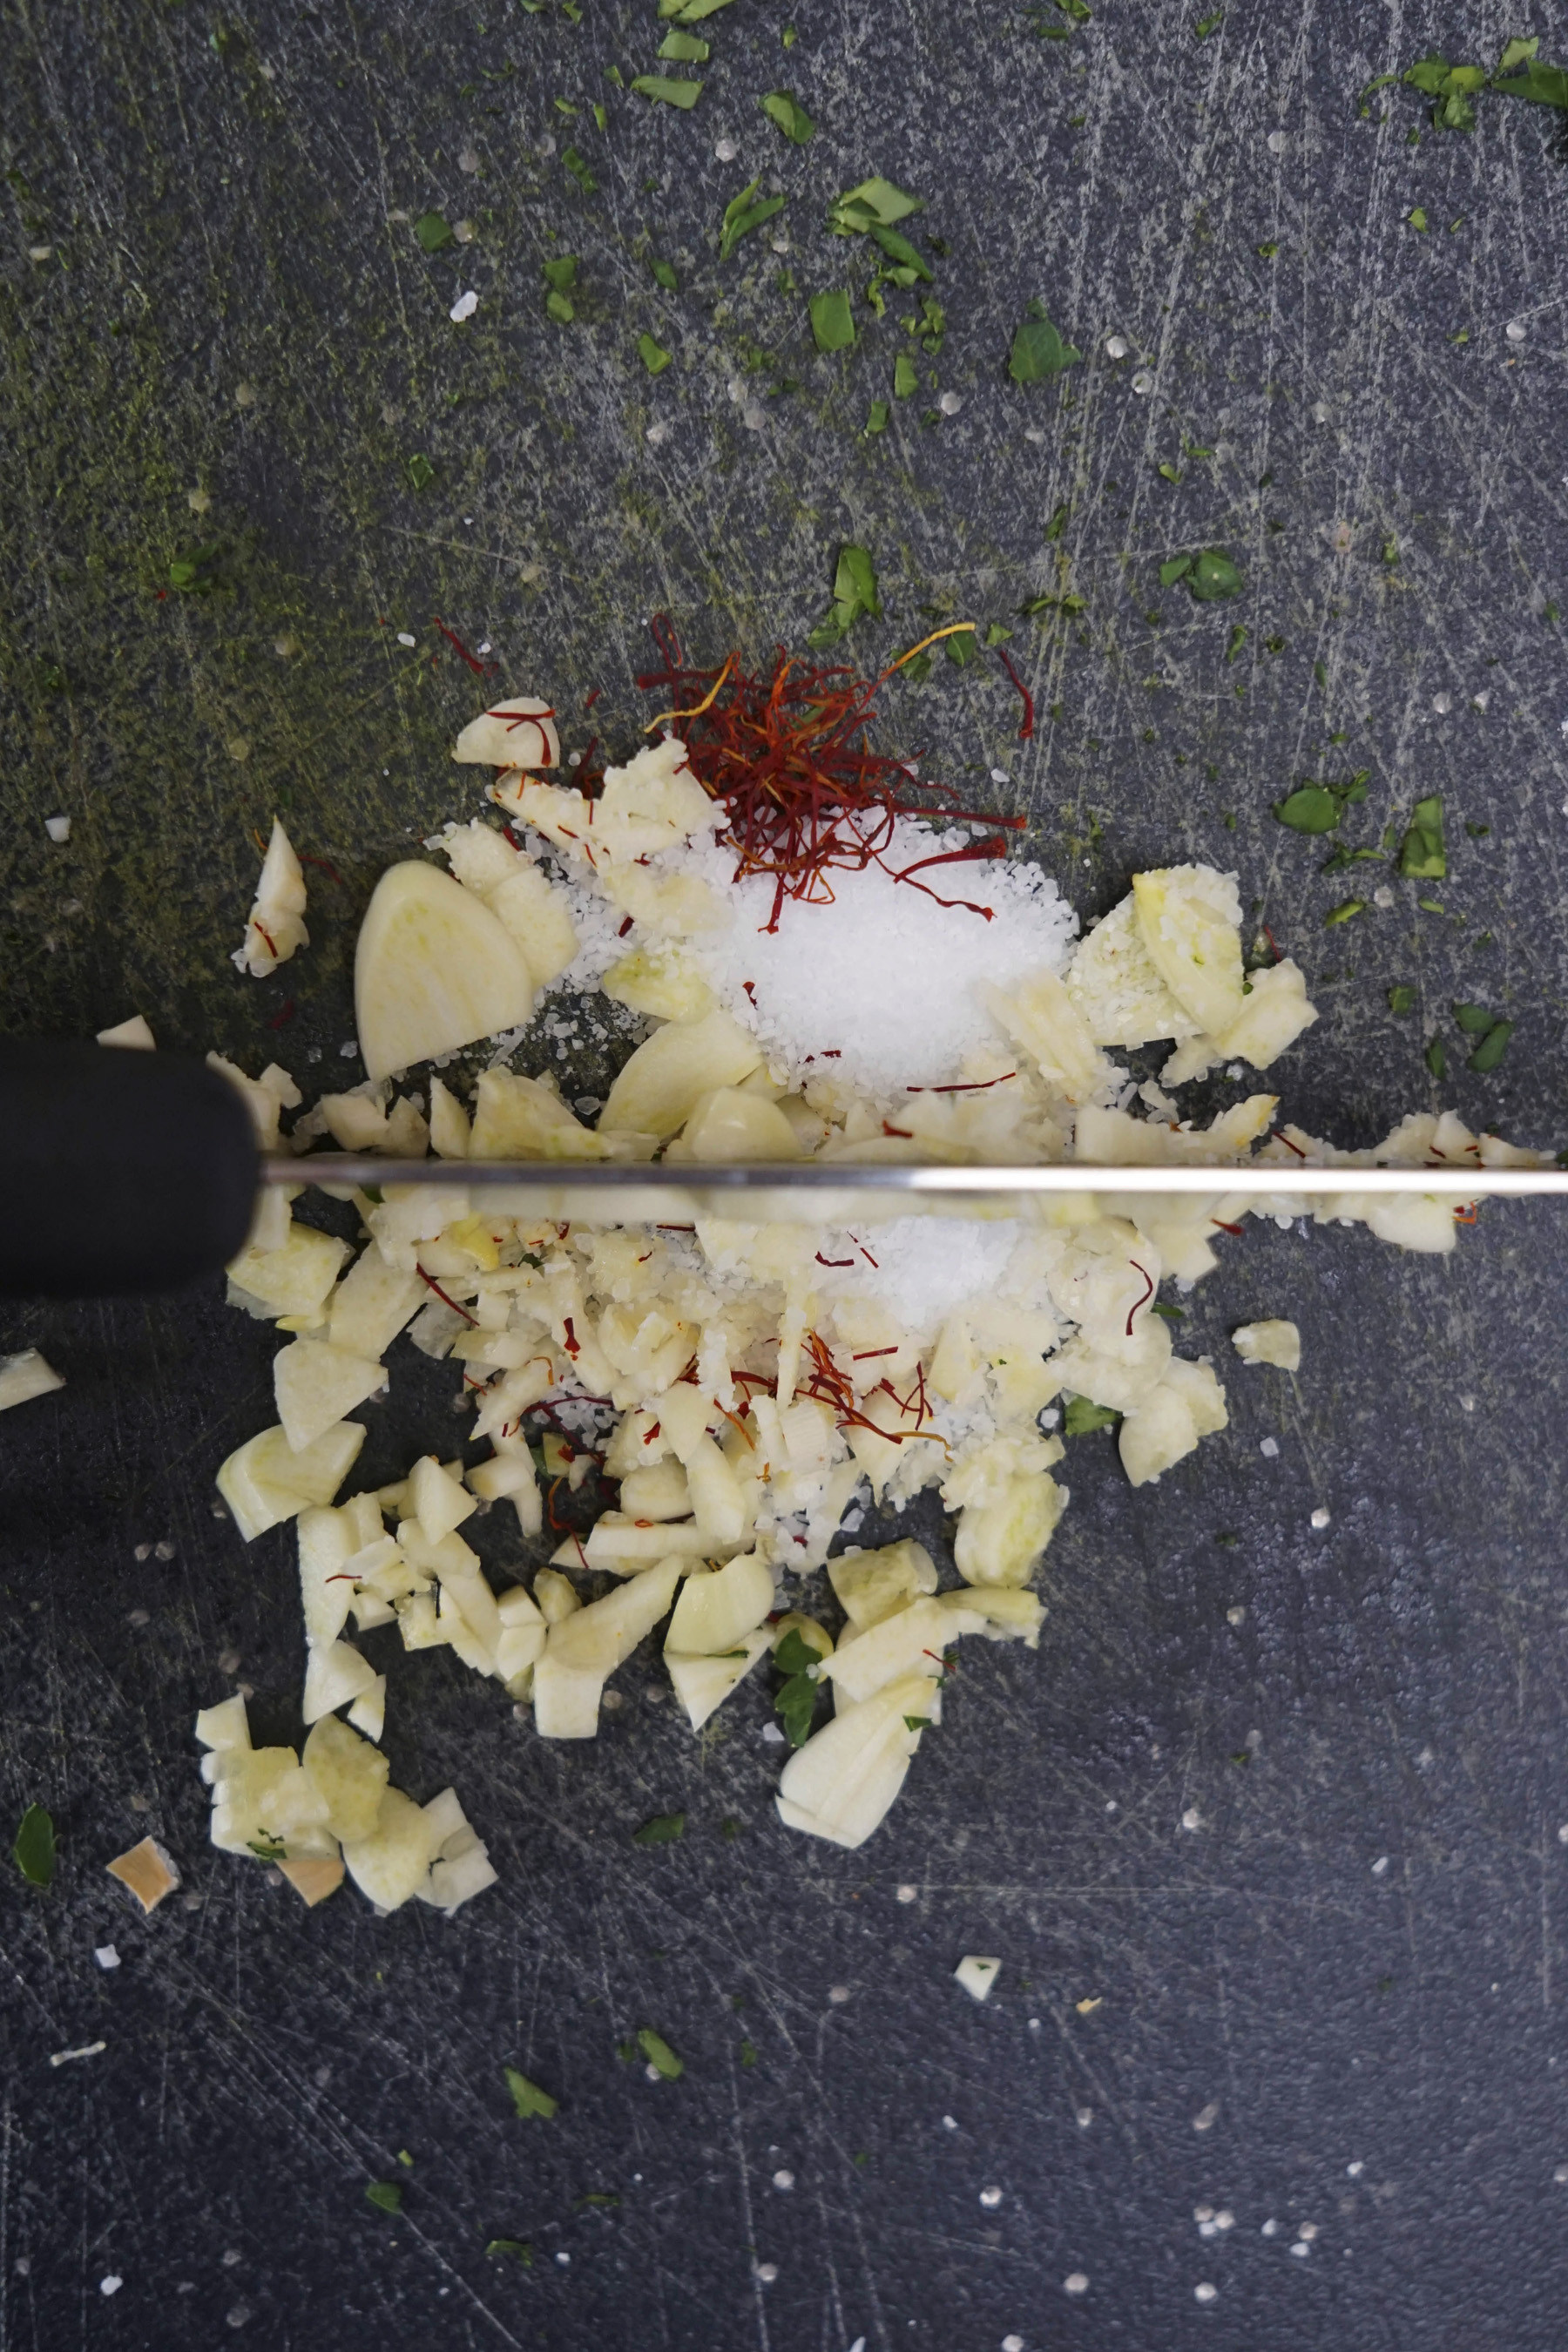
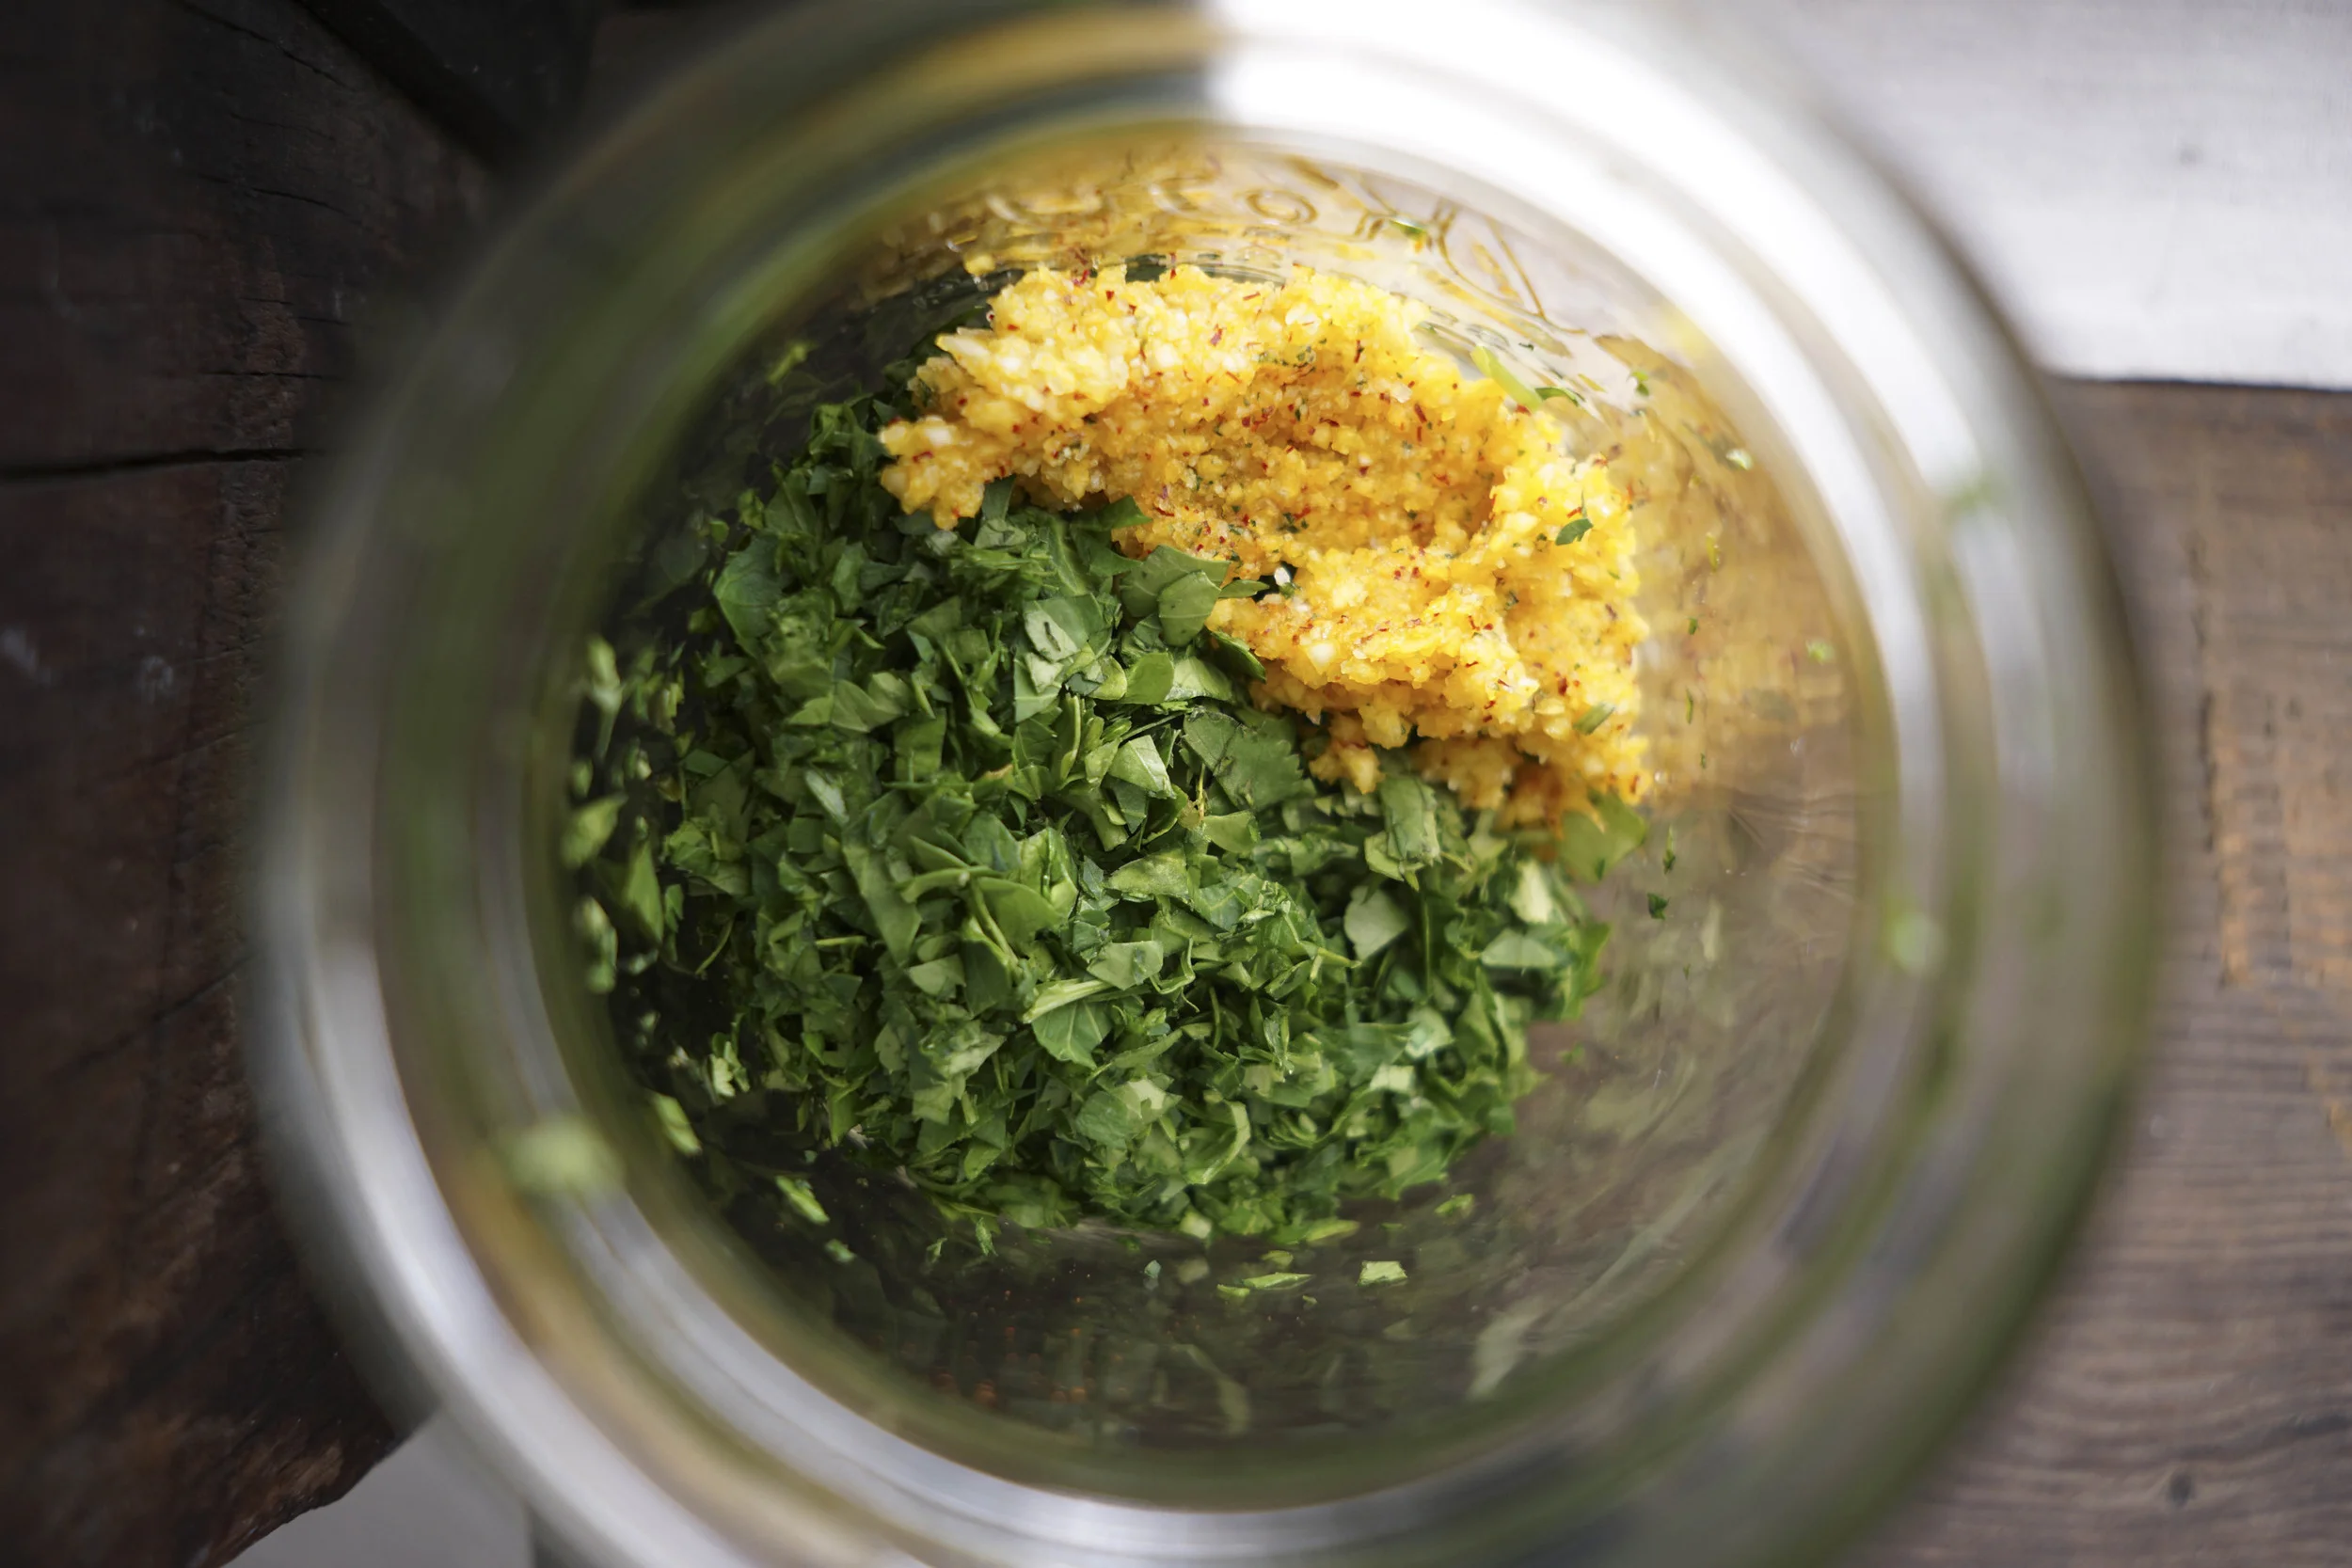
2 cloves garlic, minced
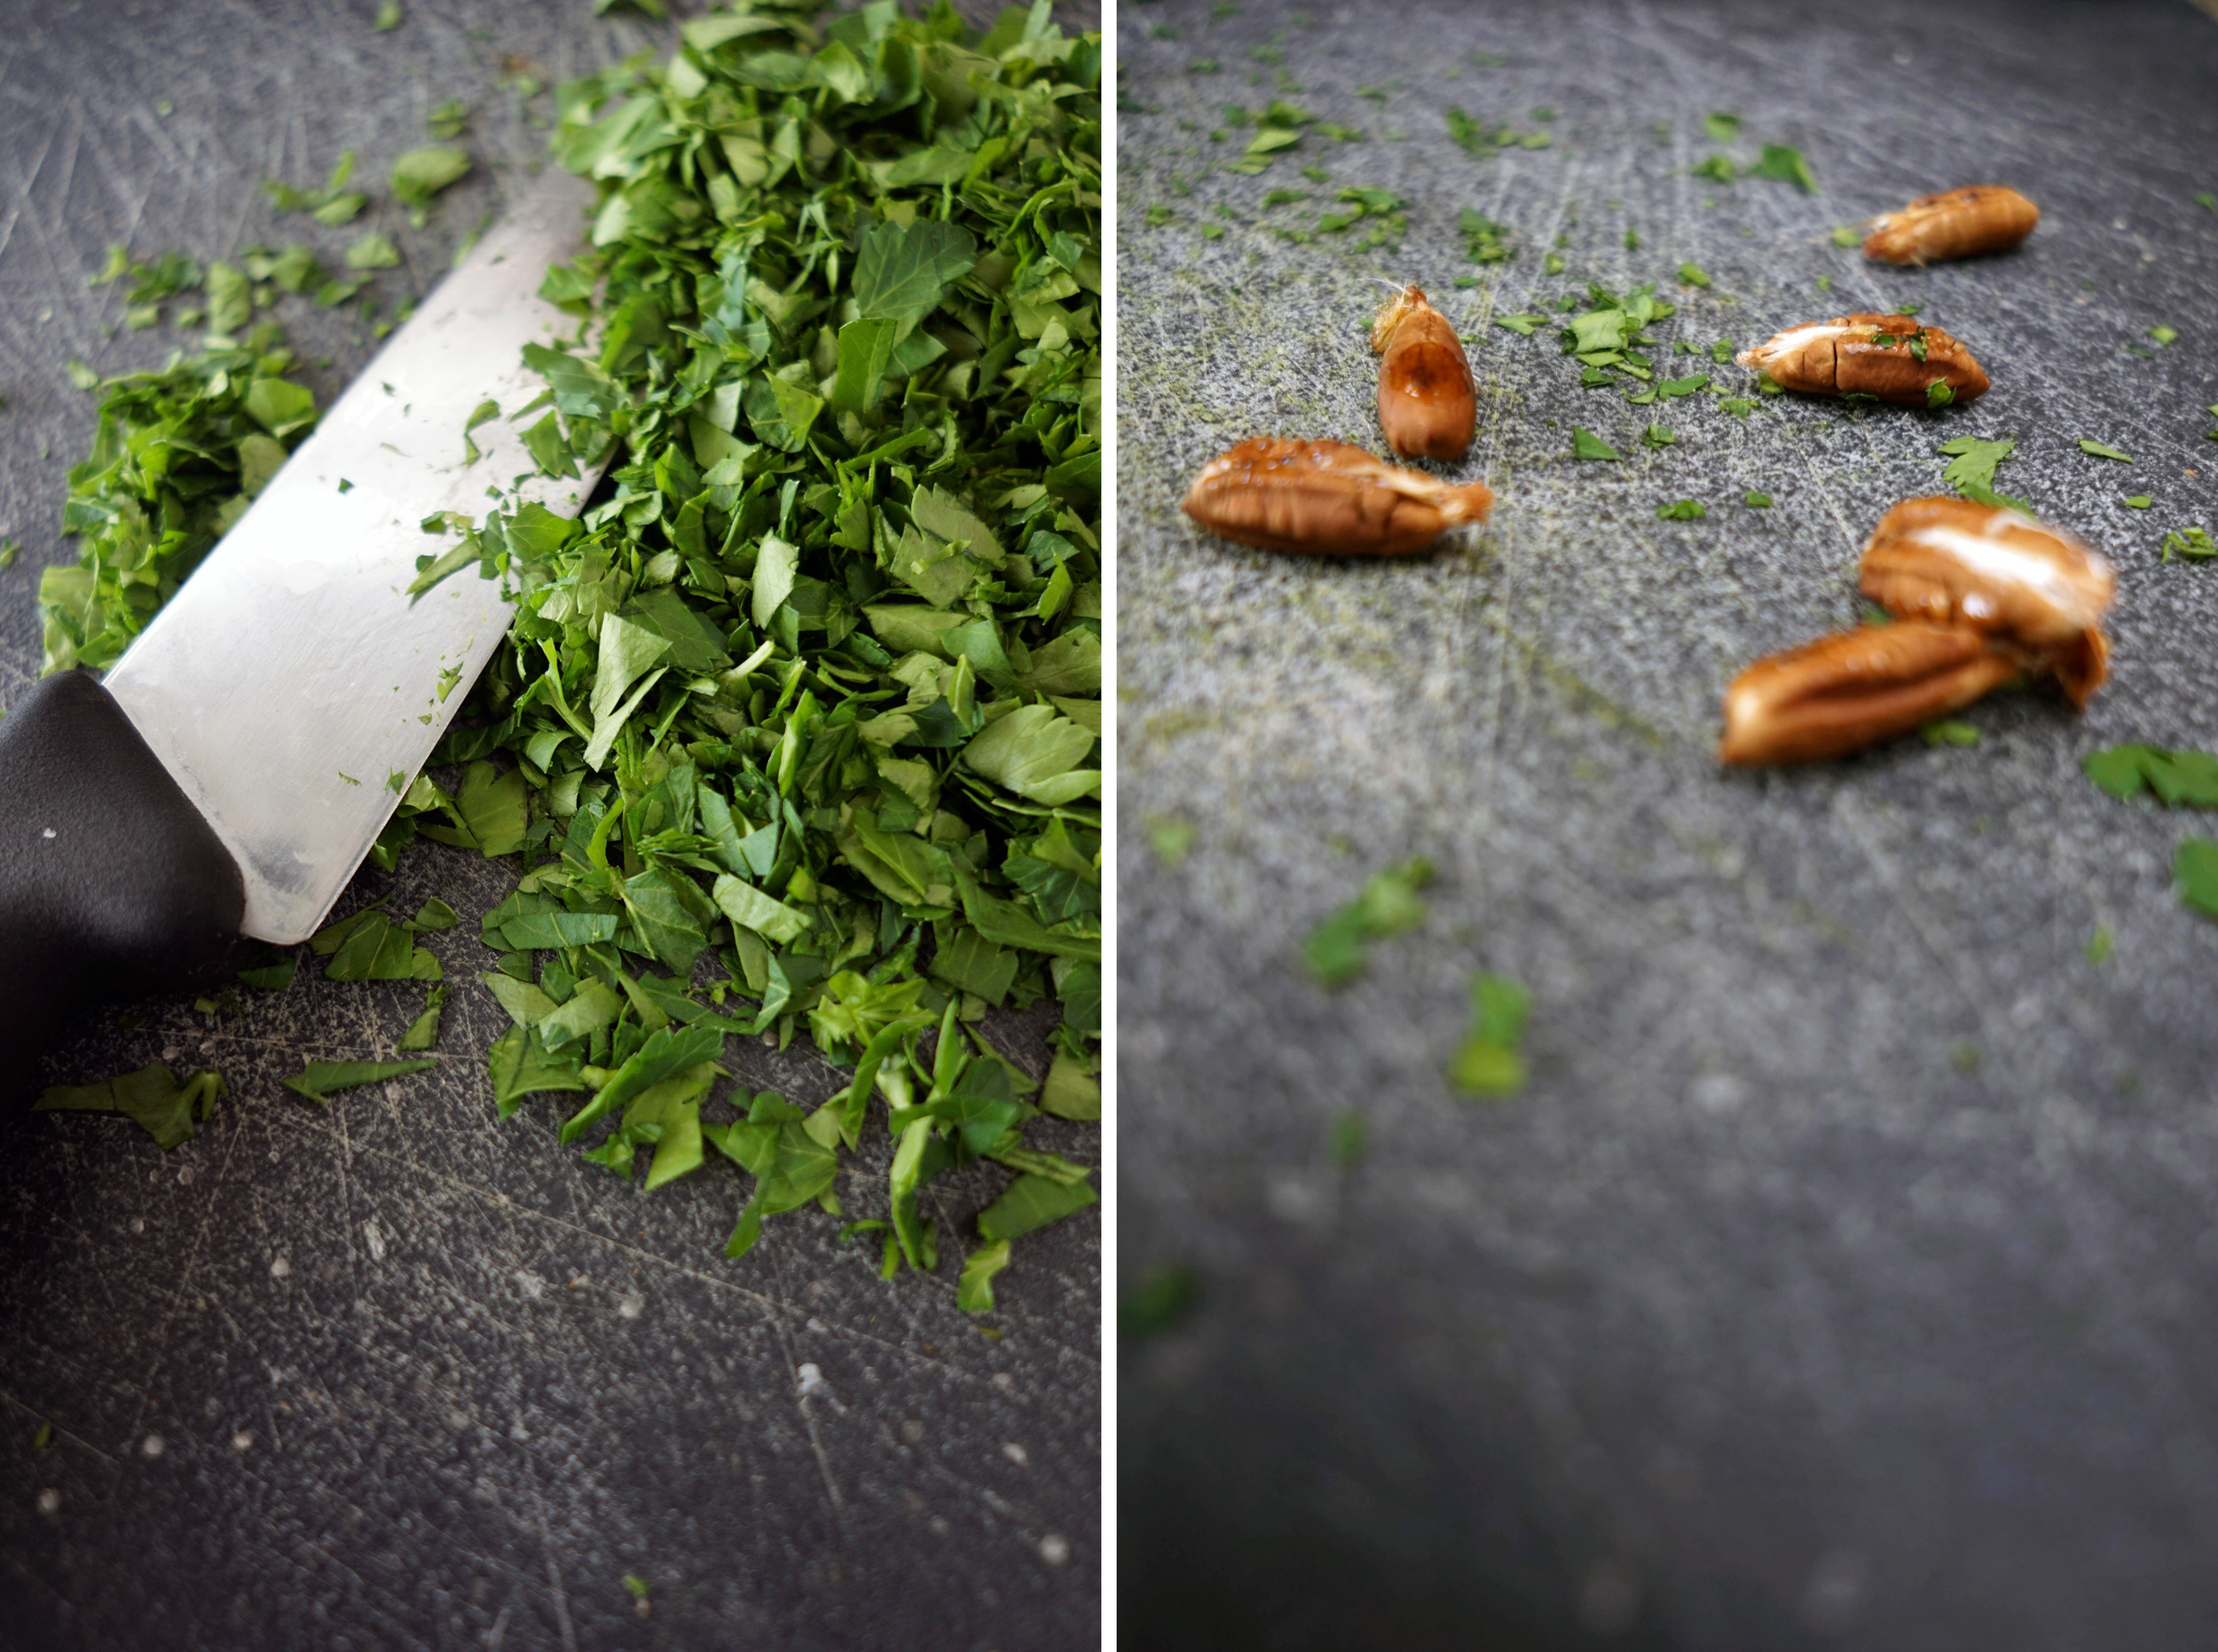
1 bunch Swiss chard, de-stemmed, rinsed and torn into 2”-ish pieces (okay to leave it a bit wet)
1 (28-ounce) can crushed tomatoes (organic if possible - tomatoes are heavily sprayed with pesticides)
1/4 cup tomato paste (same as above)
1 tablespoon balsamic vinegar
3 sprigs basil, leaves removed from stems
2 (8-ounce) fresh mozzarella balls, torn into thin pieces
Also:
4-5 sheets paper towels
Mesh strainer
A loaf pan
Tongs - helpful, but not essential
Directions
1. Preheat the oven to 400°F.
2. Cut the knob off the end of the zucchini. With a very sharp knife or a mandolin slicer, slice the zucchini lengthwise into 1/4” thick strips. Lay the strips flat on a few paper towels (I lay the towels on a large cutting board) without overlapping and sprinkle generously with salt. (The salt draws out the water in the zucchini, which will make it less soggy when it bakes.) Set aside.
3. In a large skillet over medium high heat, warm the ghee or avocado oil until it sizzles when sprinkled with water. Add oyster mushrooms and a generous pinch of salt. Toss the mushrooms (with tongs if you have them!) until they’re well coated in the oil. Spread them out so as much of their surface area is in contact with the pan as possible and let sit, undisturbed, for a few minutes until golden. Flip and cook the other sides. When they’re nice and golden all around, transfer to a plate and set aside.
4. Reduce the heat to low and add the teaspoon of olive oil, followed by the minced garlic. Sauté garlic until browning, about one minute. Add chard and a generous pinch of salt. Sauté until wilted, about three minutes. You may need to cook it in batches depending on the size of your pan. When wilted, transfer to a plate and set aside.
5. Pour the crushed tomatoes into a mesh strainer and strain out most of the excess liquid. Transfer to a mixing bowl, add balsamic vinegar, tomato paste and 1/4 teaspoon salt, and stir to combine.
6. Return to your zucchini noodles. Using a paper towel, dab off any moisture that has beaded out of the zucchini until it looks relatively dry.
7. Assembly time! Spread a thin base layer of the crushed tomato mixture on the bottom of the loaf pan. Cover the surface area on top of the sauce with rows of zucchini (you will need to cut the strips into various lengths to make this work). Layer on chard, mushrooms, whole basil leaves, sauce and mozzarella, followed by the next layer of zucchini noodles and all the fillings again. (I like to put the mozzarella next to the zucchini because it acts kind of like glue, but you can layer them in whatever order you like!). Finish off with a layer of zucchini, followed by sauce and mozzarella.
8. Bake until bubbling and the cheese on top is golden, about 30 minutes. Enjoy!