Blistered Snap Peas with Miso Butter

IMG_5482.jpg
IMG_5444.jpg
IMG_5535.jpg

In all honesty, this is kind of a non-recipe—which is often what summer calls for, when produce is bountiful and flavorful even with little to no preparation. It’s a recipe for those times when you’d rather be outside than in your kitchen, or taking your kitchen outside (to the grill).

This recipe is simply charred snap peas slathered in miso butter—which is miso paste mixed with butter. Simple, simple, simple but whooooa is it delicious. I made it in a cast iron pan because I don’t have a grill, but if you do have a grill, go ahead and throw the snap peas in a grill basket and go to town. It’s the perfect appetizer for a low key evening of entertaining or side dish to a weekday meal.

IMG_5563.jpg
IMG_5587.jpg

Blistered Snap Peas with Miso Butter
Serves 4 as a starter or 2-3 as a side

Ingredients
1 lb. snap peas, woody ends cut off
3 Tbsp. room temp butter, organic and pastured if possible
1 Tbsp. sweet white or mellow yellow miso paste
flaky salt and freshly ground pepper

Directions
1. If you have a grill, place the snap peas in a grill basket and grill until blistered. If not, heat a cast iron skillet on medium high. Place a third of the snap peas into the skillet and, using tongs, spread them out so that each snap pea is touching the surface of the pan. Cook until blistered, about 2 minutes, then flip and cook the other side for 1 minute. Repeat with remaining snap peas.
2. In a small container, cream the miso together with the room temperature butter. You will have leftovers (you're welcome).
3. Take a generous spoonful of the miso butter and slather over the warm snap peas. Finish off with a generous pinch of flaky salt and freshly ground black pepper.

Kabocha Squash & Miso Hummus | On Overhauling Thanksgiving

Maybe it's just me, but I wouldn't bat an eyelash at seeing some roasted squash hummus on a Thanksgiving table (yes, even if it had miso in it). Growing up, my family always made pretty traditional items for Thanksgiving: smashed sweet potato rounds hidden beneath a thick blanket of singed marshmallows; overly soft green beans tossed with store bought, oven refreshed bread crumbs. It was as All-American as All-American gets. The first Thanksgiving I shared with my family after living abroad for two years and falling in love with food, I made this amazing, bold, and very Middle Eastern dish of roasted butternut squash and red onions with tahini, parsley and za'atar for the Thanksgiving table. Some members of our party were skeptics, but the undeniable deliciousness of the dish won them over. (I also, after quite a contentious argument, persuaded my parents to make the stuffing with whole wheat instead of traditional white bread. They may remember differently, but I'm pretty sure no one noticed.)

It's a hard time to be an American, for many people, right now. It's a hard time to celebrate what this country stands for. A hard time to even know what this country stands for anymore. (Though truthfully, we've always been a divided nation, although not always one so blatantly shameful.) It's also, for many, a hard time to feel grateful. The weight of a Trump administration is a frightening and heavy weight to bear.

When I first brought distinctively un-American flavors to the Thanksgiving table it was because, quite frankly, I thought they tasted better. But now that choice is striking me as a subtle political act, too. Not that it needs to be, by any means. I'm just curious about the metaphor that could rest within such a gesture of cultural diversity and inclusivity at a gathering in which we express thanks for our nation, our abundance and independence.

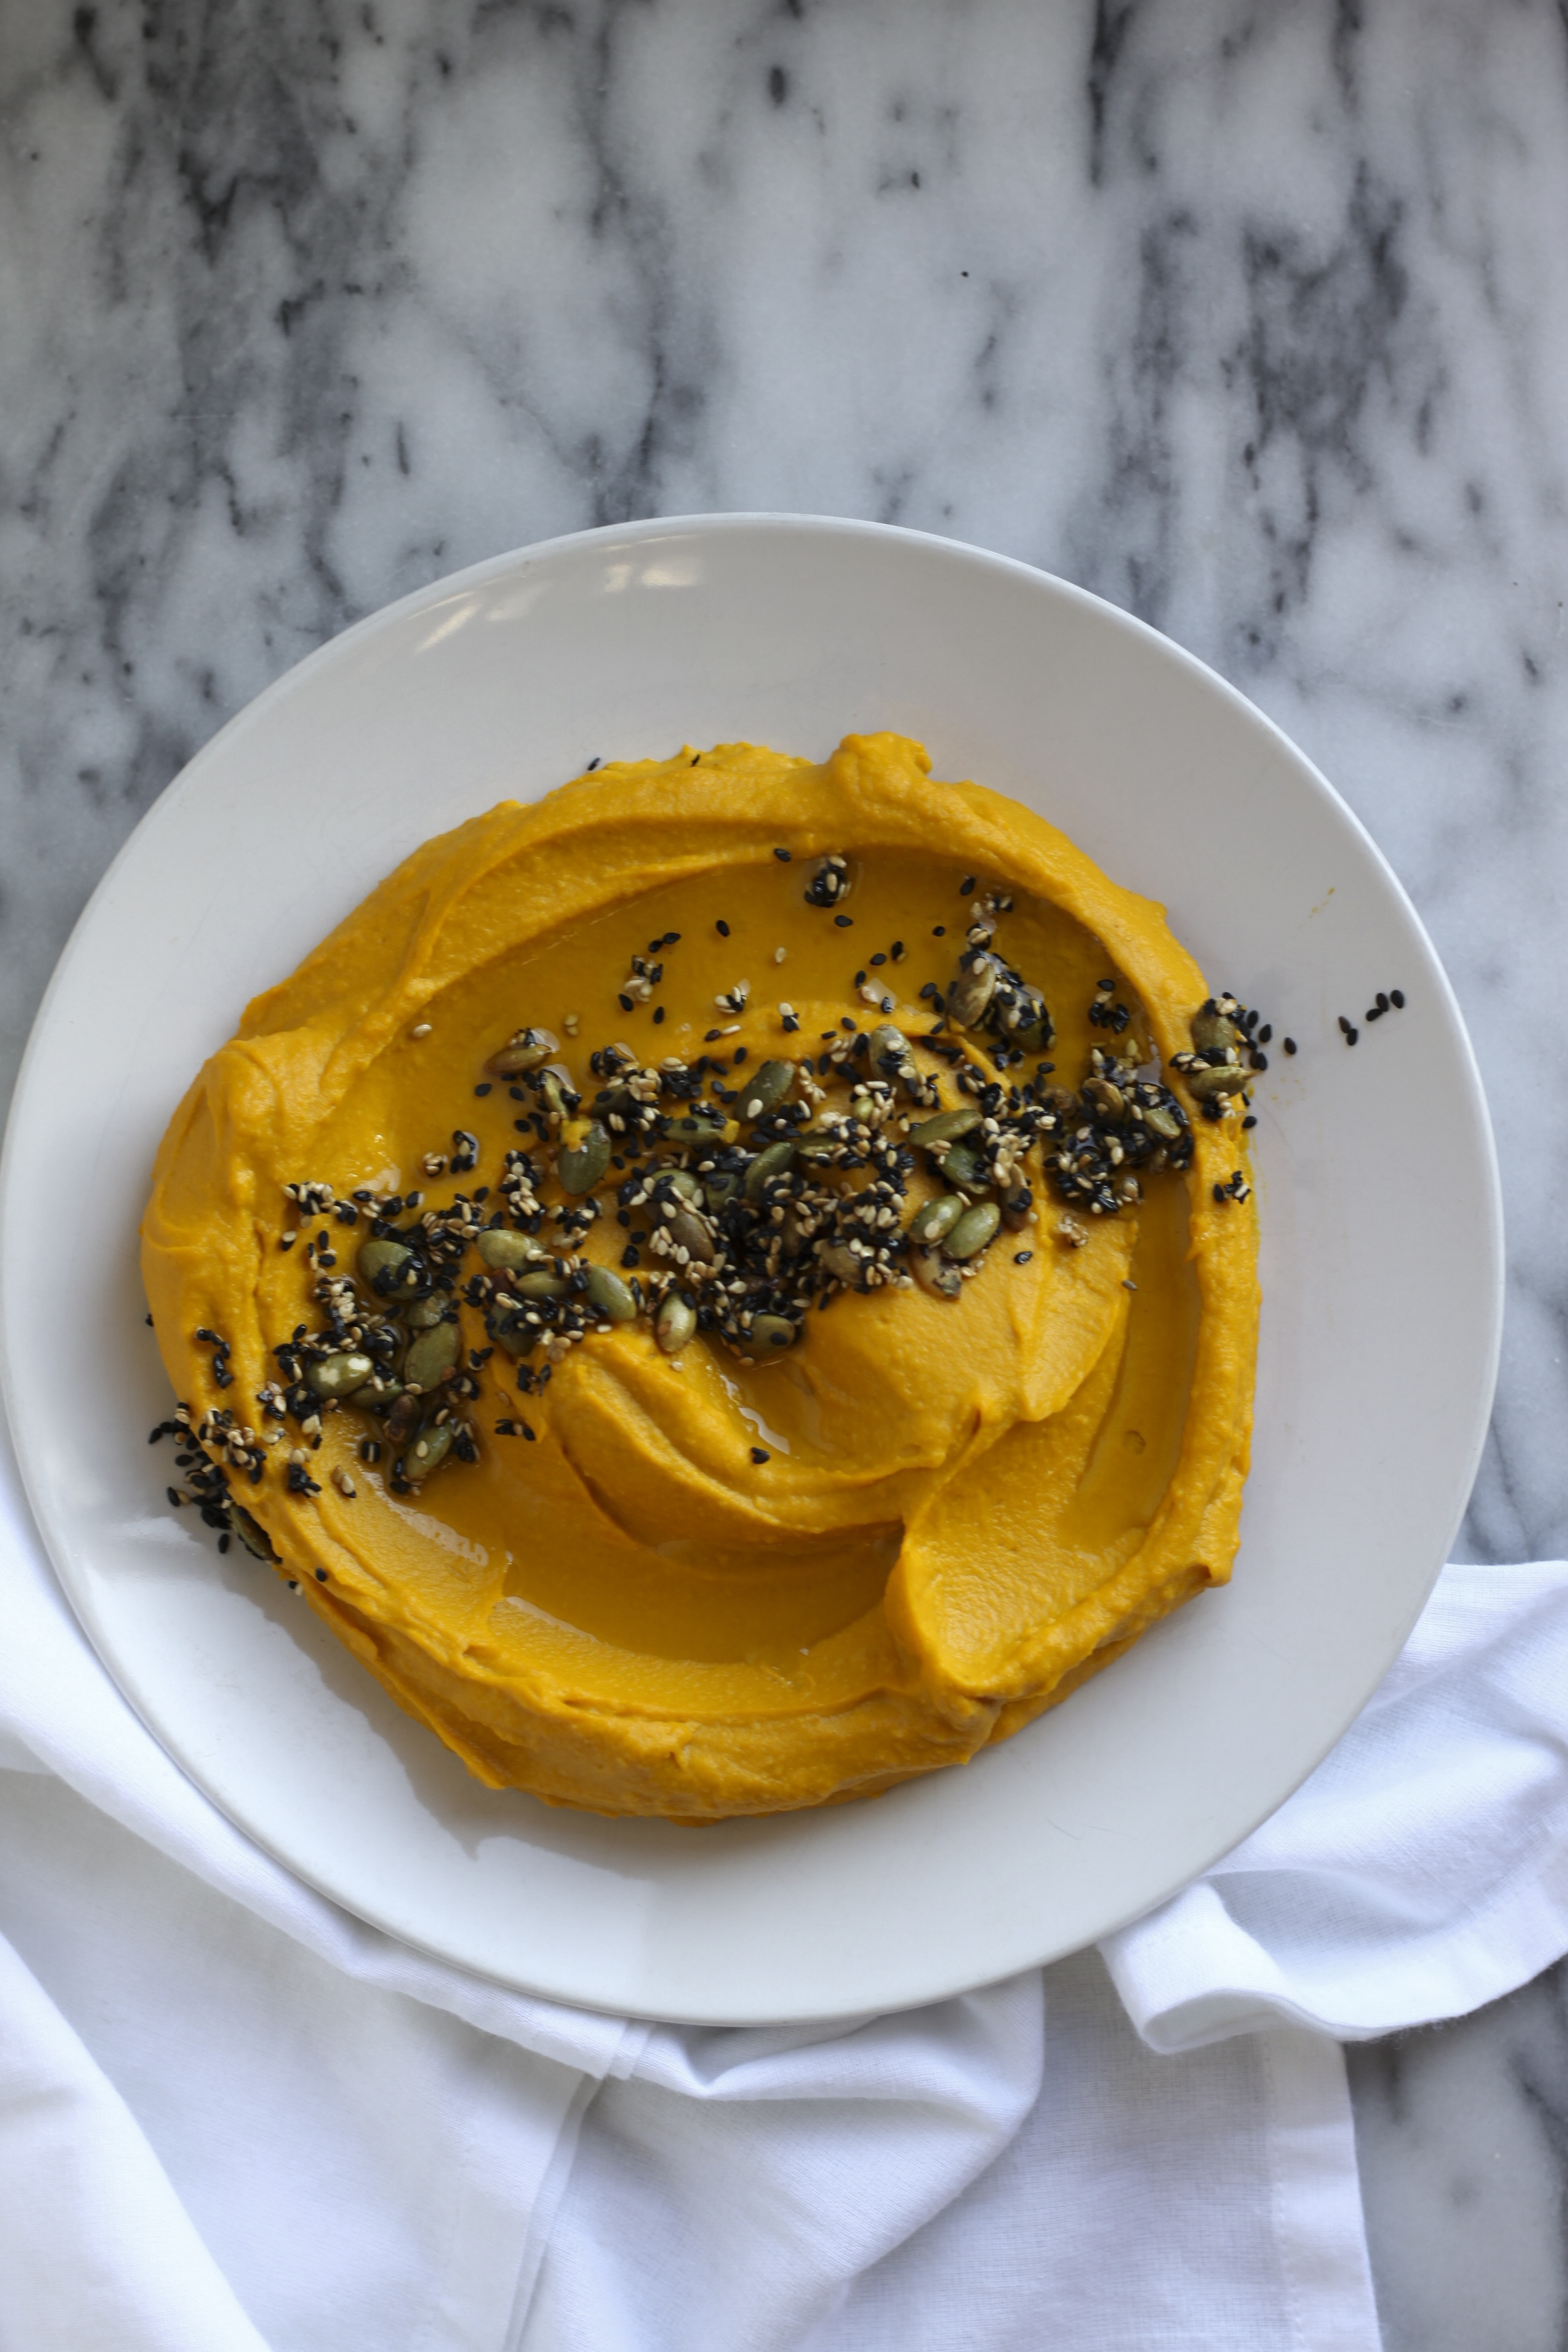
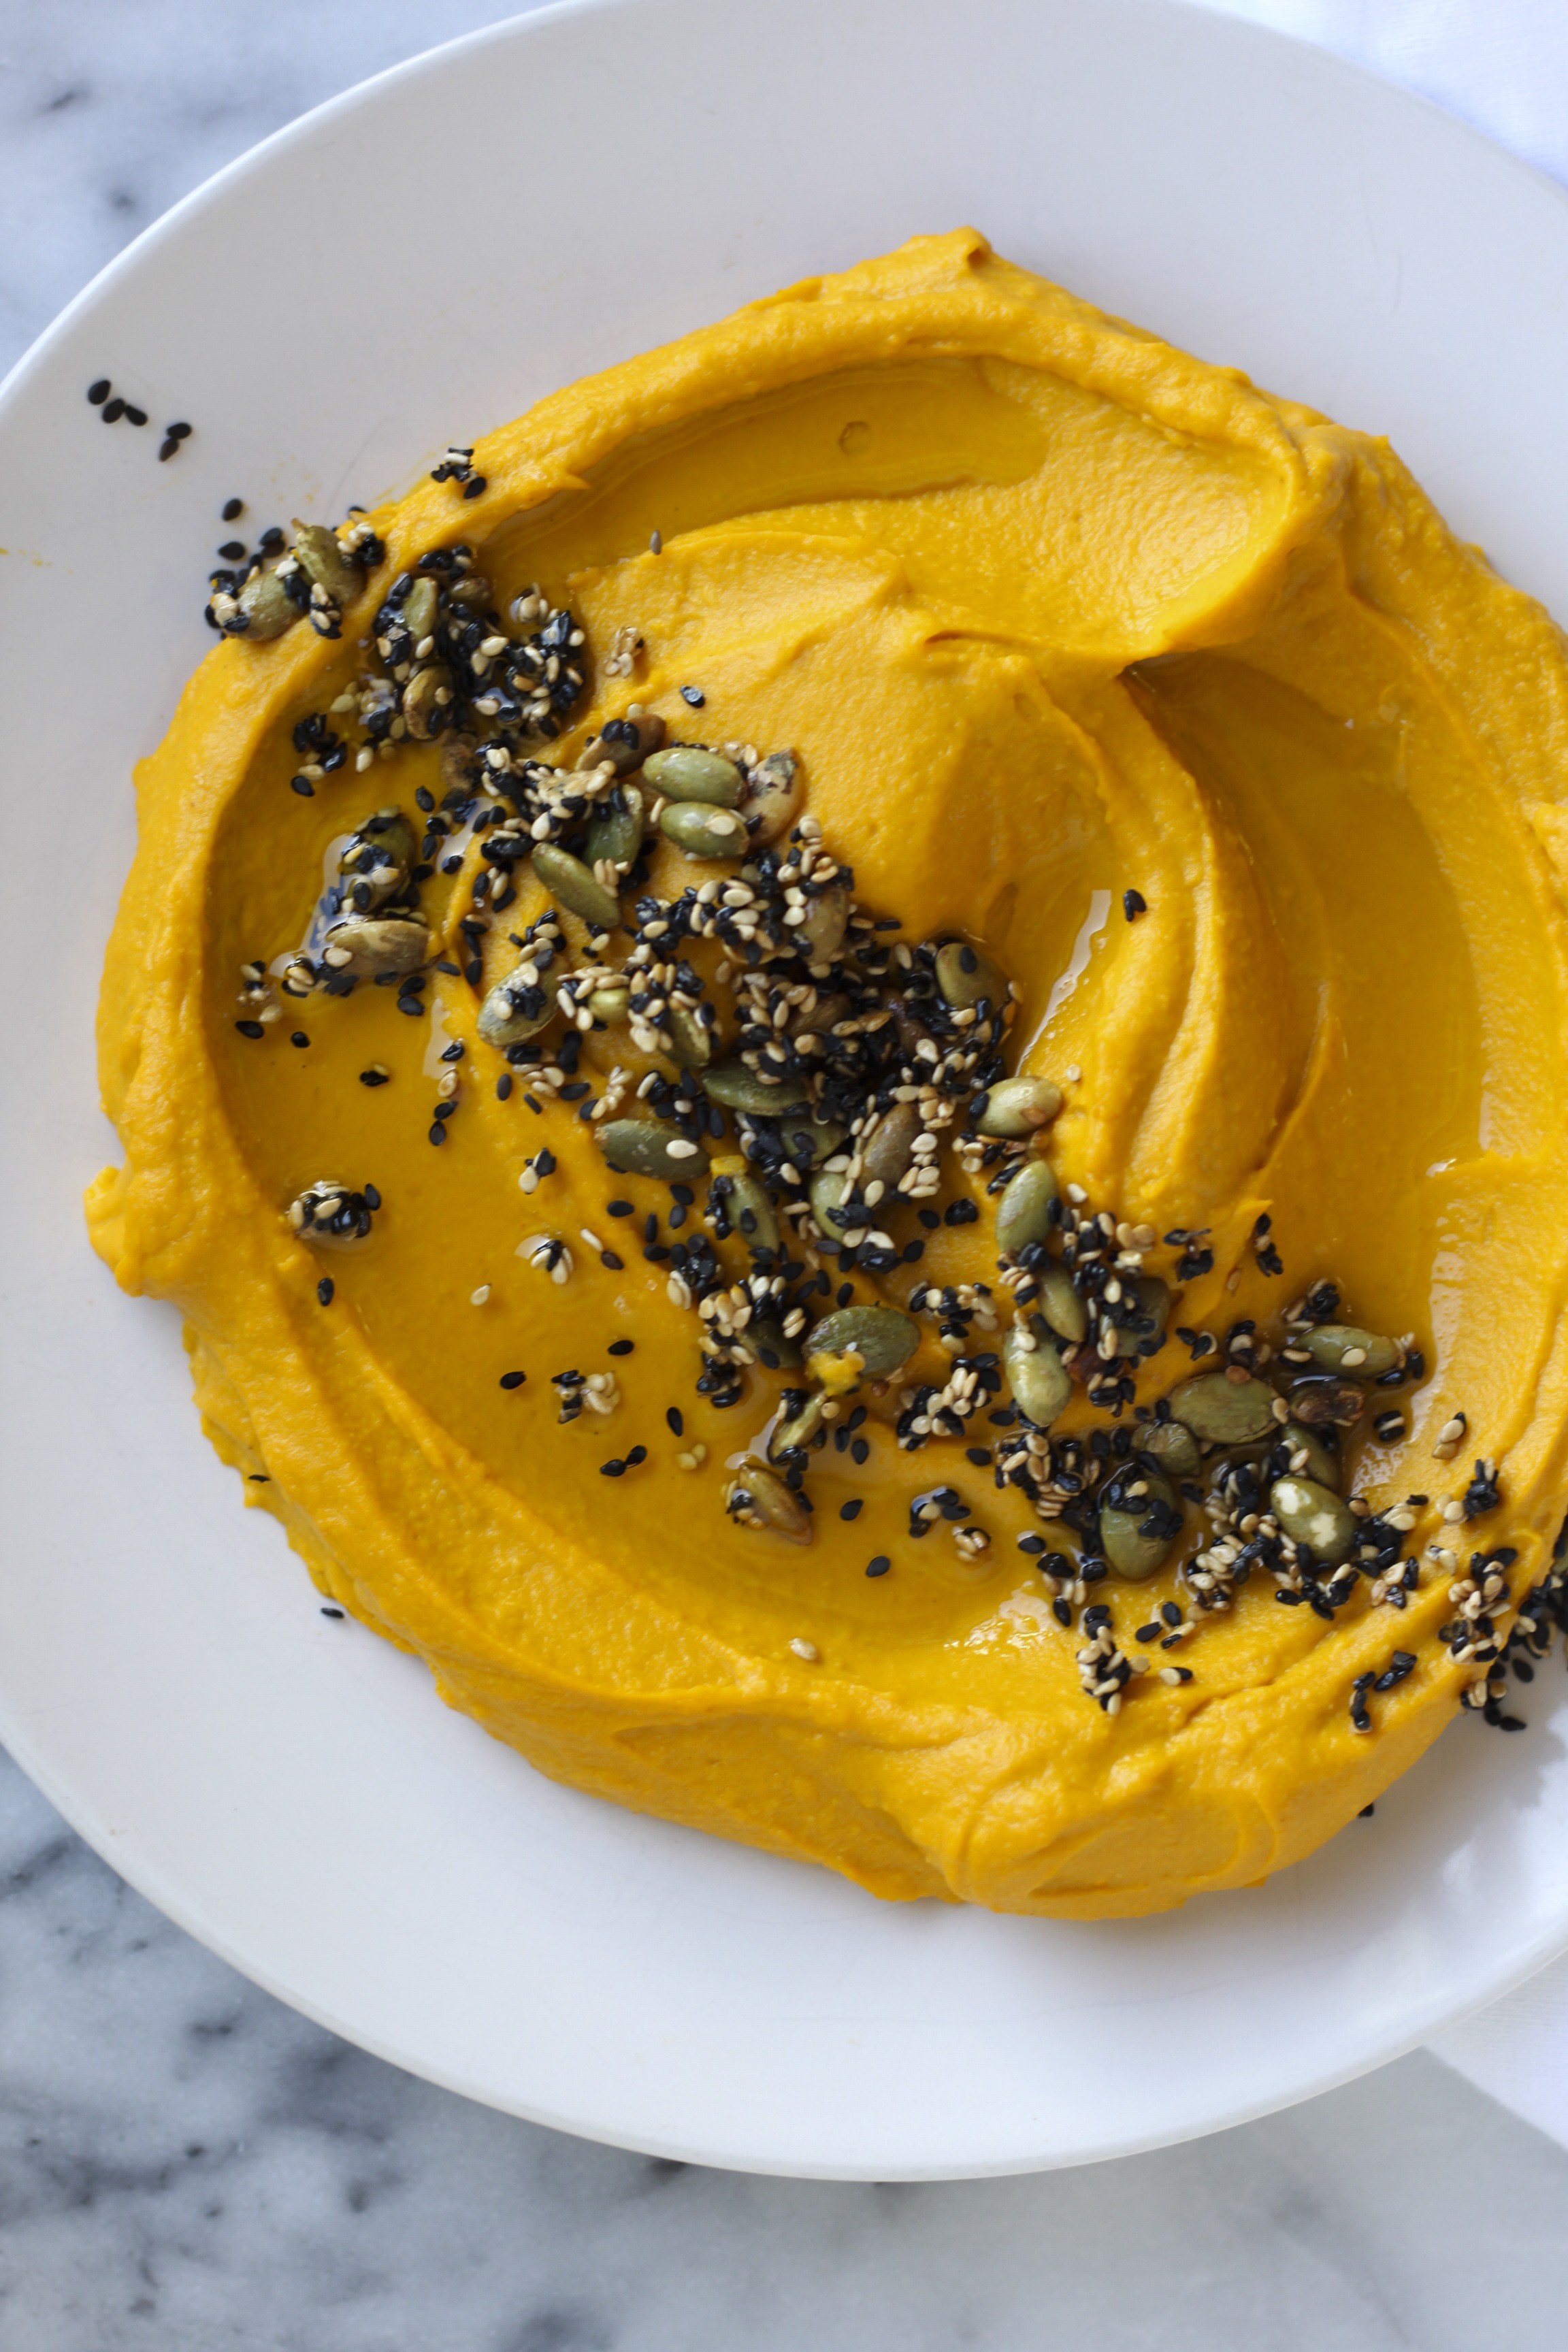
Instagram, food blogs and official food publications have been awash with Thanksgiving related recipes for days, if not weeks. I'm a little late to the game—but hopefully not too late for you to consider including this Kabocha Squash & Miso Hummus as part of your feast (or as a starter before the main event). I made this hummus for the Rosh Hashanah dinner I hosted at the beginning of September—the Jewish new year, another celebratory gathering of family and friends—and literally at least three of the ten people who attended asked me for the recipe. If it doesn't end up making the final cut for this Thanksgiving, that's totally chill. It's hummus, so you are literally justified in making it whenever you want (or whenever winter squash is available).

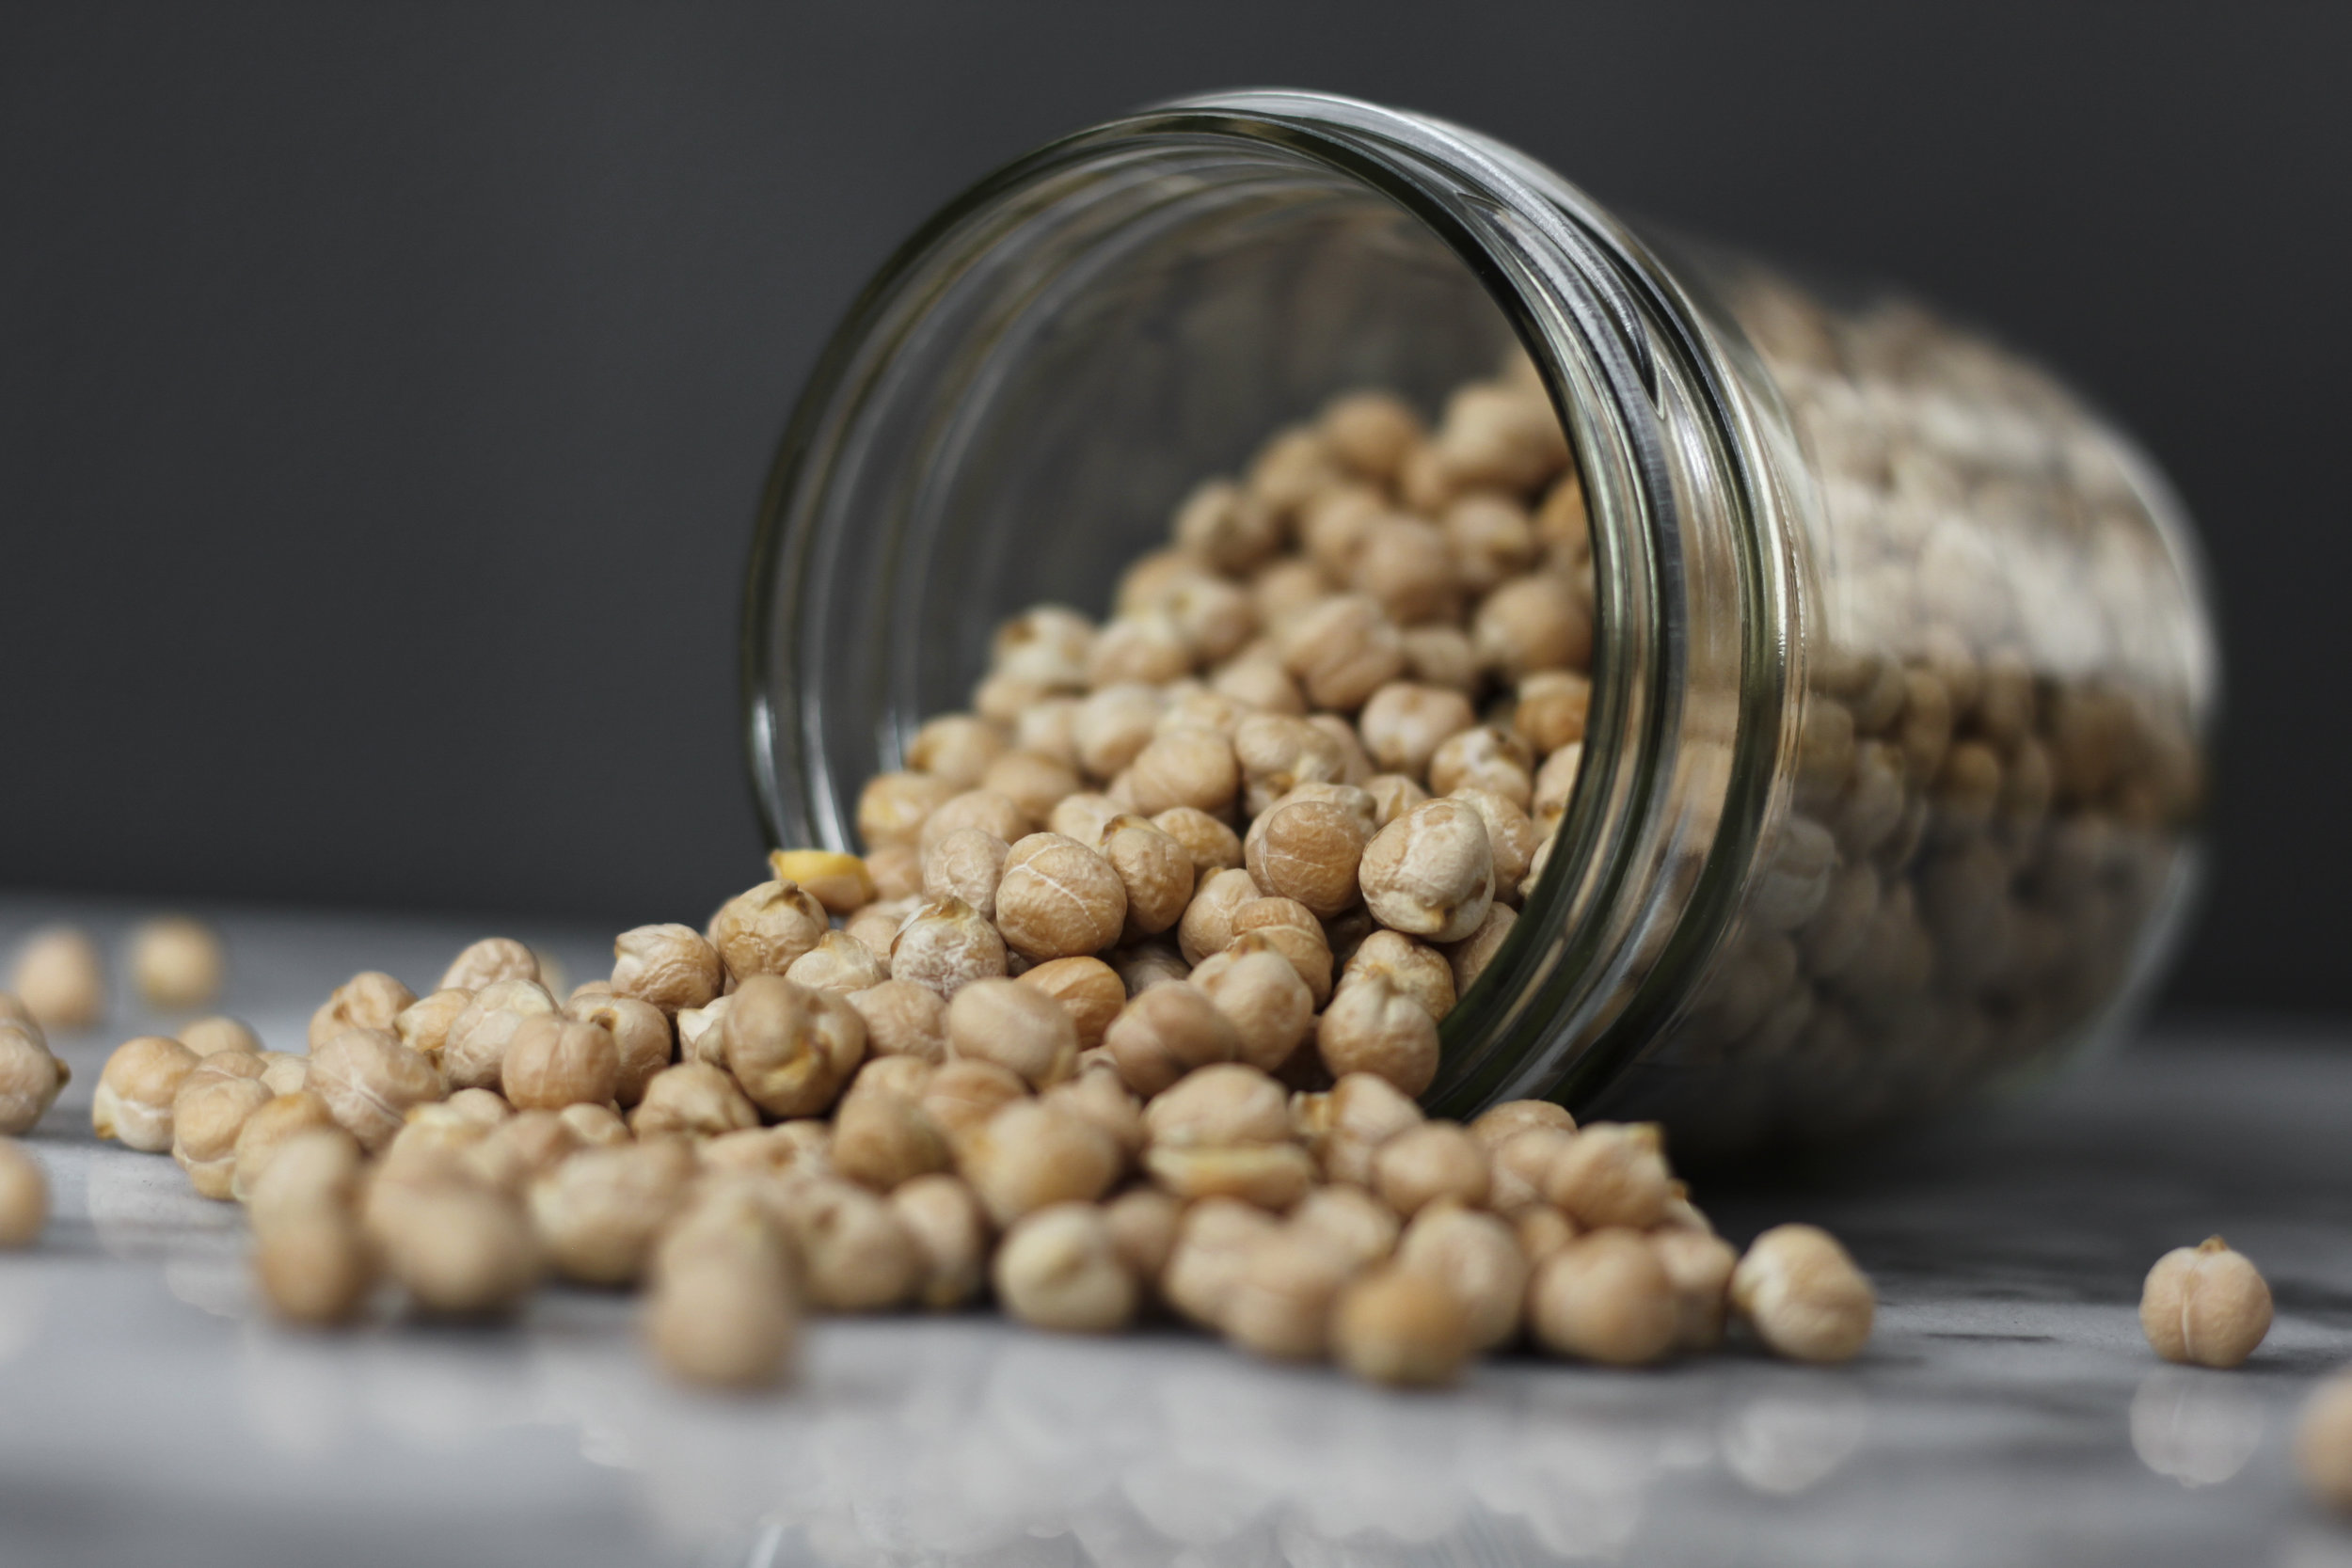
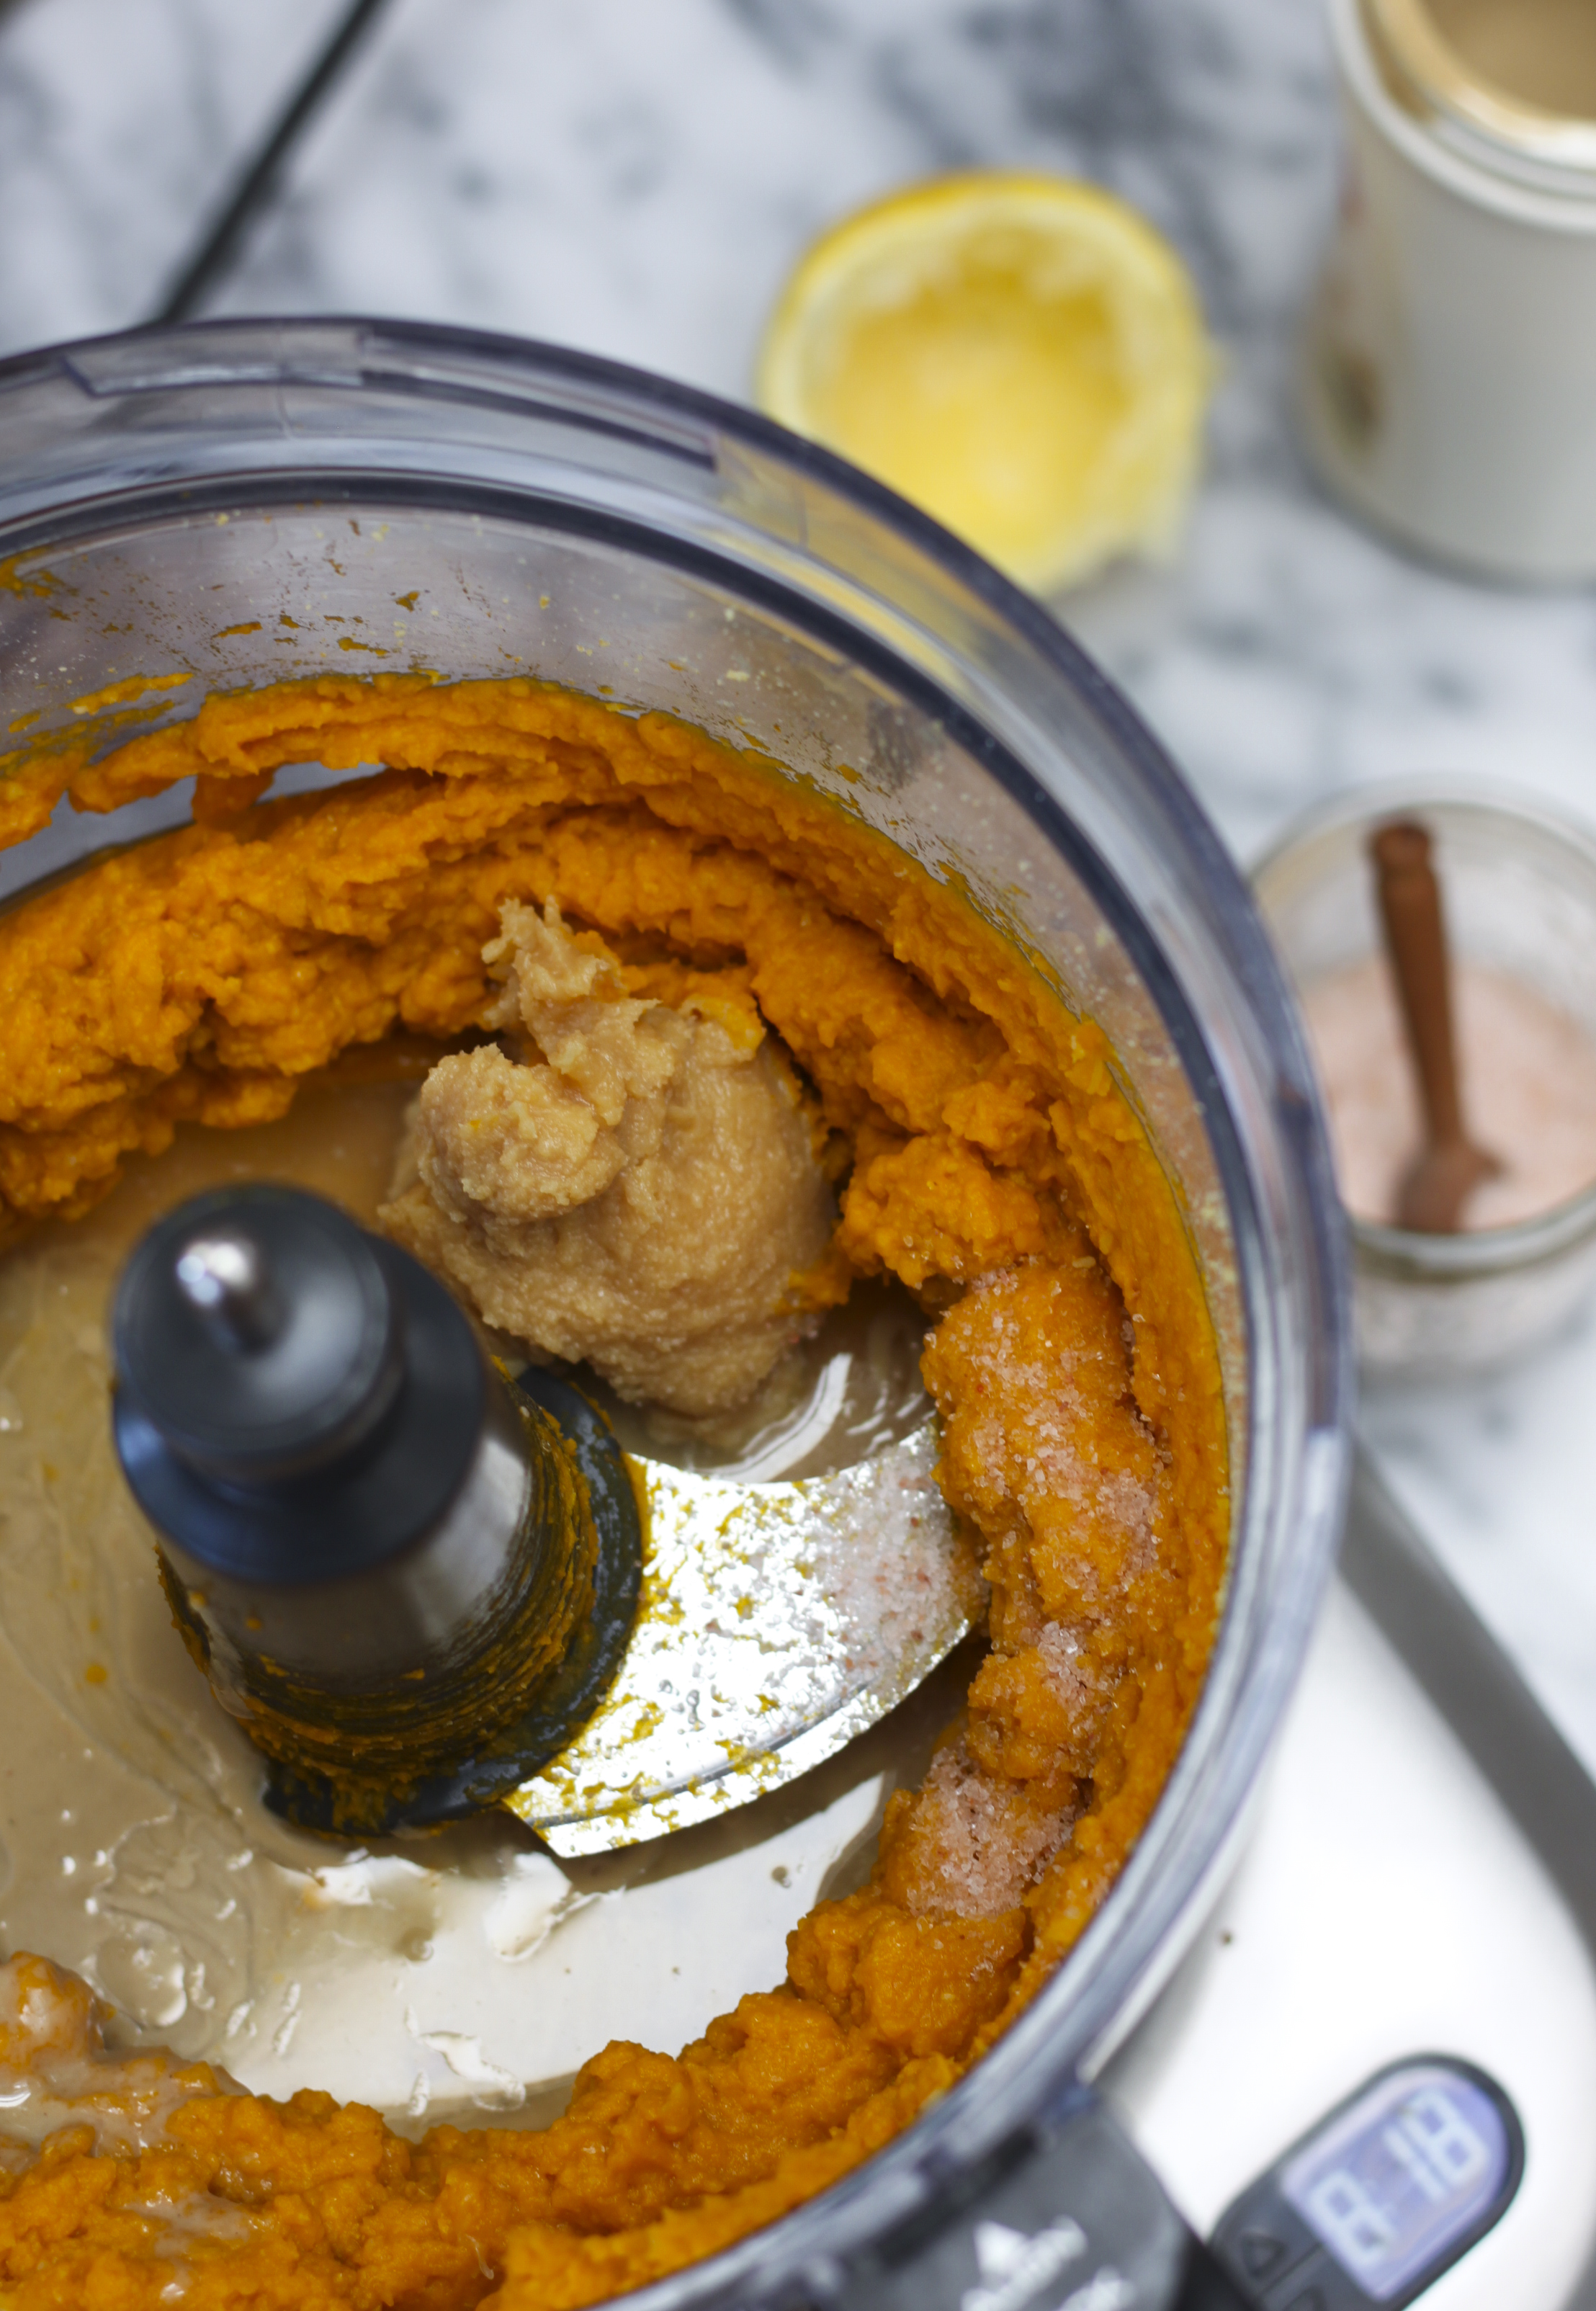
The cool thing about making things from scratch that you often buy at the store—like beans, salad dressings, or hummus—is that once you know the formula and process, you can get really wild with your flavors and mix-ins. Winter squash, chickpeas and tahini are a no-brainer together; the secret, wow-factor ingredient here is definitely the miso.

Miso: Your New (Probiotic) Secret Weapon Flavor Bomb

Miso, probably most familiar to Westerners in the form of miso soup, is a traditional Japanese paste made when soybeans, barley and/or rice are fermented with a fungus called Aspergillus oryzae. After hanging out with the fungus in a very dark spot for some months or years, miso is born and we get to reap its many benefits. If you hate kimchi (like I do), miso is a great fermented ingredient to incorporate into your diet. (I also encourage you to incorporate it into your diet even if you like kimchi, because it is far more delicious [subjective opinion] and far more versatile [objective fact]). As a probiotic, it helps support digestion and maintain (or enhance) the health of the bacterial flora in your gut—which is super important in our overall health! Additionally, miso has a unique blend of salty, sweet and umami (savory) flavors, which makes it an awesome staple ingredient to add depth of flavor to vegetarian cooking.

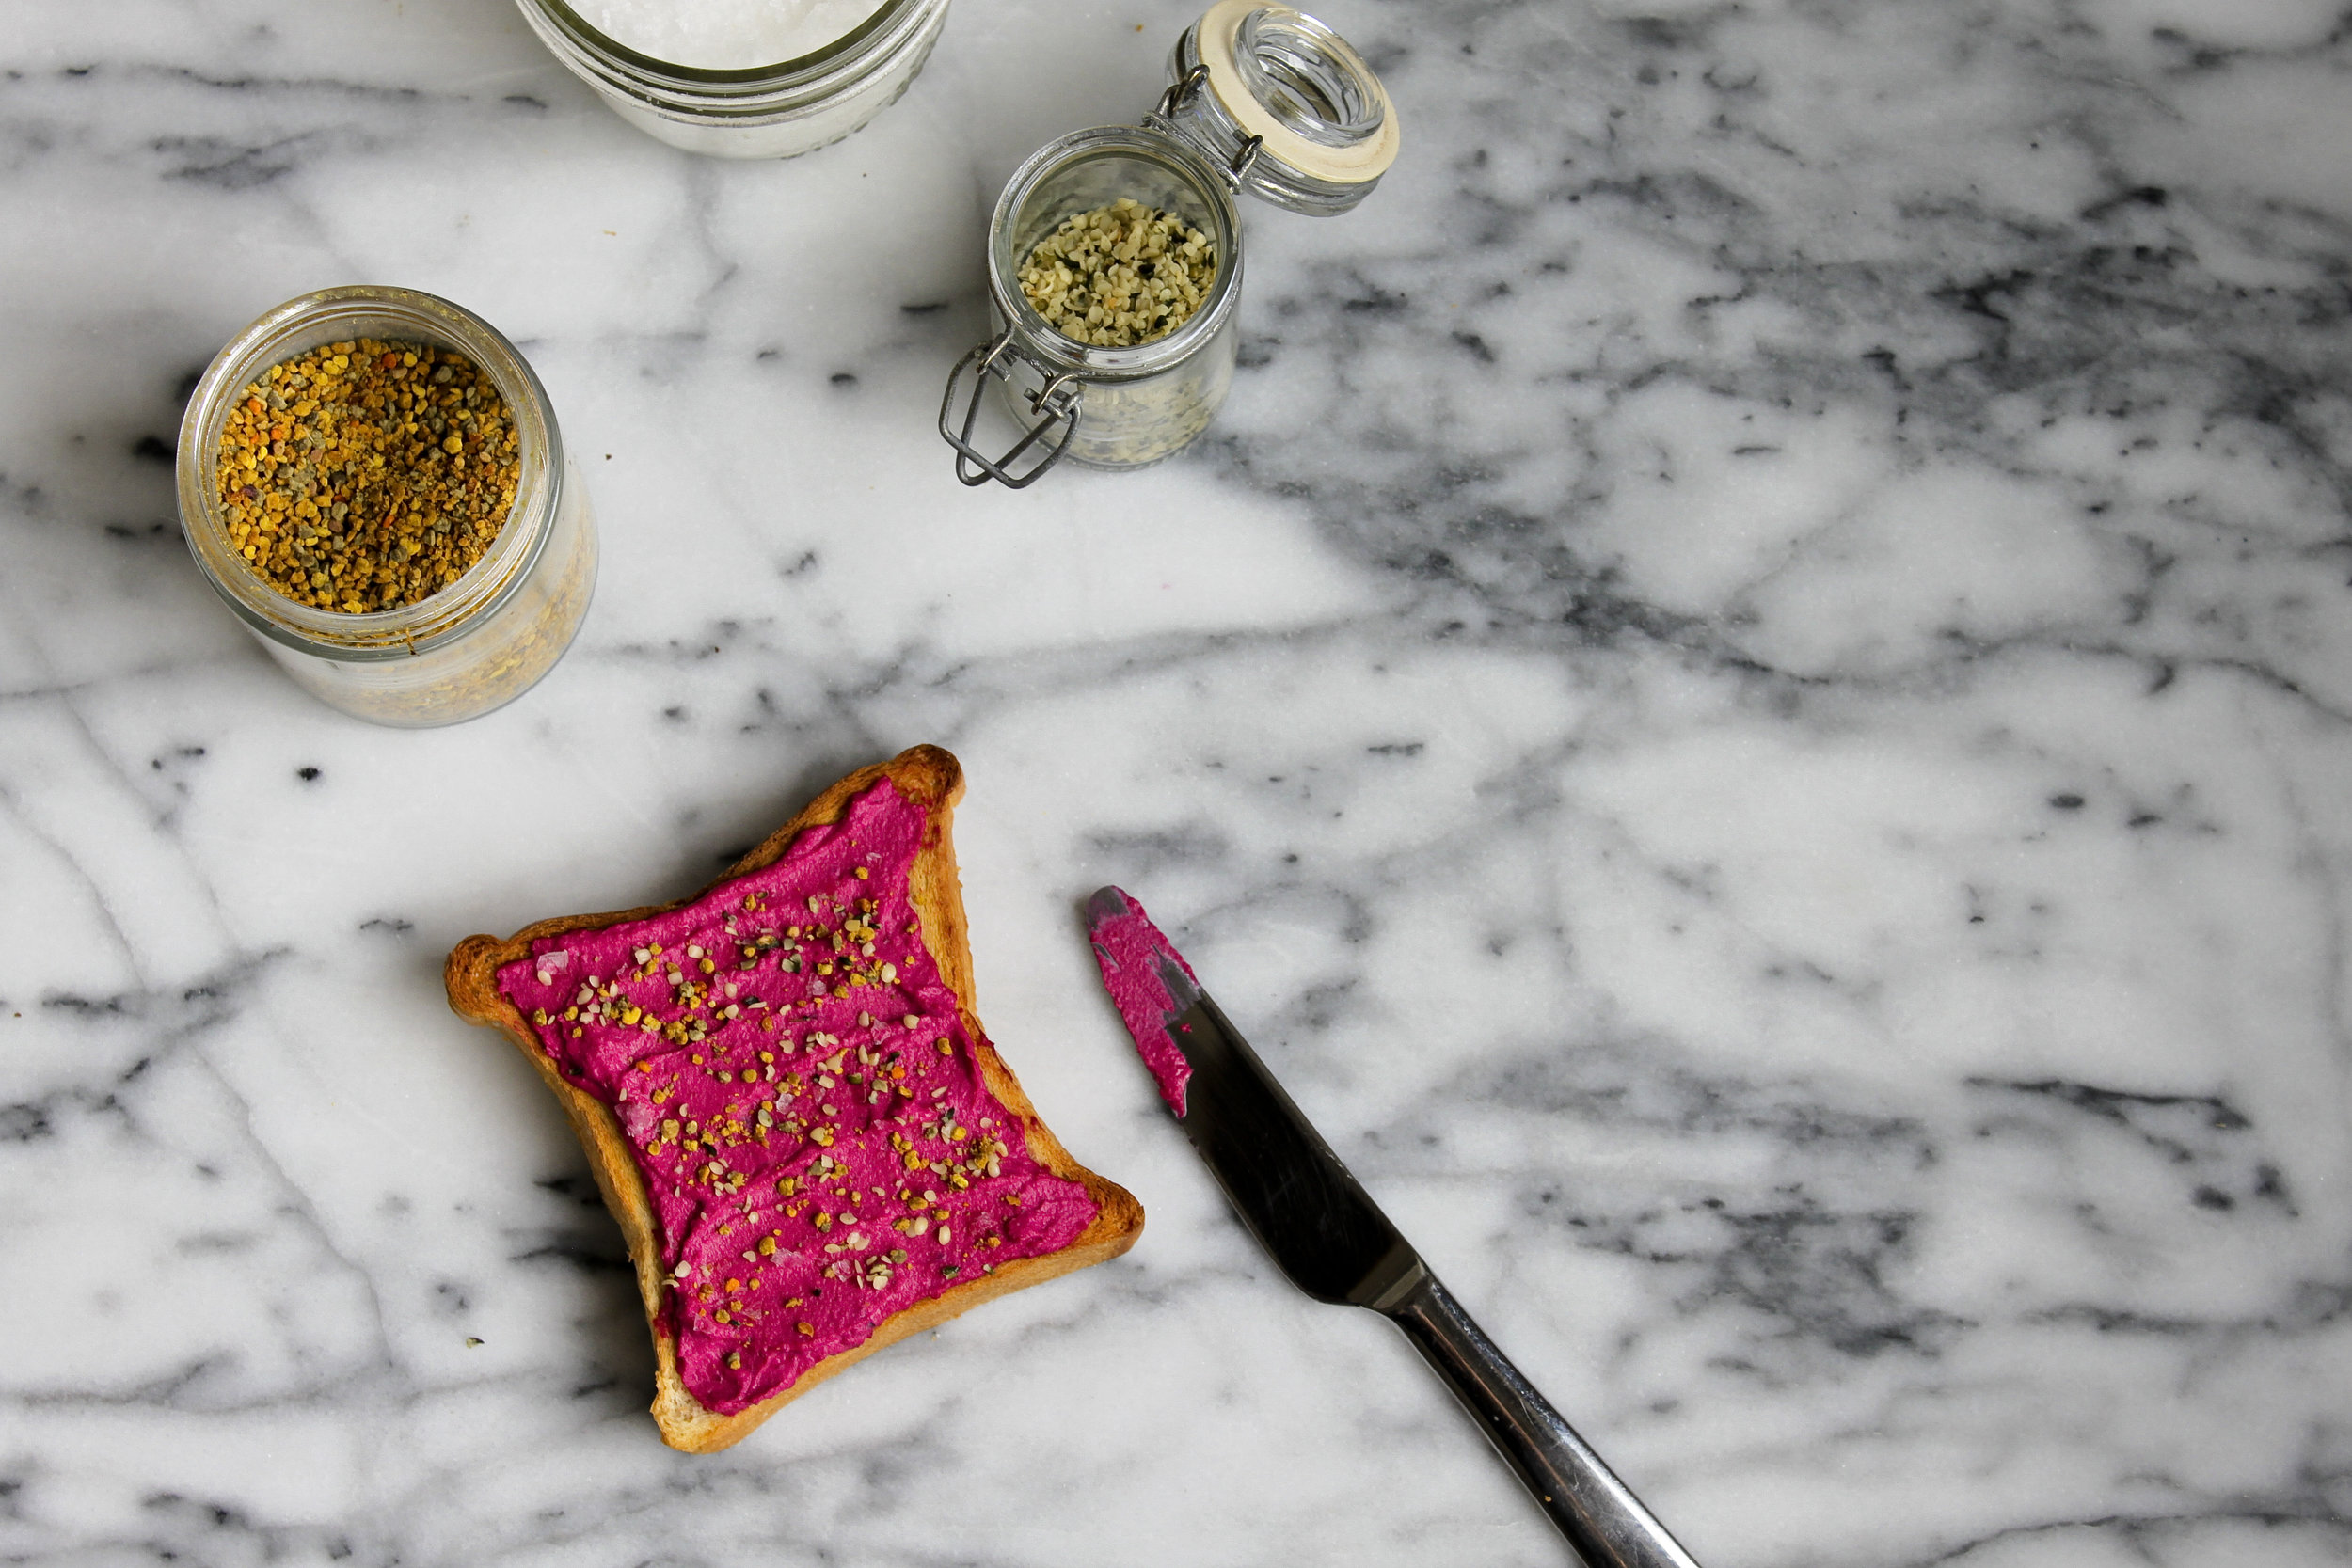
Because miso is a probiotic food, it should be stored in the refrigerator and never boiled or heated in the oven—else the live, active cultures, enzymes and nutrients will be decimated. For this same reason, be sure to buy organic, unpasturized miso paste when you shop for it. Miso comes in a variety of flavors or colors depending on its ingredients and the length of its fermentation process. Varieties range from "white" to "dark brown," with the lighter colors leaning towards a more mild, sweet flavor and the darker colors being more salty and pungent (you can get a complete guide here). Because of its lighter flavor, I find the sweet white or yellow miso to be best in recipes where no heat is involved, like dressings and dips.

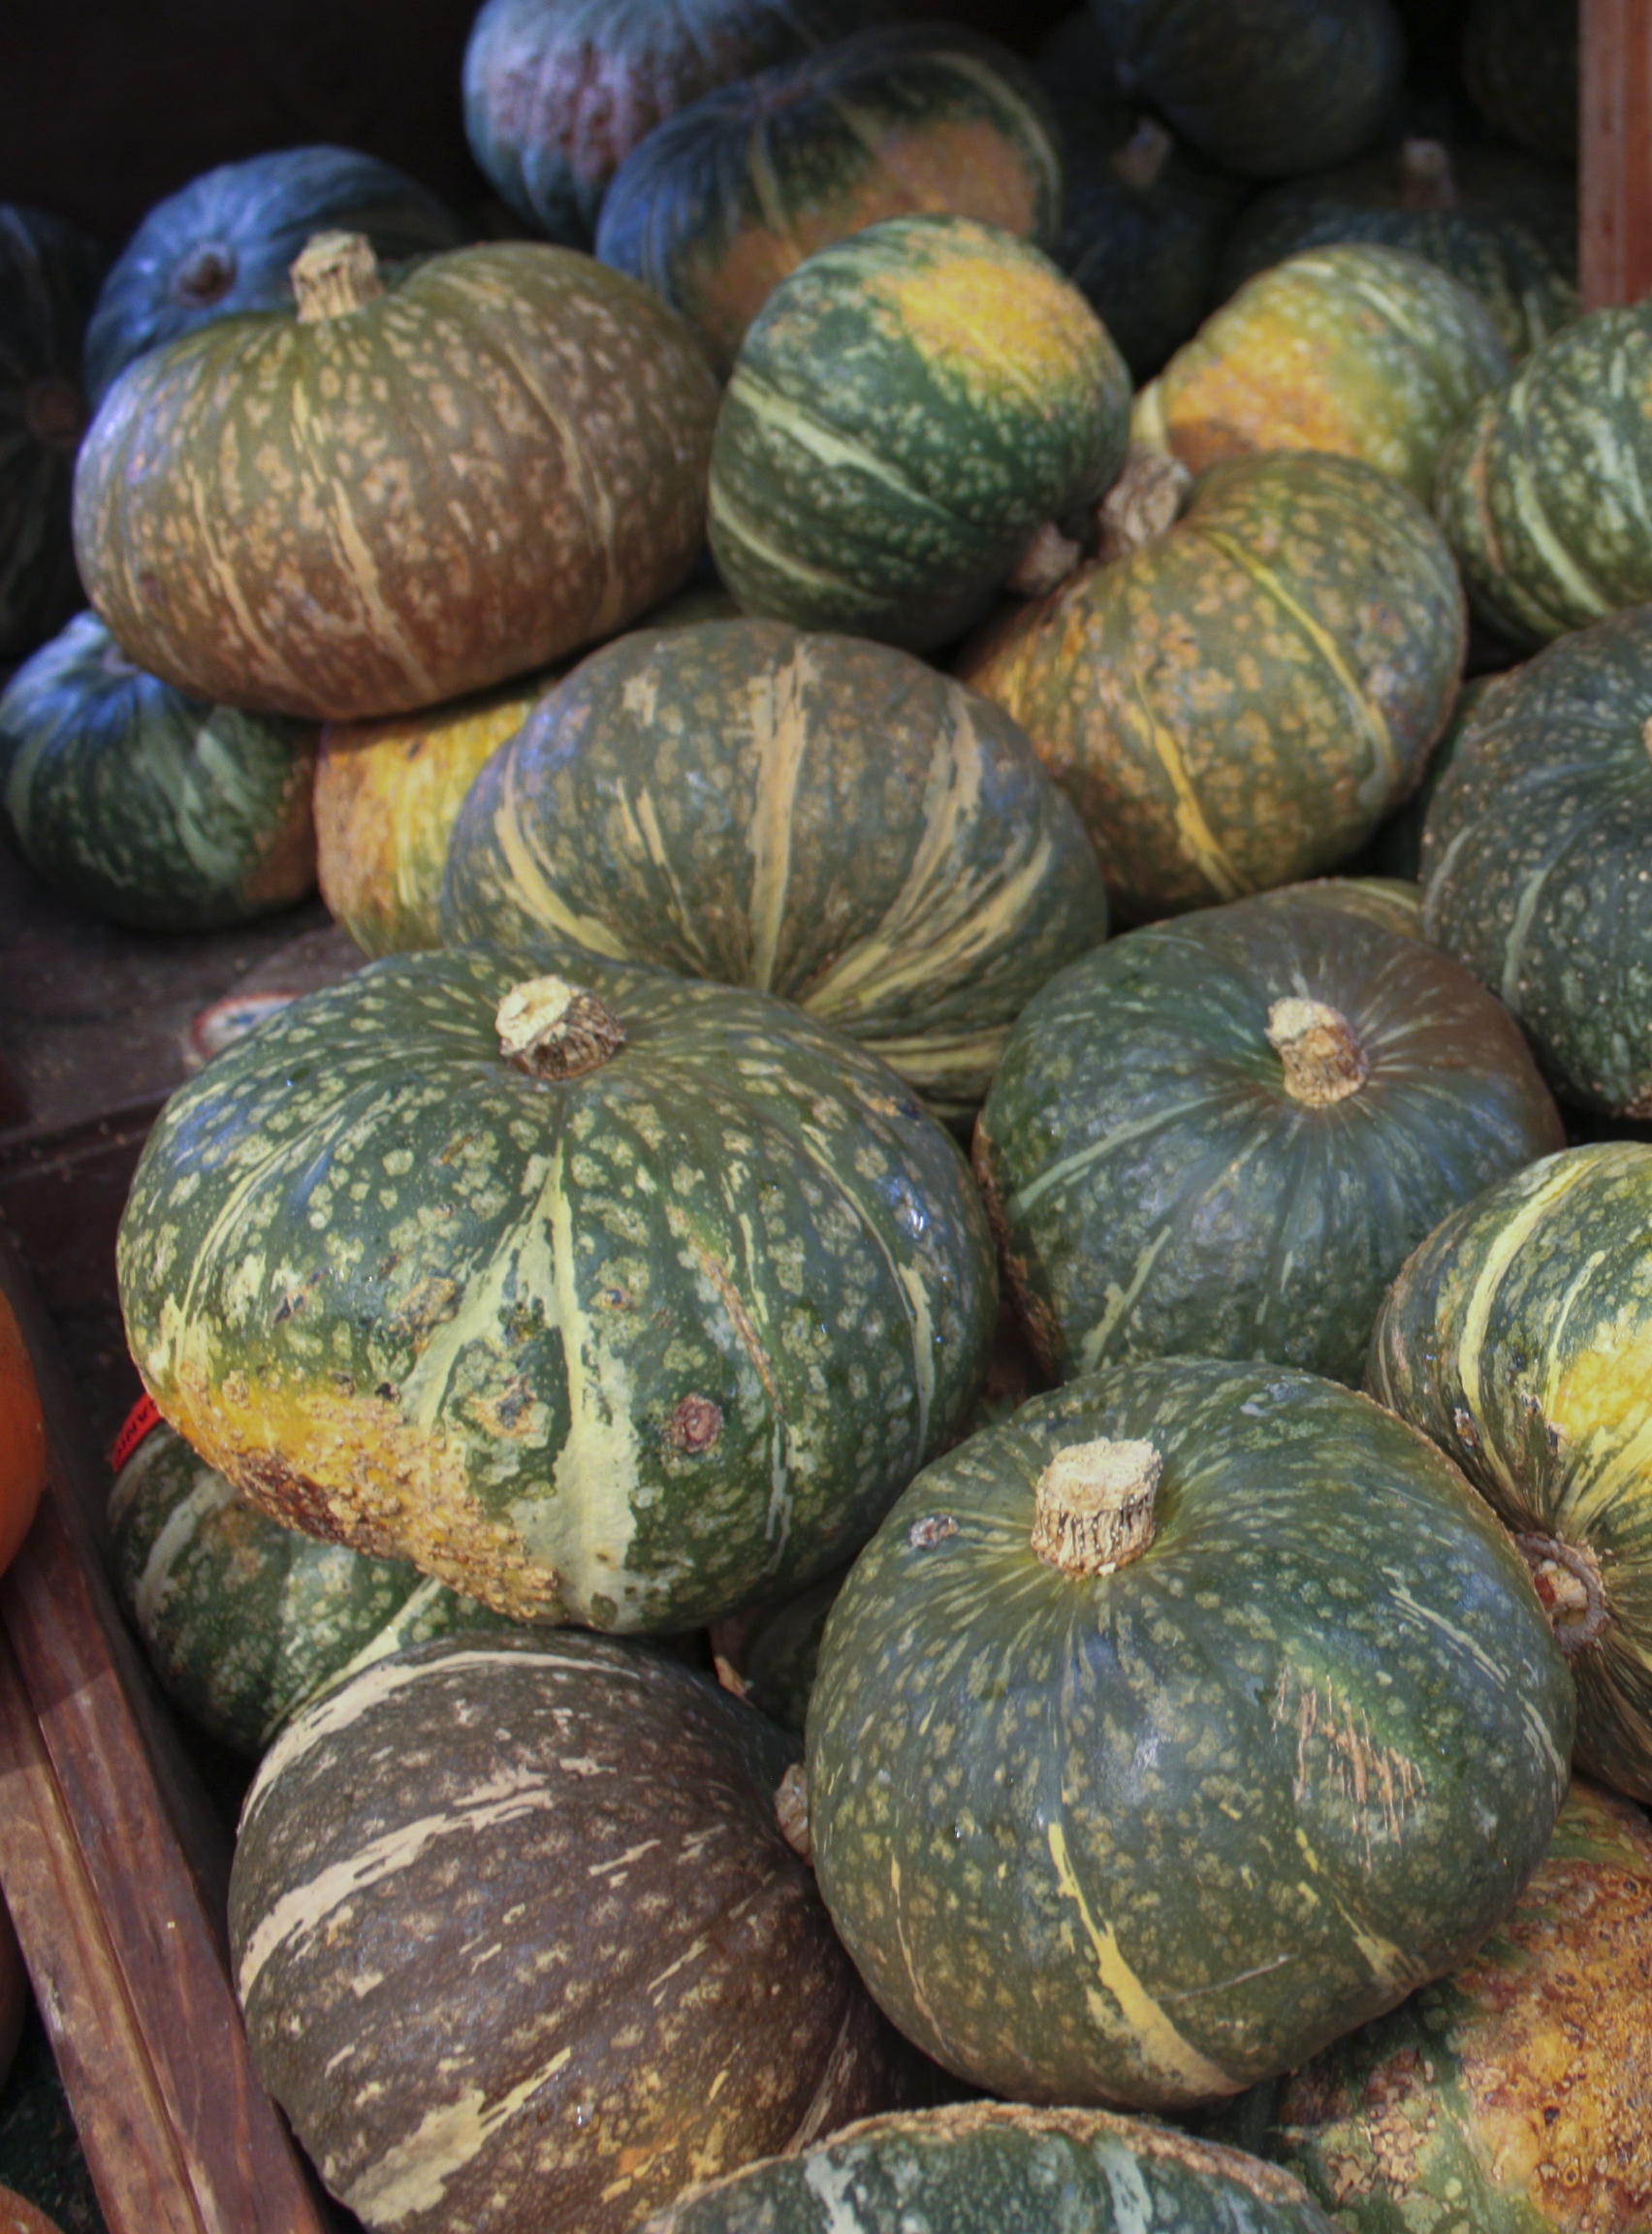
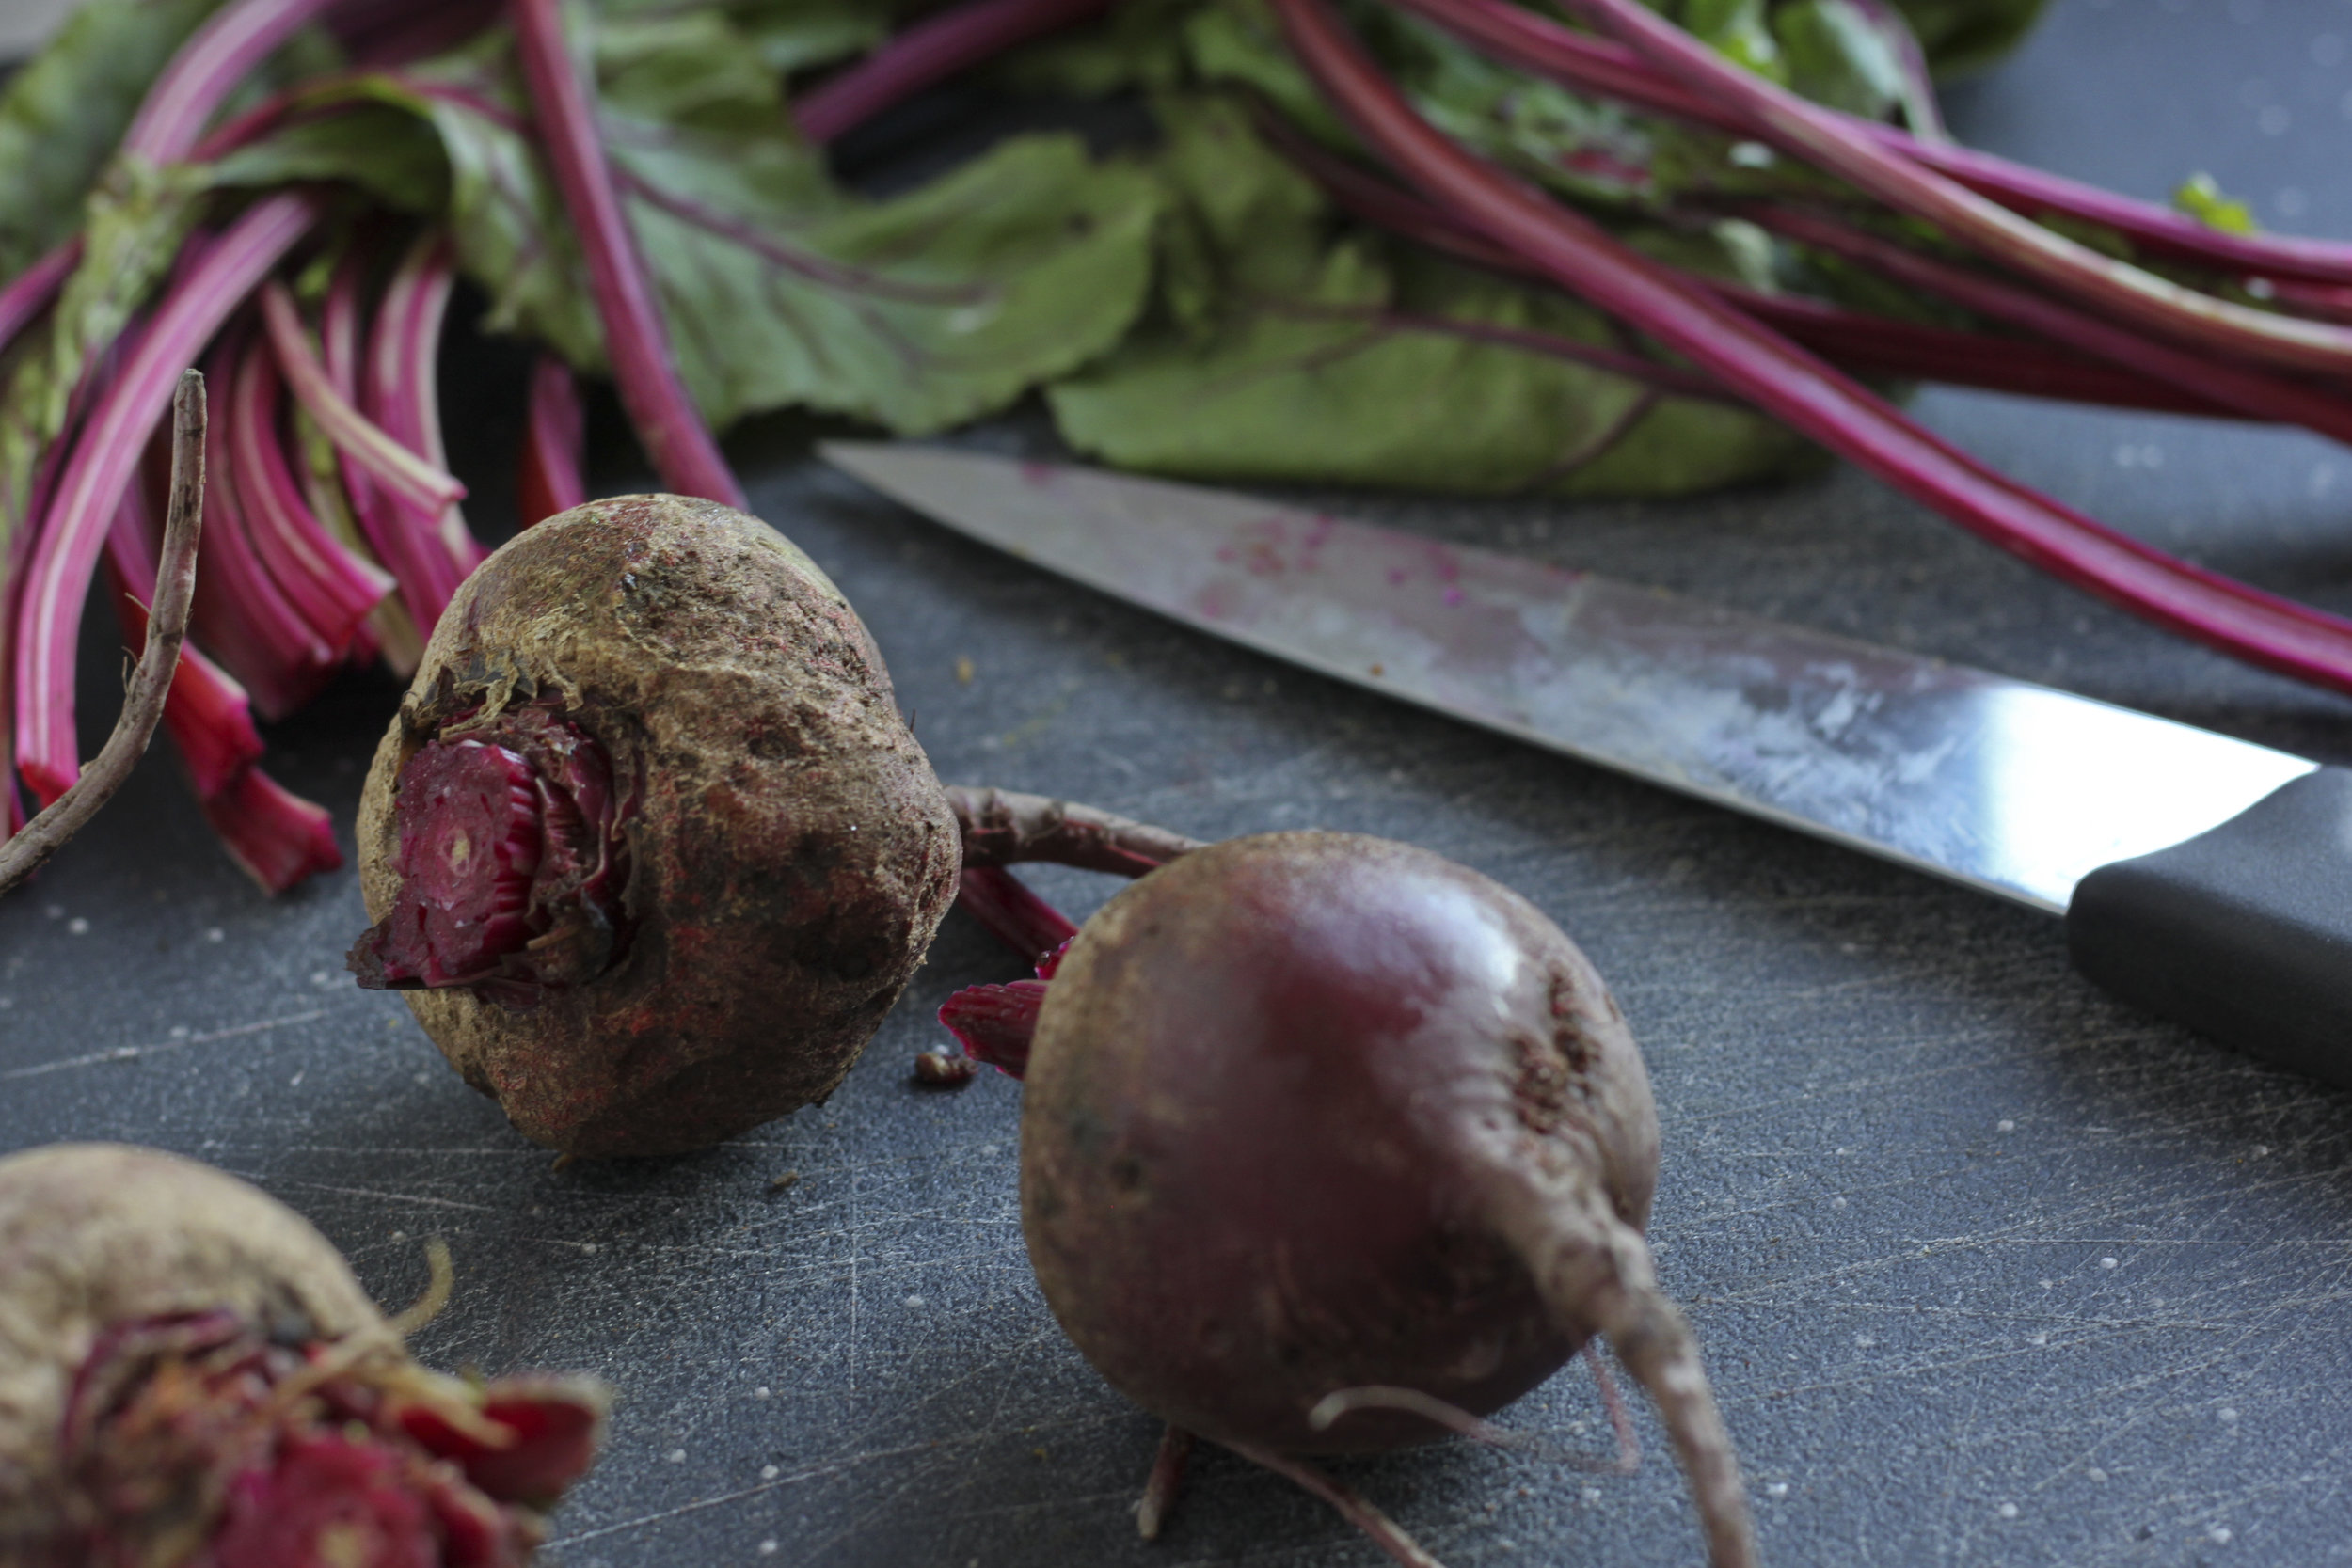
Kabocha Squash: Butternut's Cooler Cousin

I had never heard of Kabocha squash until I worked at a farm-to-table online grocer two years ago. Once I first learned how to say "kabocha," my mouth could no longer articulate the word "kombucha". (I've since been cured of that particular affliction.) Once I first baked it, my taste buds refused to let me cook butternut anymore. It is somehow just a bit richer, a bit denser, a bit sweeter, and a bit more flavorful, cumulatively creating the most amazing winter squash experience I've ever had. To be fair, it is a pain in the ass to peel and cube. But if you are puréeing a squash for any reason, kabocha is the way to go. (And if for some reason you are unable to find kabocha at the market, you may sub Butternut in this recipe.)

Of Japanese origin, kabocha squash finds common ground with its winter squash kin as one of the most substantial sources of alpha-carotene and beta-carotene in our entire diet. These carotenoids are primary antioxidants, which help fight free-radicals in our bodies and have anti-inflammatory and immune supporting properties.  

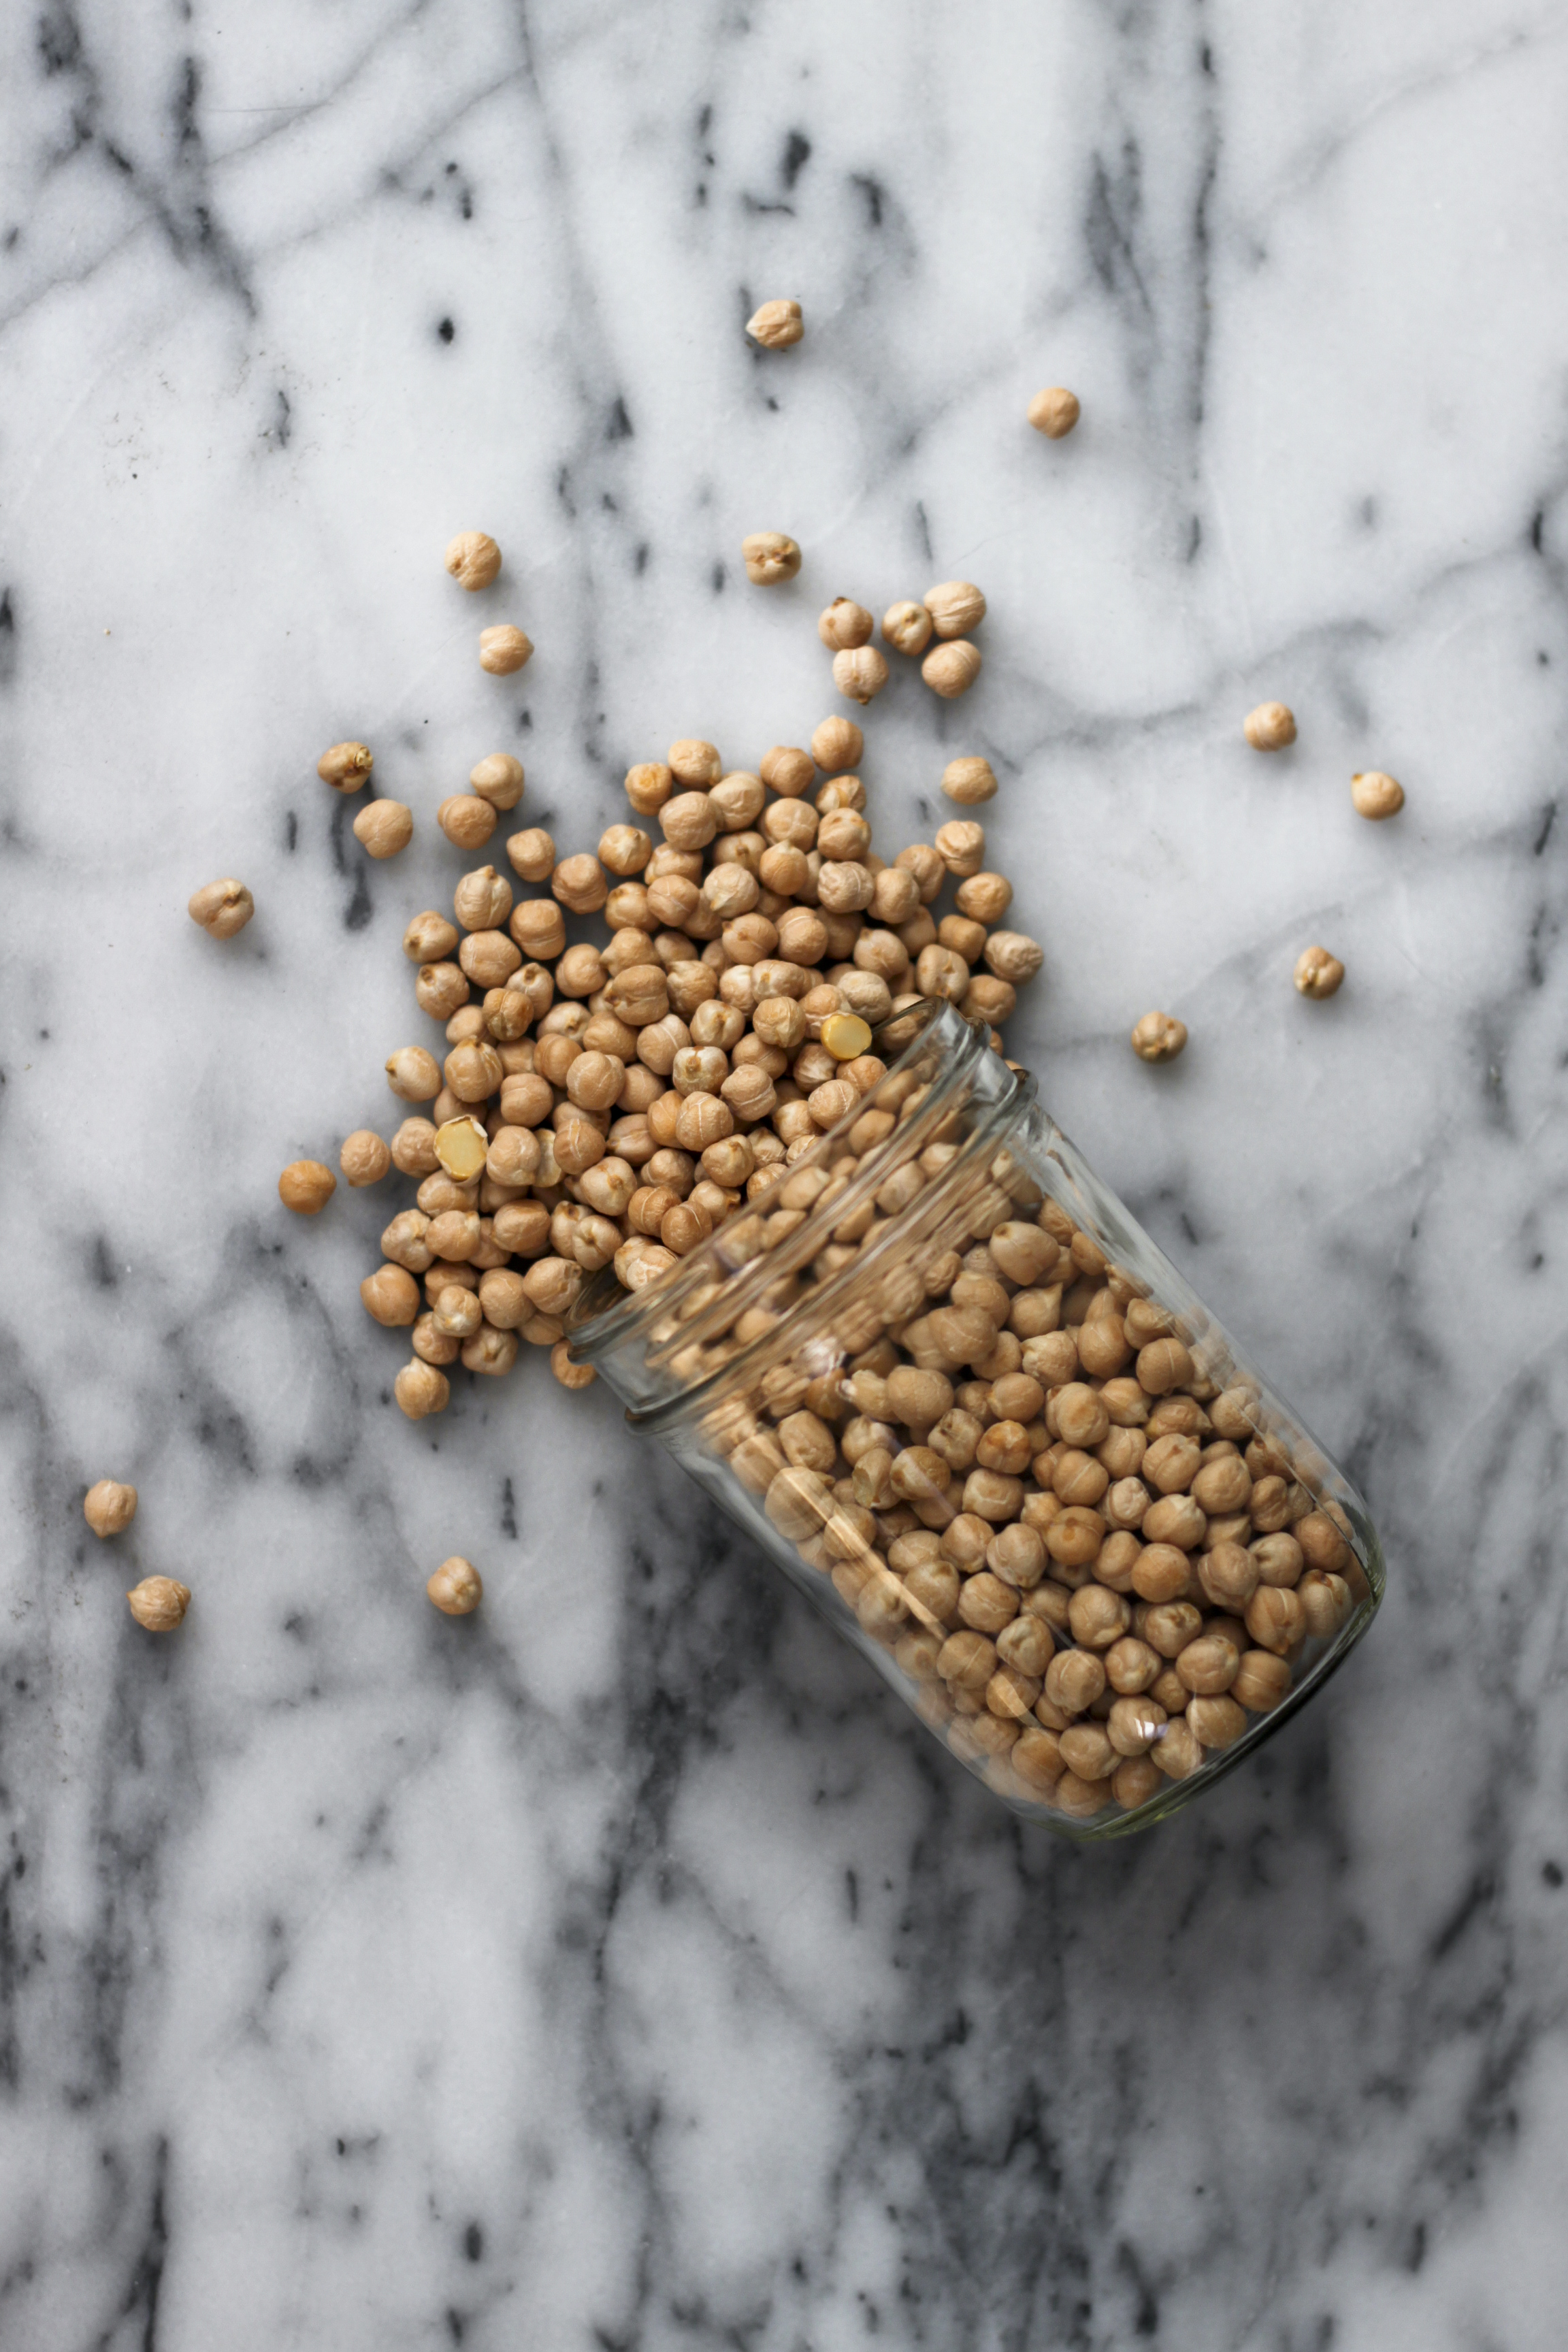
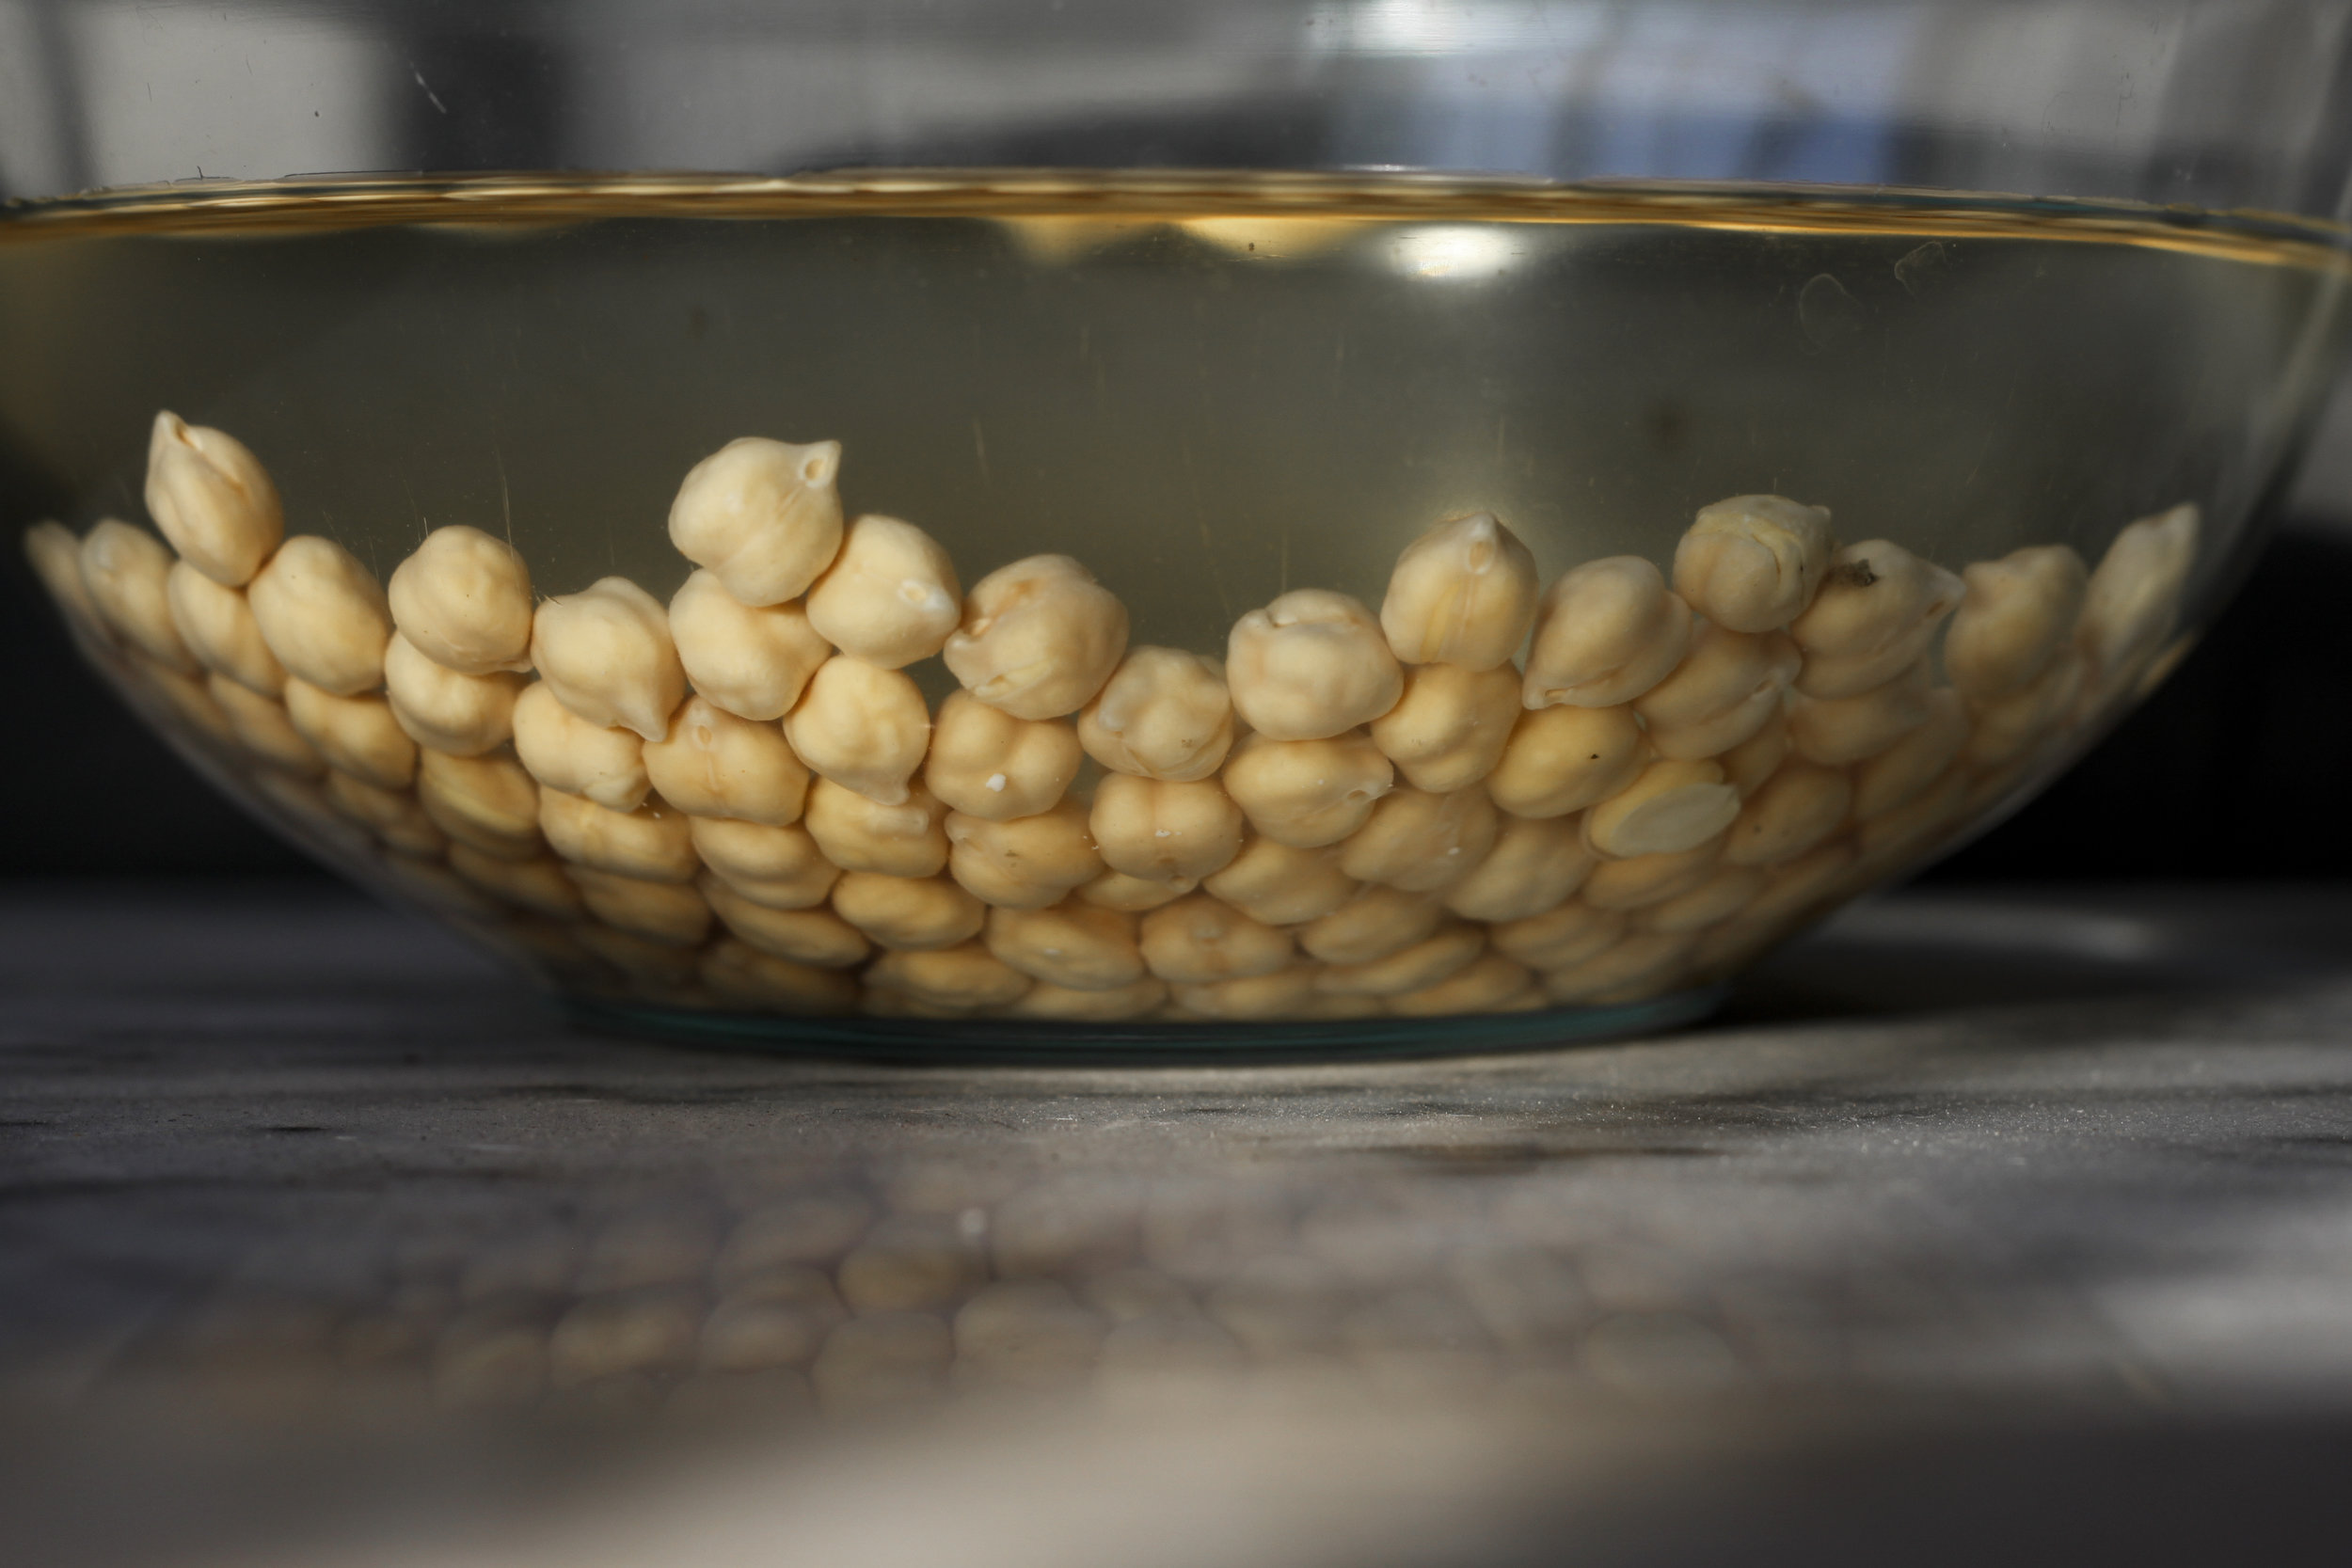
Suffice to say that between the protein packed chickpeas, calcium and omega rich tahini, chock-full-of-probiotic miso and carotenoid crazy squash, this is one health supportive dip. I don't know whether it's a good or bad thing that no one will be thinking about how healthy it is when they taste how delicious it is. But hey, both nutritional health and real food flavor are small yet mighty things to be grateful for this Thanksgiving...even when our world feels like it's falling apart.


*Sources: SF Gate, My New Roots & WH Foods.

Kabocha Squash & Miso Hummus
Makes enough for a small crowd

Ingredients
Hummus
1 cups cooked chickpeas (from about 1/2 cup dried chickpeas, cooked following this method) (If you don't have time to cook your own, canned are fine. Just rinse them off first!)
2 cups kabocha squash purée, from one large squash
1 clove garlic, minced
1/2 cup tahini, preferably unhulled
1/4 cup sweet white or mellow yellow miso, organic & unpasturized
1/4 cup lemon juice, fresh squeezed (from about 1 large lemon)
1/4 tsp. sea salt
6 Tbsp. ice water
oilve oil, to finish

Maple Sesame & Pepita Sprinkle
2 Tbsp. raw, unhulled sesame seeds (brown or black)
1 Tbsp. raw pepitas
1 tsp. olive oil
2 tsp. pure maple syrup
pinch salt

Directions
Hummus
1. Pre-heat oven to 400F. Line a baking sheet with parchment paper.
2. Carefully cut the kabocha squash in half horizontally. Scoop out and discard the seeds. Smear a dab of coconut oil or ghee along the rim of each side.
3. Place both halves of the squash face down on the baking sheet and bake until tender, about 40-55 minutes. You will know it's ready when the top of the squash has deflated/collapsed in on itself. Once done, remove from the oven and carefully flip upside down to cool.
4. Place cooked chickpeas in a food processor and blitz until they have formed a stiff paste. You may need to stop and scrape down the sides of the bowl a few times.
5. Once the squash is cool, scoop out the flesh and measure out two cups. (If you have any left over, it's great to add to porridge or waffle mix!) Add the two cups of squash to the food processor and blend with the chickpeas until thoroughly combined.
6. Add garlic, tahini, miso, lemon, and salt. Blend until thoroughly combined.
7. With the motor running, slowly stream in the ice water, 1 Tbsp. at a time, stopping after 4 Tbsp. Let the food processor run for about 5 minutes, until the hummus is super smooth and creamy. Taste and assess the consistency and flavor. If you'd like it thinner, add more ice water. Add more salt, lemon and garlic to your taste preference and blend until smooth.
8. To serve, spread in a bowl or on a plate and garnish with quality olive oil and maple, sesame and pepita sprinkle.

Maple, Sesame & Pepita Sprinkle
1. Pre-heat toaster oven or big oven to 350F. Line a baking sheet with parchment paper.
2. Mix together all ingredients.
3. Spread mix in an even layer onto parchment paper. Bake until fragrant and slightly browned, 15-20 minutes.
4. Let cool completely before handling or tasting. It will be very hot straight out of the oven and not completely hardened yet!

Bright Beet Hummus with Bee Pollen, Hemp Seeds and Fleur de Sel

I made some hummus. And I put beets in it because who doesn't want to eat food that is beautifully and naturally bright pink?! Also, some may argue that it makes the hummus extra delicious (and undeniably extra nutritious). I originally assembled this hummus for its glamour shots in a bowl with some minced parsley, swirls of olive oil, and the company of crackers and crudités, while snacking on some leftover brioche that I had in the freezer from an earlier project (because photographing food whilst hungry is dangerous business and I do not recommend it to anyone). The styling and shots were mediocre at best. As I glanced over at the leftover toast, the synapses in my brain fused together its playful shape and pallid palette with the fuchsia hue of the hummus, imagining the eye candy taken even further by the addition of bright yellow pellets of bee pollen and greenish white hemp seeds. Suddenly my party appetizer dip turned into a breakfast toast that was visually suggestive of white cake with pink frosting and sprinkles! 

Sometimes it's good to shake things up a bit. Trust your intuition. Sneak vegetables into your breakfast. Make your food look like a party because it engages your creativity, it's a simple pleasure, it makes life more fun. If you don't have bee pollen or hemp seeds, don't sweat it. Sprinkle some other things that you do have onto this toast and see how they taste. Or stick with the classics and eat the hummus with crackers, cucumber sticks, pita, whatever. Either way, you'll still be eating a food that is delicious, super nutritious and bright freakin' pink, so at the very least you can marvel at that!

Bright Beet Hummus with Bee Pollen, Hemp Seeds & Fleur de Sel
Serves 6-8 as a starter, or enough for many mornings of toast

Ingredients
Hummus
1 1/2 cups cooked chickpeas (from about 3/4 cups dried chickpeas, cooked following this method)
2 medium beets
2 cloves garlic, minced
1/2 cup tahini, preferably unhulled
1/4 cup lemon juice, fresh squeezed (from about 1 large lemon)
1/2 tsp. sea salt
6 Tbsp. ice water

Toppings (get creative!)
Bee pollen
Hemp seeds
Fleur de sel, Maldon or other finishing salt
Parsley
Mint
Toasted walnuts

Directions
1. Preheat oven to 400°F. Chop stems off beets, scrub thoroughly and wrap beets in tin foil. Place on a baking sheet and roast until they are tender and can easily be pierced with a fork, 45-60 minutes. Carefully flip beet parcel over halfway through the roasting to make sure the bottoms don't burn. Once they're tender, remove from oven, unwrap foil and set aside to cool. (You can do this step a couple days in advance.)
2. Place cooked chickpeas in a food processor (if you're using canned ones, make sure you rinse them off first!) and blitz until they become a stiff paste. You may need to start and stop it a few times to scrape down the sides with a spatula until the desired consistency is reached.
3. Once the beets are cool enough to handle, use your thumbs to push/slide off the skins. Chop them into medium sized cubes.
4. Add beets to food processor and blend until thoroughly combined with the chickpeas.
5. Add tahini, lemon, garlic and salt and blend until combined, stopping to scrape down the sides when necessary.
6. With the motor running, slowly stream in the ice water, 1 Tbsp. at a time, stopping after 4 Tbsp. Let the food processor run for about 5 minutes, until the hummus is super smooth and creamy. Taste and assess the consistency and flavor. If you'd like it thinner, add more ice water. Add more salt, lemon and garlic to your taste preference and blend until smooth.
7. Garnish with whatever fits your fancy and enjoy!