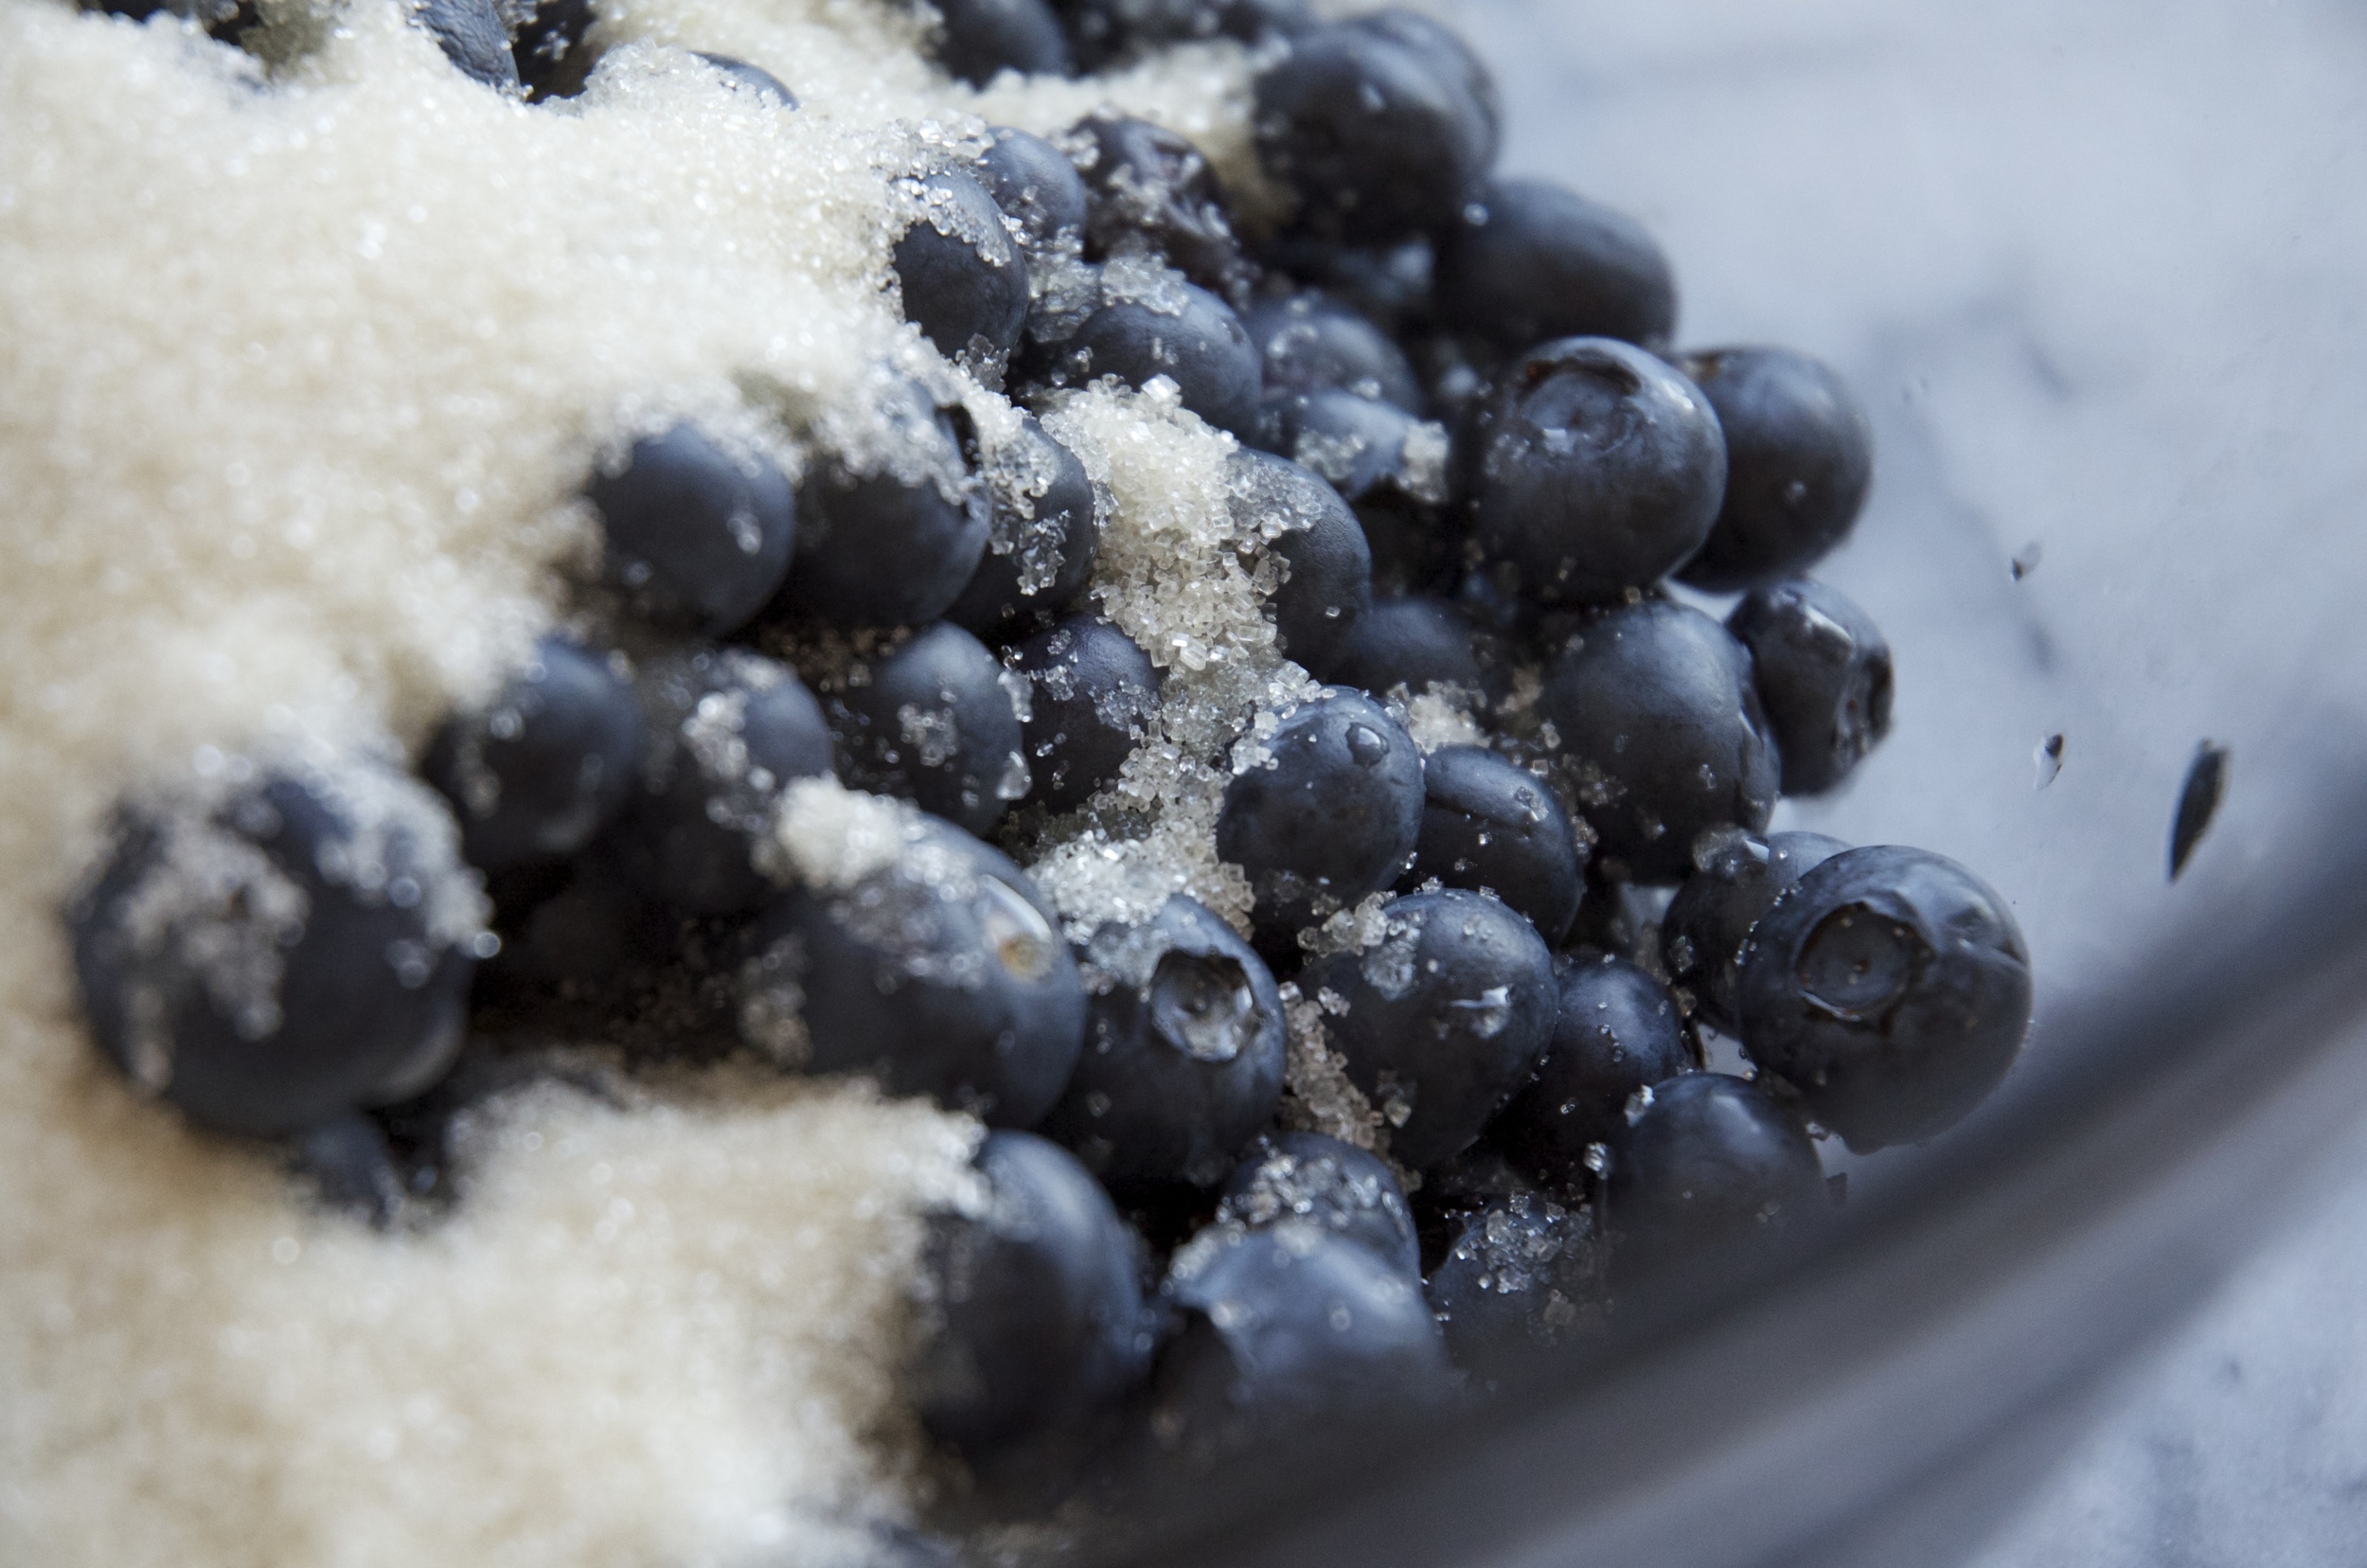

I accidentally made this blood orange hot chocolate. It was pouring rain here for weeks on end and I found myself making endless variations of cozy chocolate drinks, pairing nut milks and raw cacao with different natural sweeteners and spices. This one was so surprisingly delicious that I knew I couldn't keep it to myself. I want to talk briefly about what raw cacao even is and why it is such a potent, healing food, but first, a brief PSA:
There is—and there absolutely must be—immense joy in eating healthfully if it is to become a pillar of your life. No one ever achieved joy through depravation, restriction or judgment. For these reasons, we must not only be flexible in our psychology and choices around food, but must also learn to prepare nutrient rich, powerful and health supportive foods in ways that delight us and pleasure our senses. This can seem like a daunting, overwhelming or time-consuming task, I know! It is important to remember that it's a process, not a life overhaul that happens overnight. And, like the process of developing any new skill set, you must be patient with yourself. Start with the basics and expand your knowledge over time. The plus side of this particular skill set is that you get to enjoy delicious food and develop an increased state of physical—and often mental and spiritual—wellbeing as a result.
It also helps to start with chocolate.
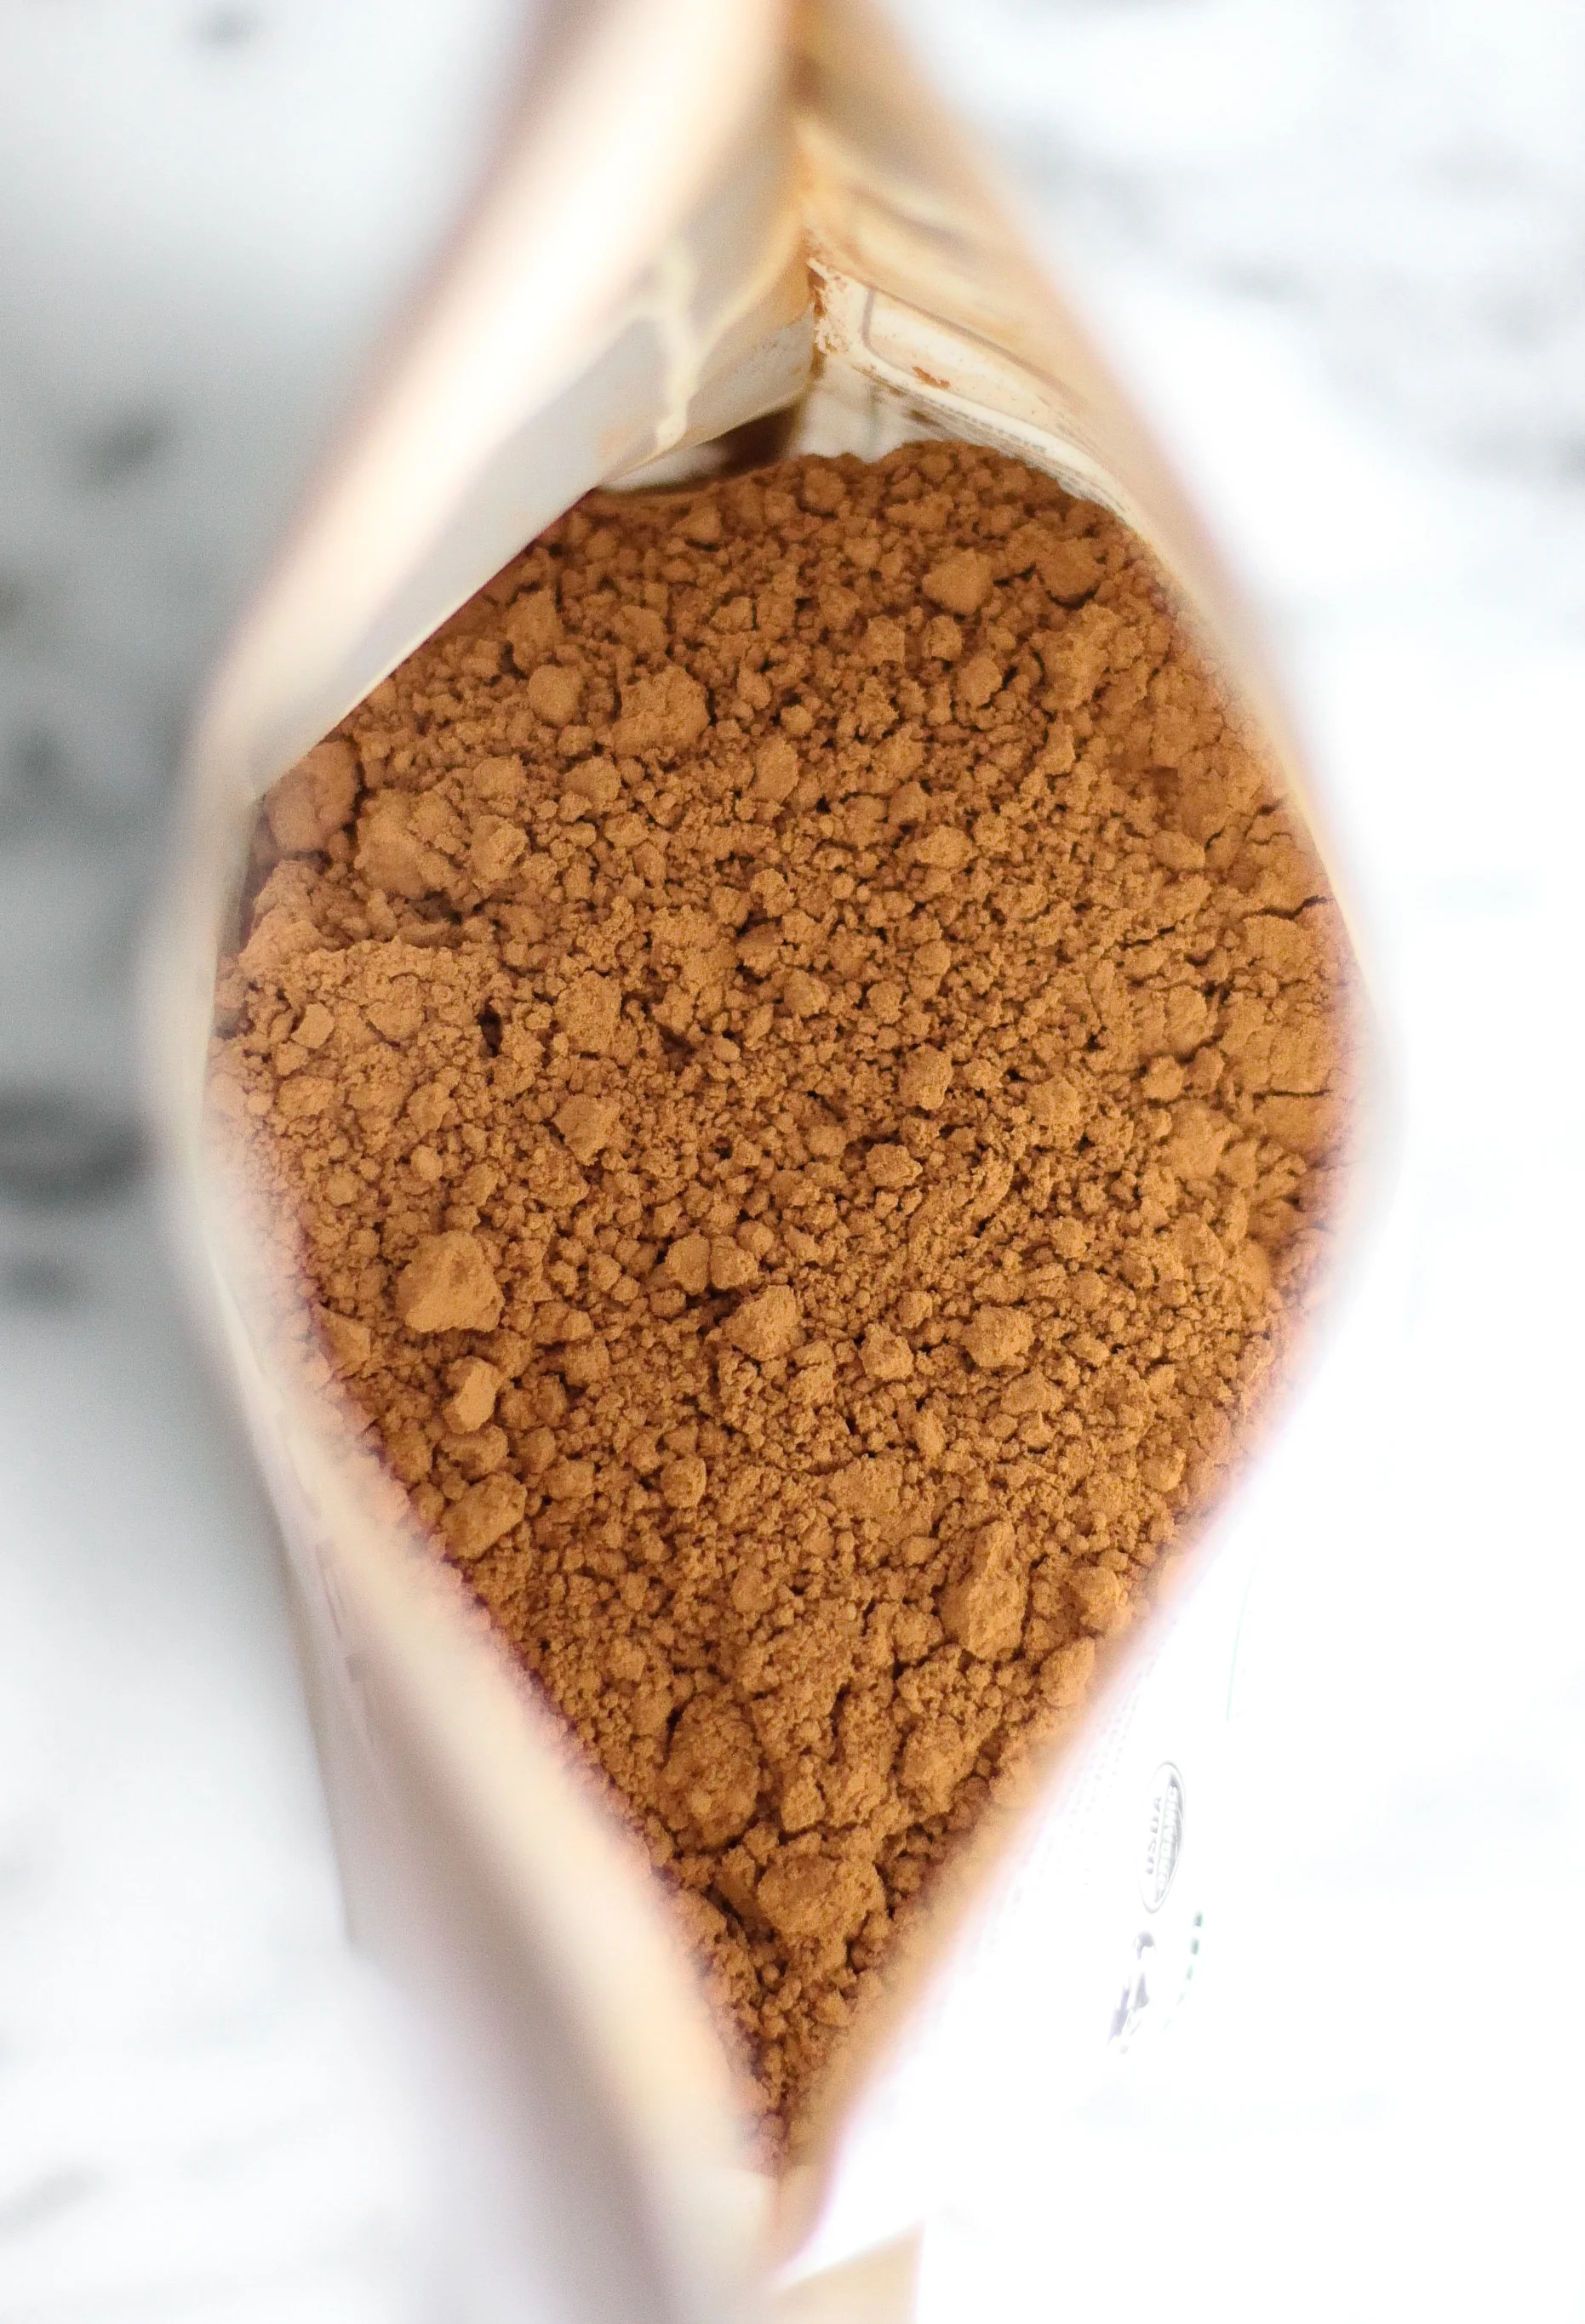
Swapping out whatever cocoa powder your have in your pantry for raw cacao is one small action you can take that will have a huge payoff. Raw cacao tastes quite similar to unsweetened cocoa powder, but nutritionally there is a world of difference. The unsweetened cocoa powder we're familiar with is processed using high temperatures, which kills a significant amount of its potent benefits. (Don't even get me started on the sweetened hot chocolate powder...you should most certainly steer clear of that stuff. Read the ingredients next time you encounter some and you'll see why.) Cacao powder, on the other hand, is minimally processed at low temperatures, so its medicinal properties are retained.
It might surprise you to know that cacao is actually one of the most nutritionally complex foods on the planet! It contains over 300 beneficial nutrients and compounds, including vitamins, minerals, proteins, fats, and magical compounds that do things like raise serotonin levels in our brains (elevating our moods) and stimulate libido. Cacao is abundant with antioxidants and contains phytochemicals (naturally occurring plant chemicals that have protective properties) that can help lower cholesterol and support heart health. It has sulfur which contributes to healthy hair and nails; magnesium which helps maximize our use of oxygen to naturally boost energy; and is the highest known plant-based source of iron! Seriously, y'all. All this in the plant from which we make chocolate.
Suffice to say that incorporating raw cacao into your diet is one surefire way you can have your cake and eat it, too. It's great in smoothies and raw desserts (including chocolate bars from scratch!). You can also easily bake with it, although some of the potent nutrients will be compromised when exposed to the heat of the oven. And, my favorite, it's perfect for making healing hot chocolate!
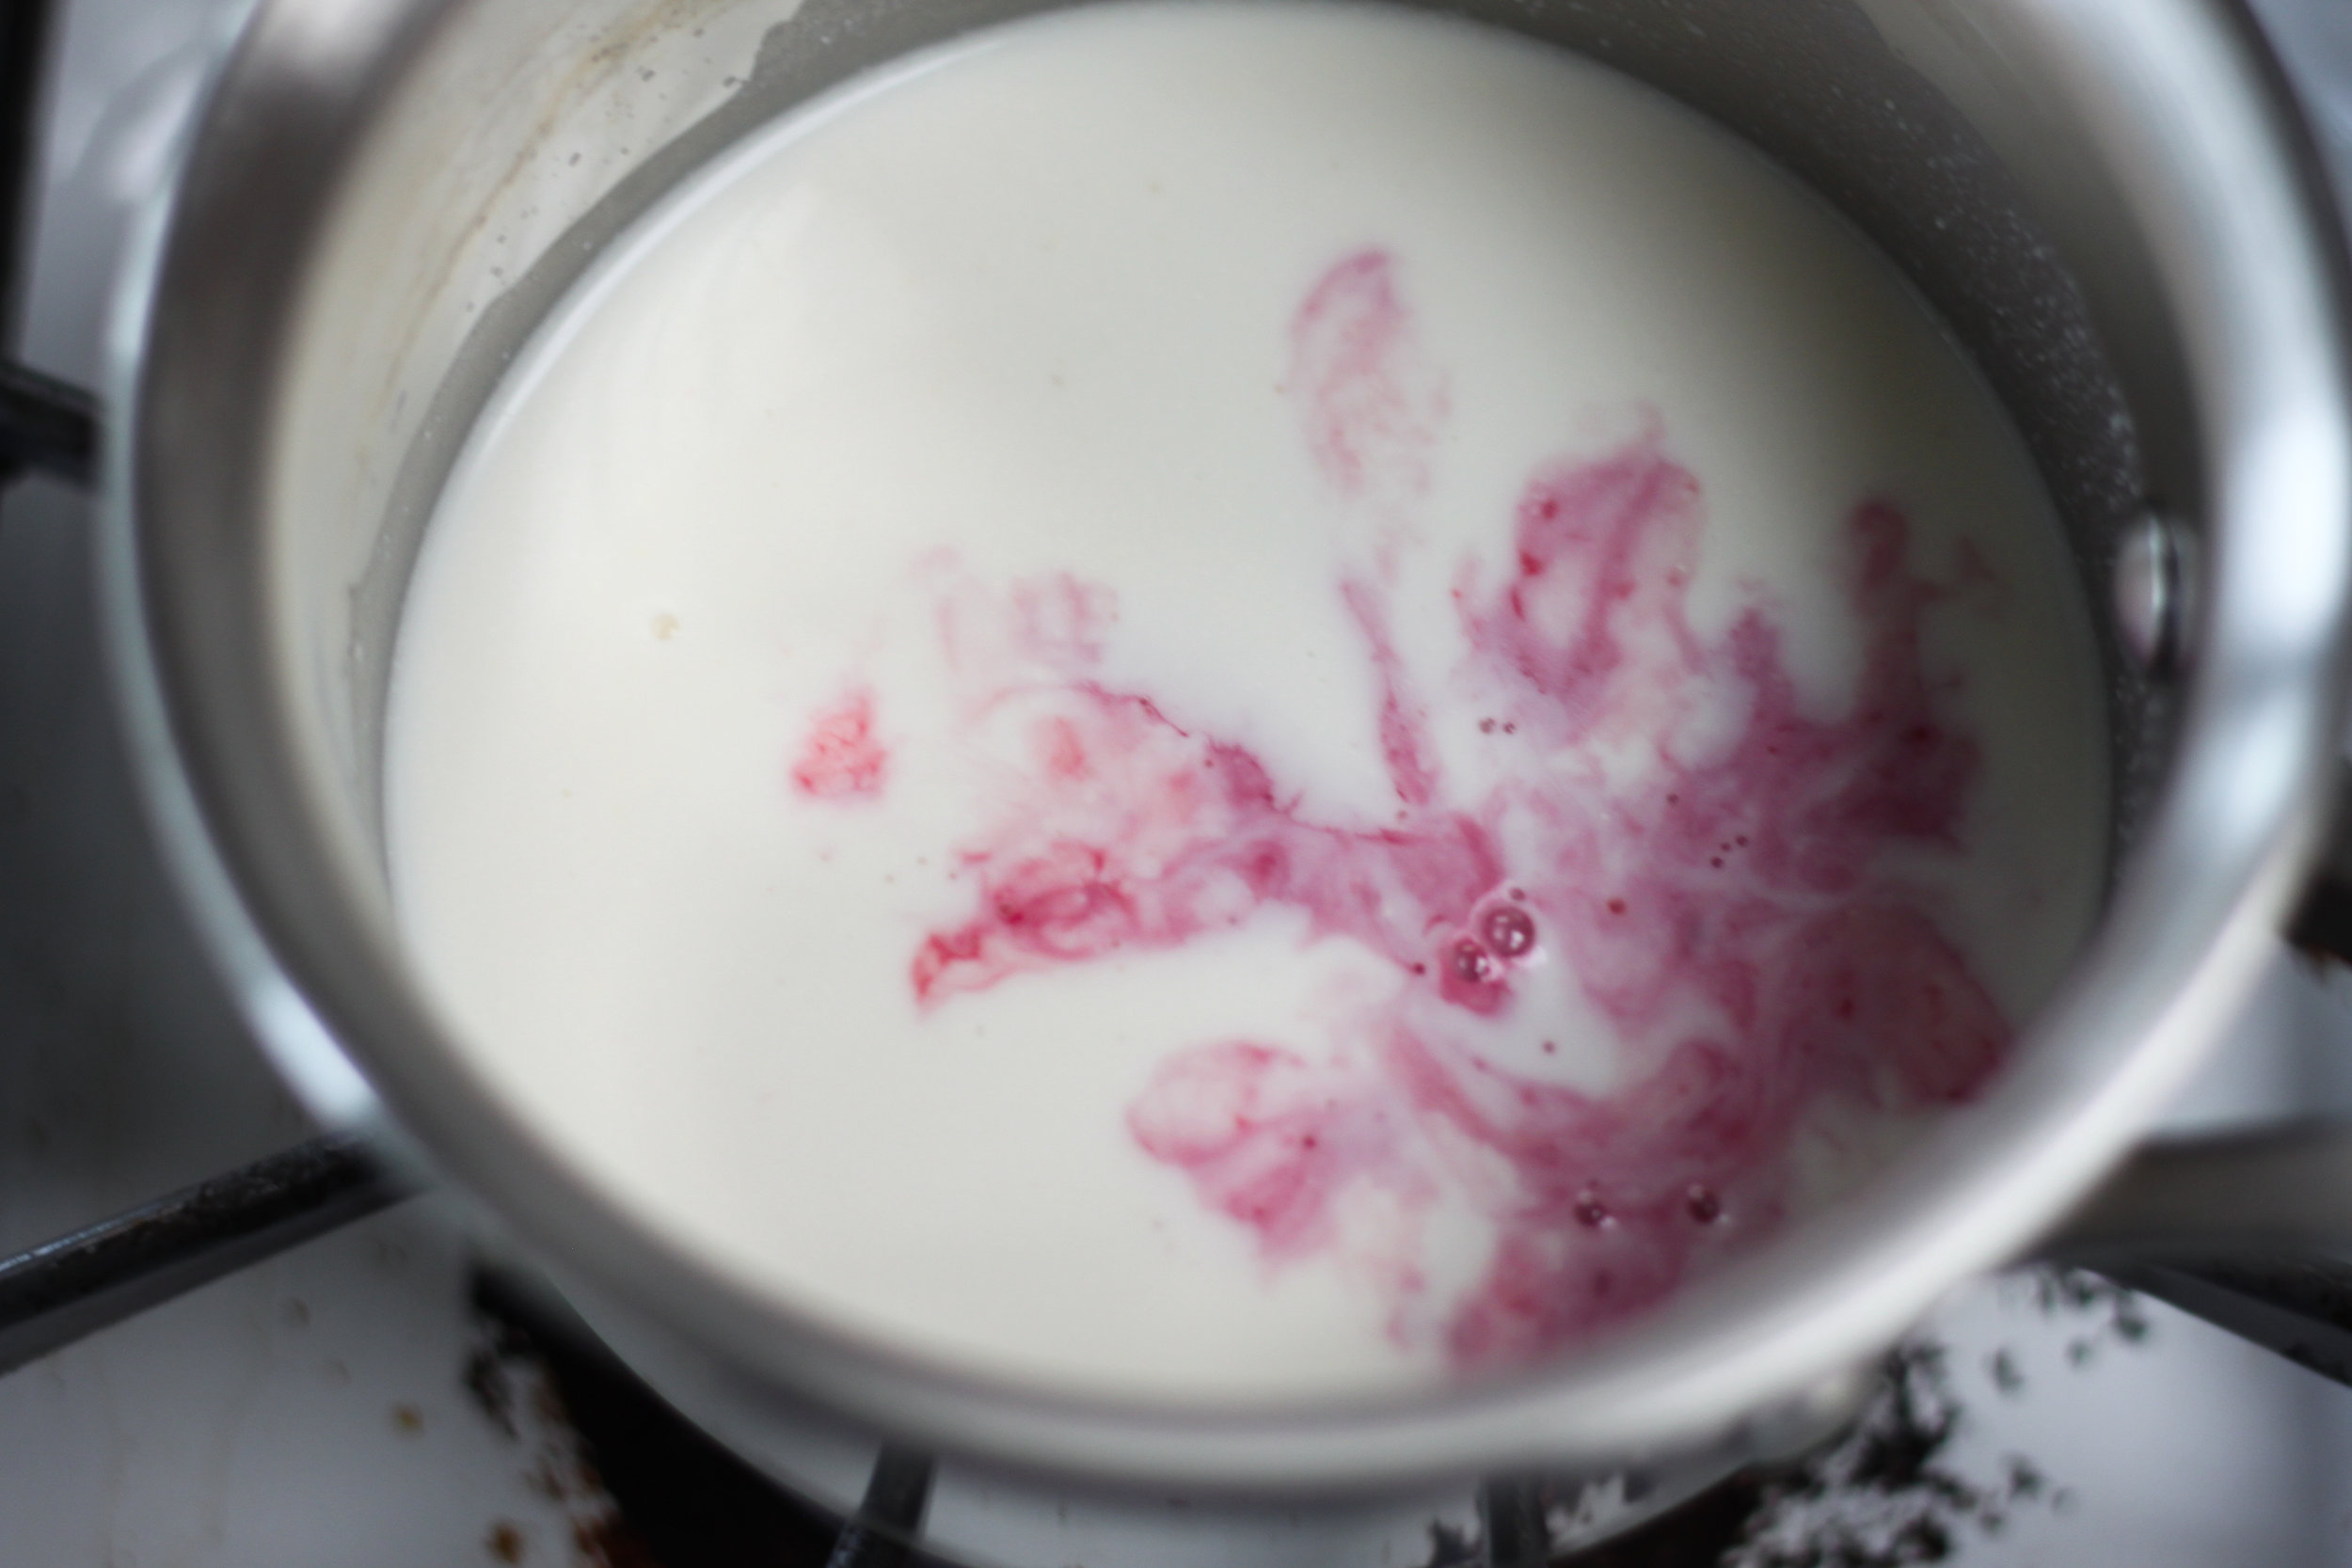
When making hot chocolate with raw cacao, it's important to use a nut milk (homemade is best) or coconut milk rather than cow's milk, because the dairy inhibits our bodies' absorption of many of the antioxidants in cacao. Natural sweeteners, like maple syrup or raw honey, are best to sweeten the hot chocolate because they're whole foods that have trace minerals in them, too. From there, go crazy! This version is vibing with the abundant produce of winter—blood oranges for some tartness and a pinch of ginger for extra spice and warmth. May it help you endure the last stretch of winter before spring begins to bloom.


Healing Blood Orange Hot Chocolate
Serves one
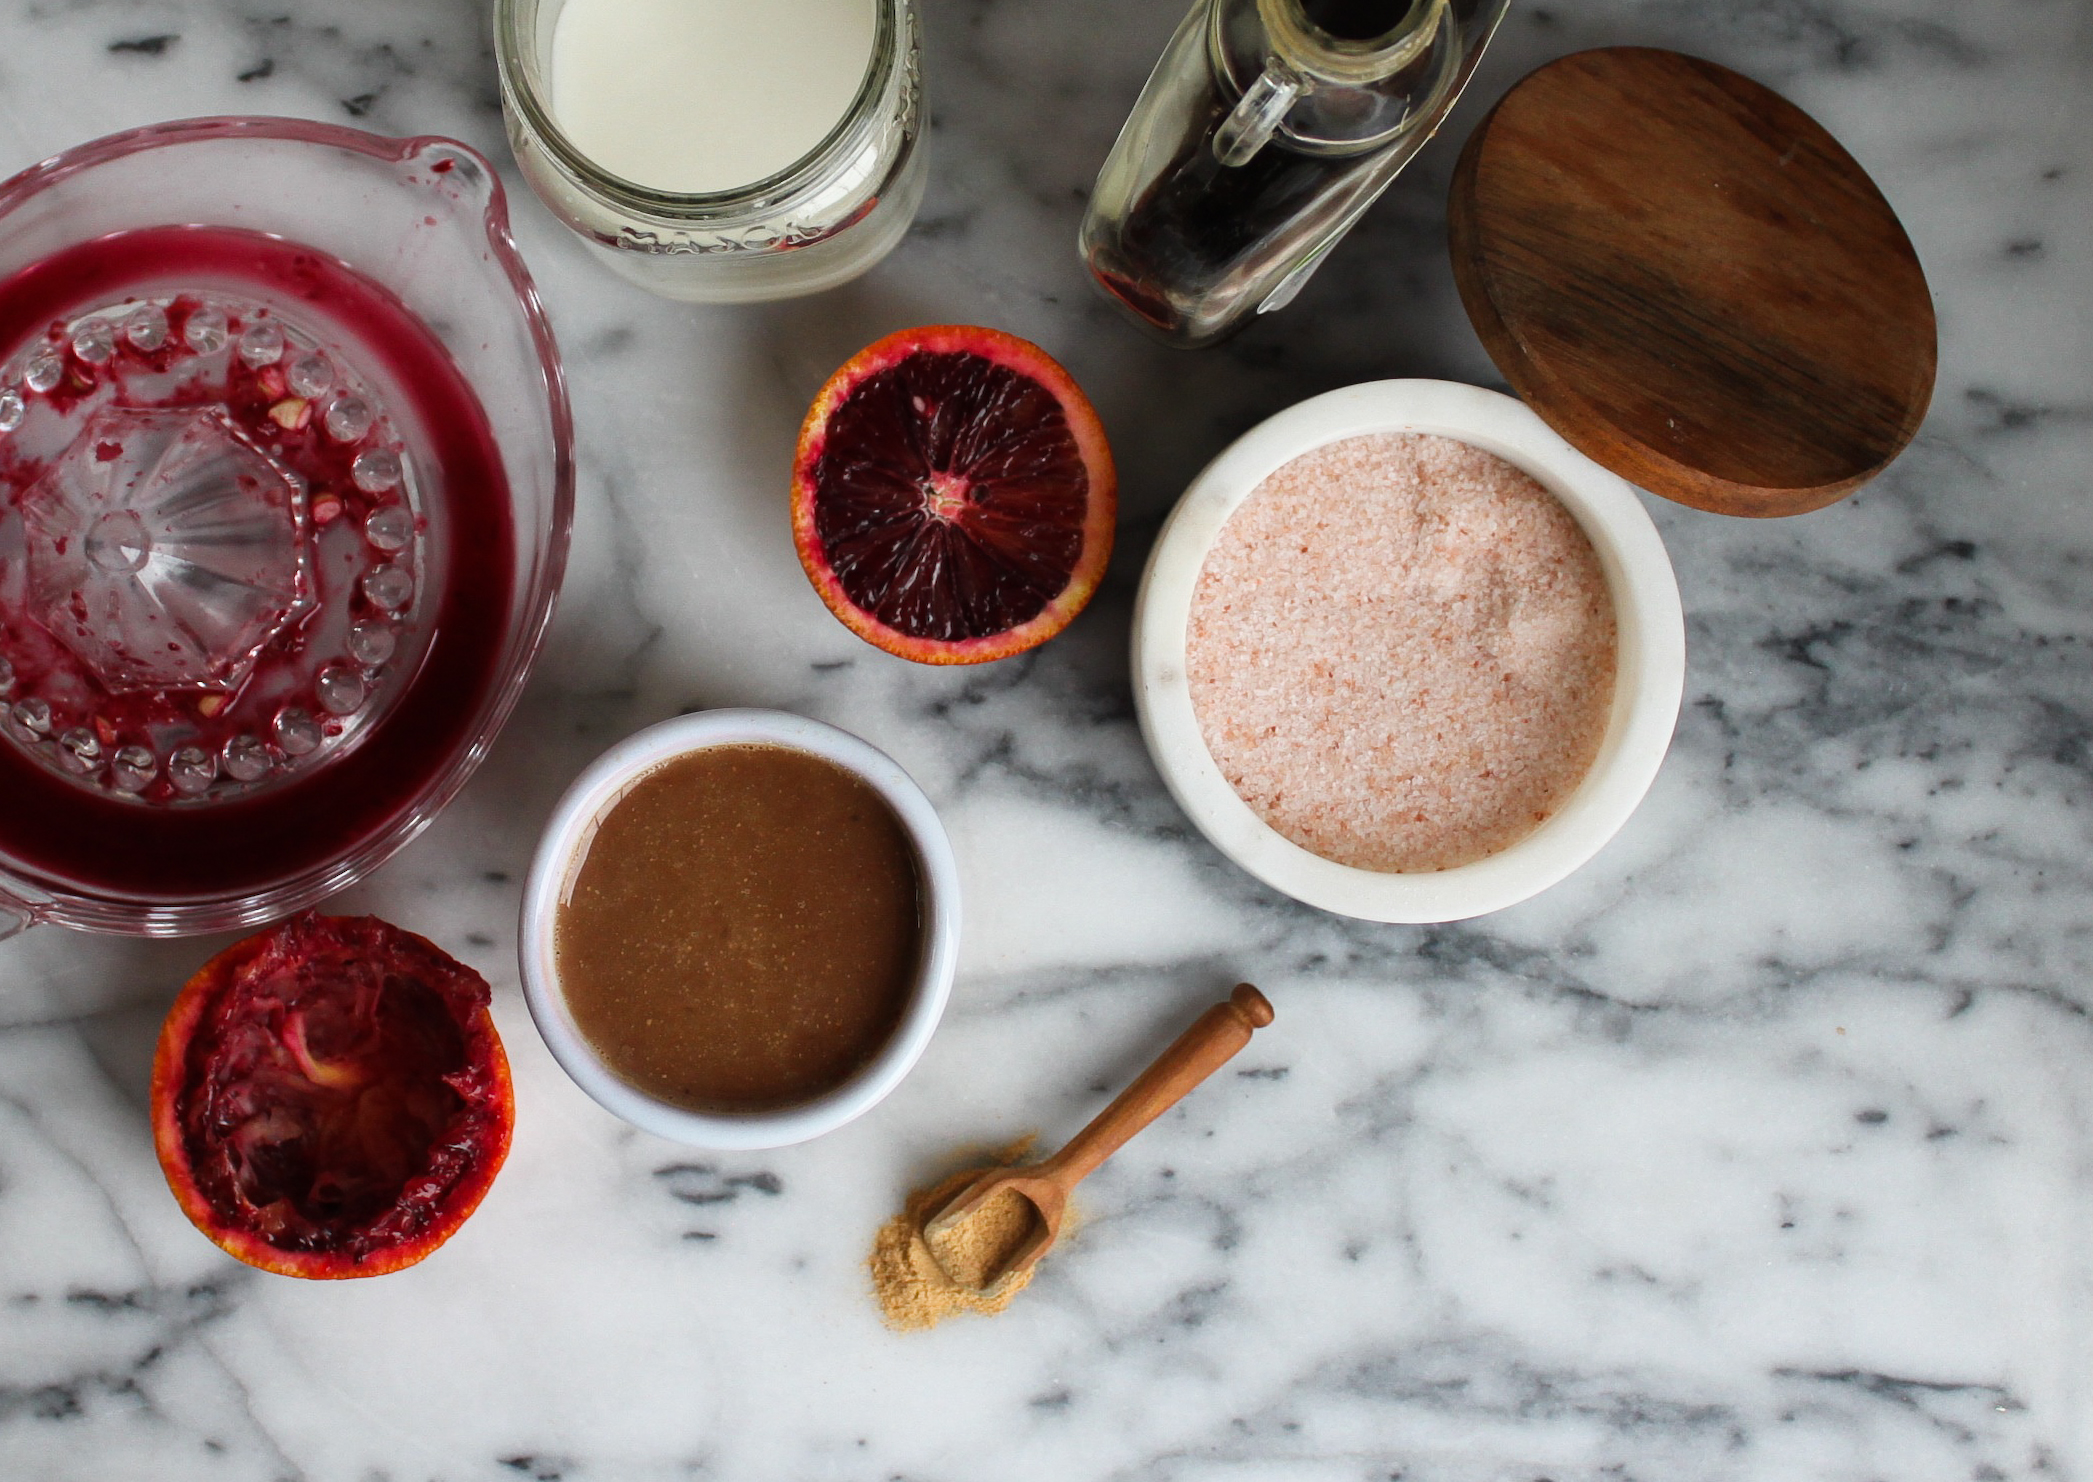
Ingredients
1/2 cup + 1 Tbsp. nut or coconut milk*
2 Tbsp. blood orange juice, fresh squeezed
2 Tbsp. raw cacao powder
2 Tbsp. pure maple syrup
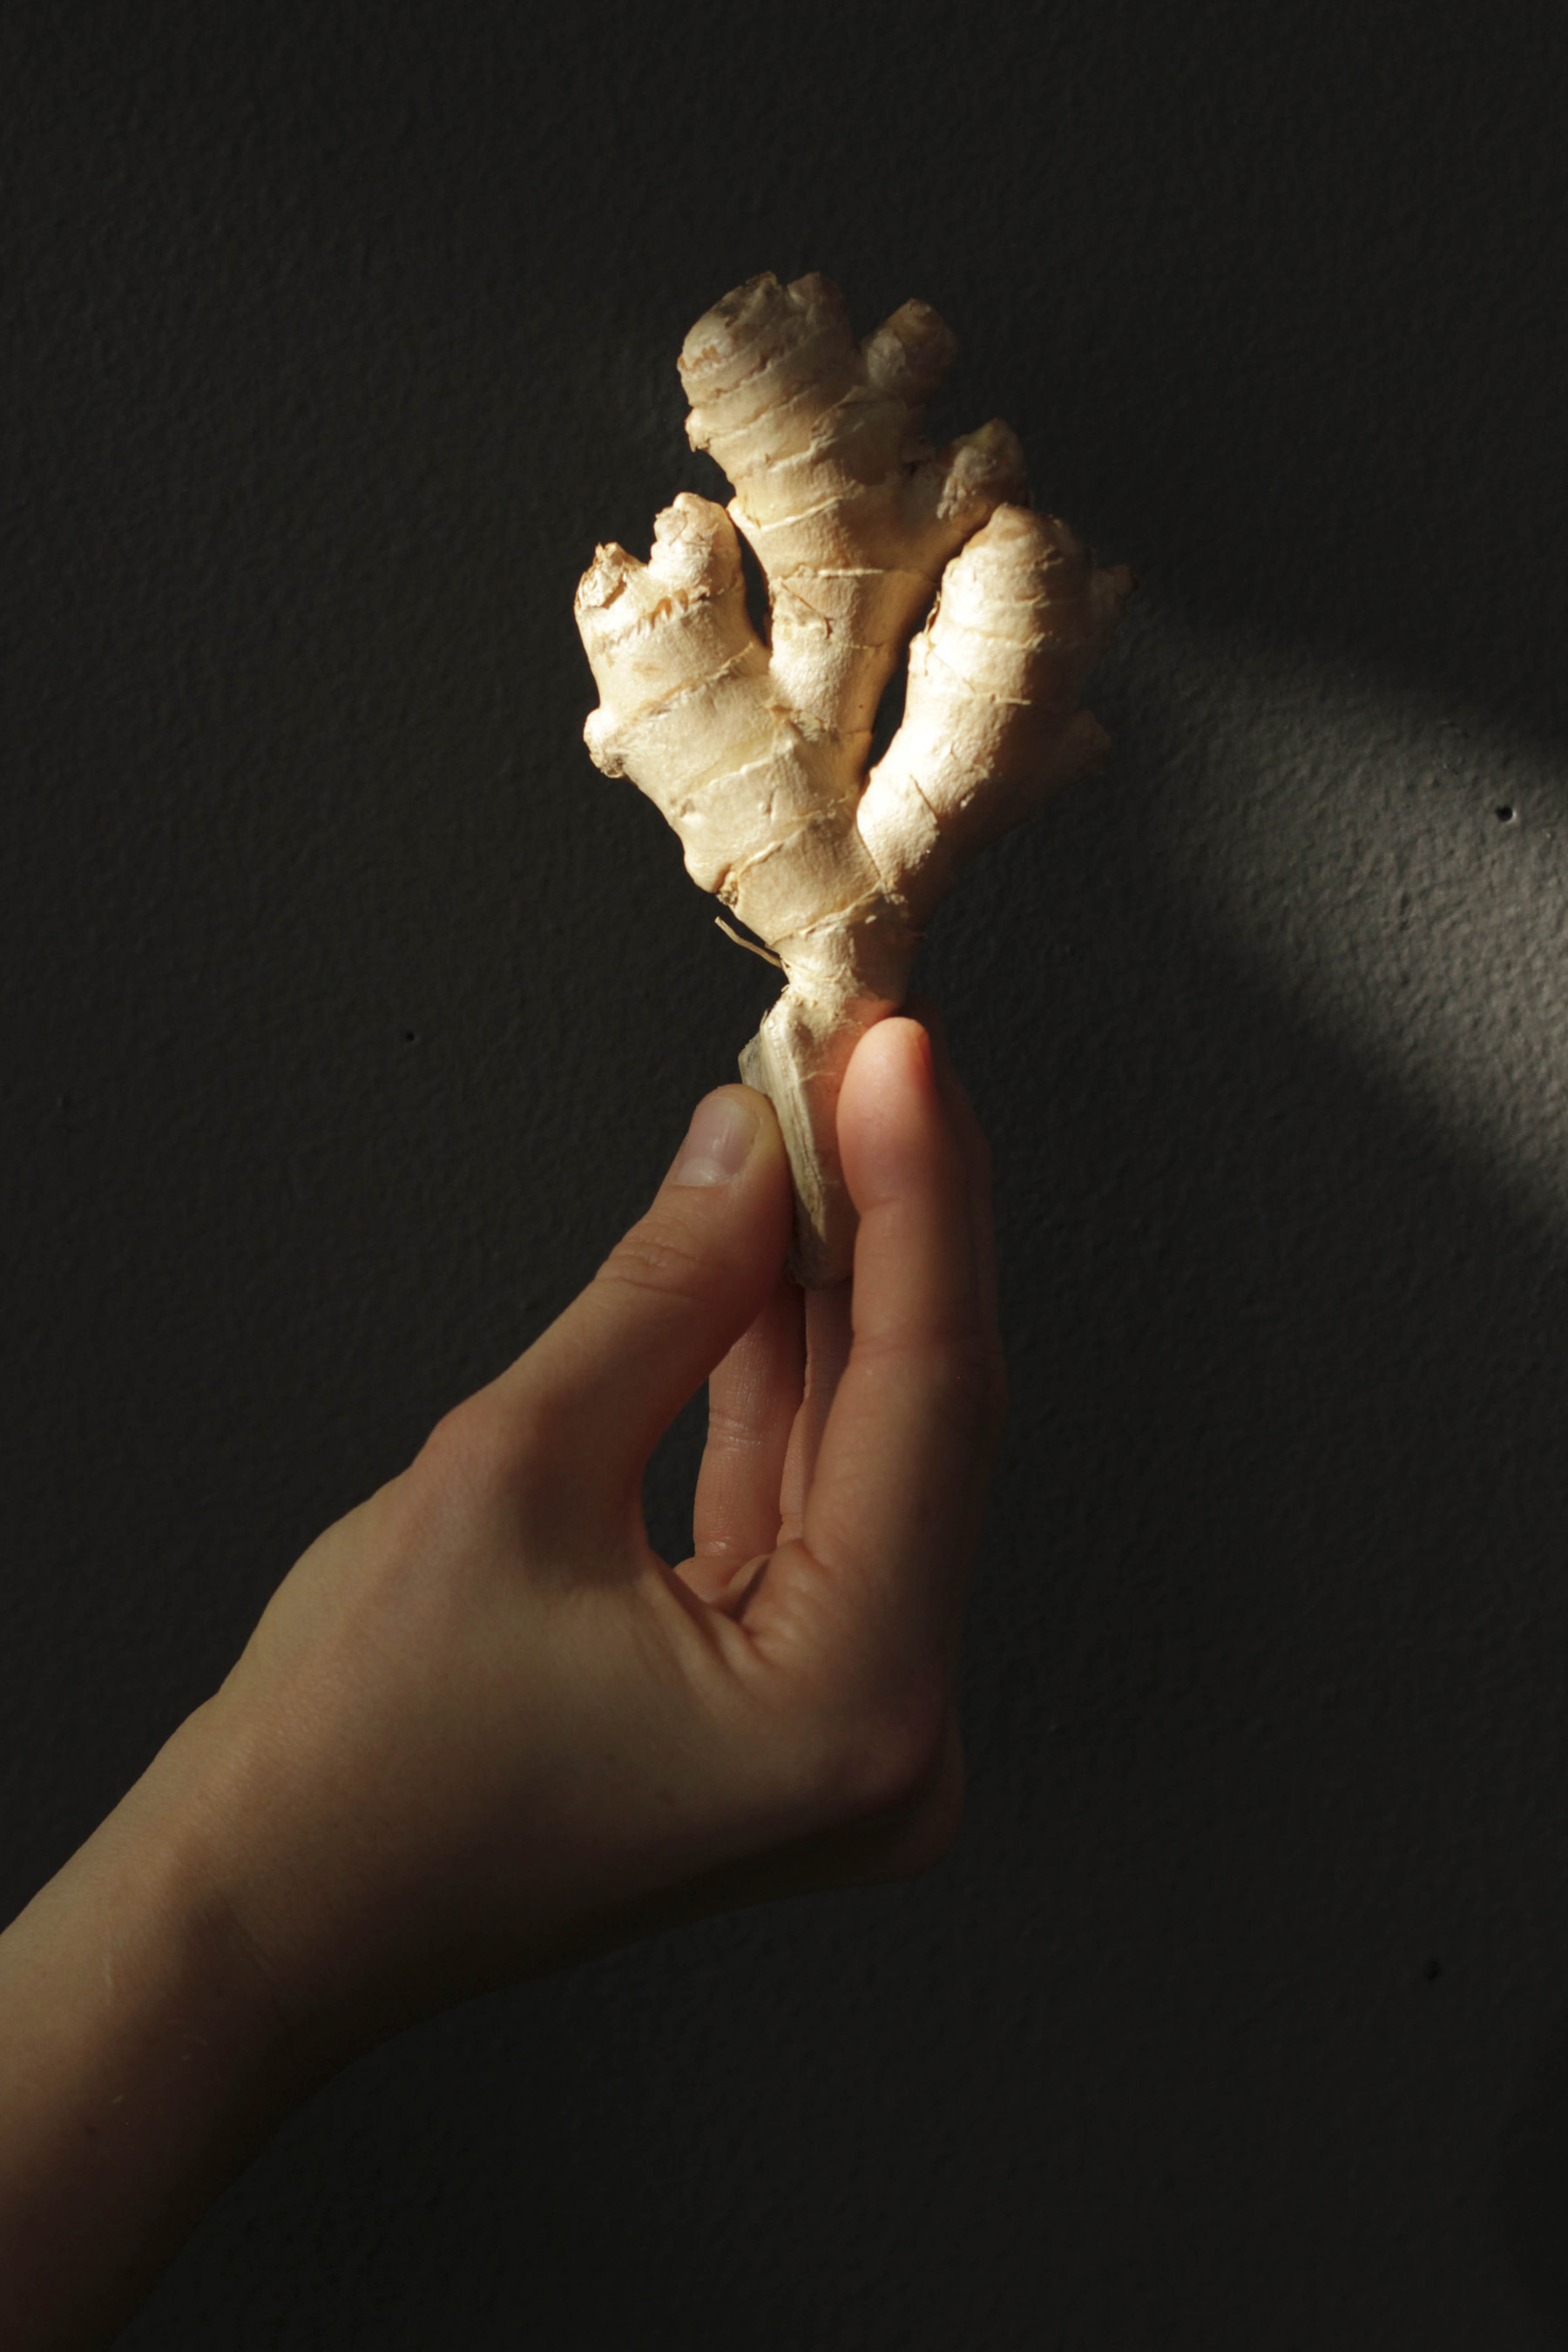
1/4 tsp. ground ginger (or more, to taste)
1/4 tsp. vanilla extract
pinch pink or sea salt
Directions
1. Combine all ingredients In a small saucepan over low heat.
2. Whisk continuously until all ingredients are dissolved into the nut milk and liquid is gently steaming. Serve and enjoy.
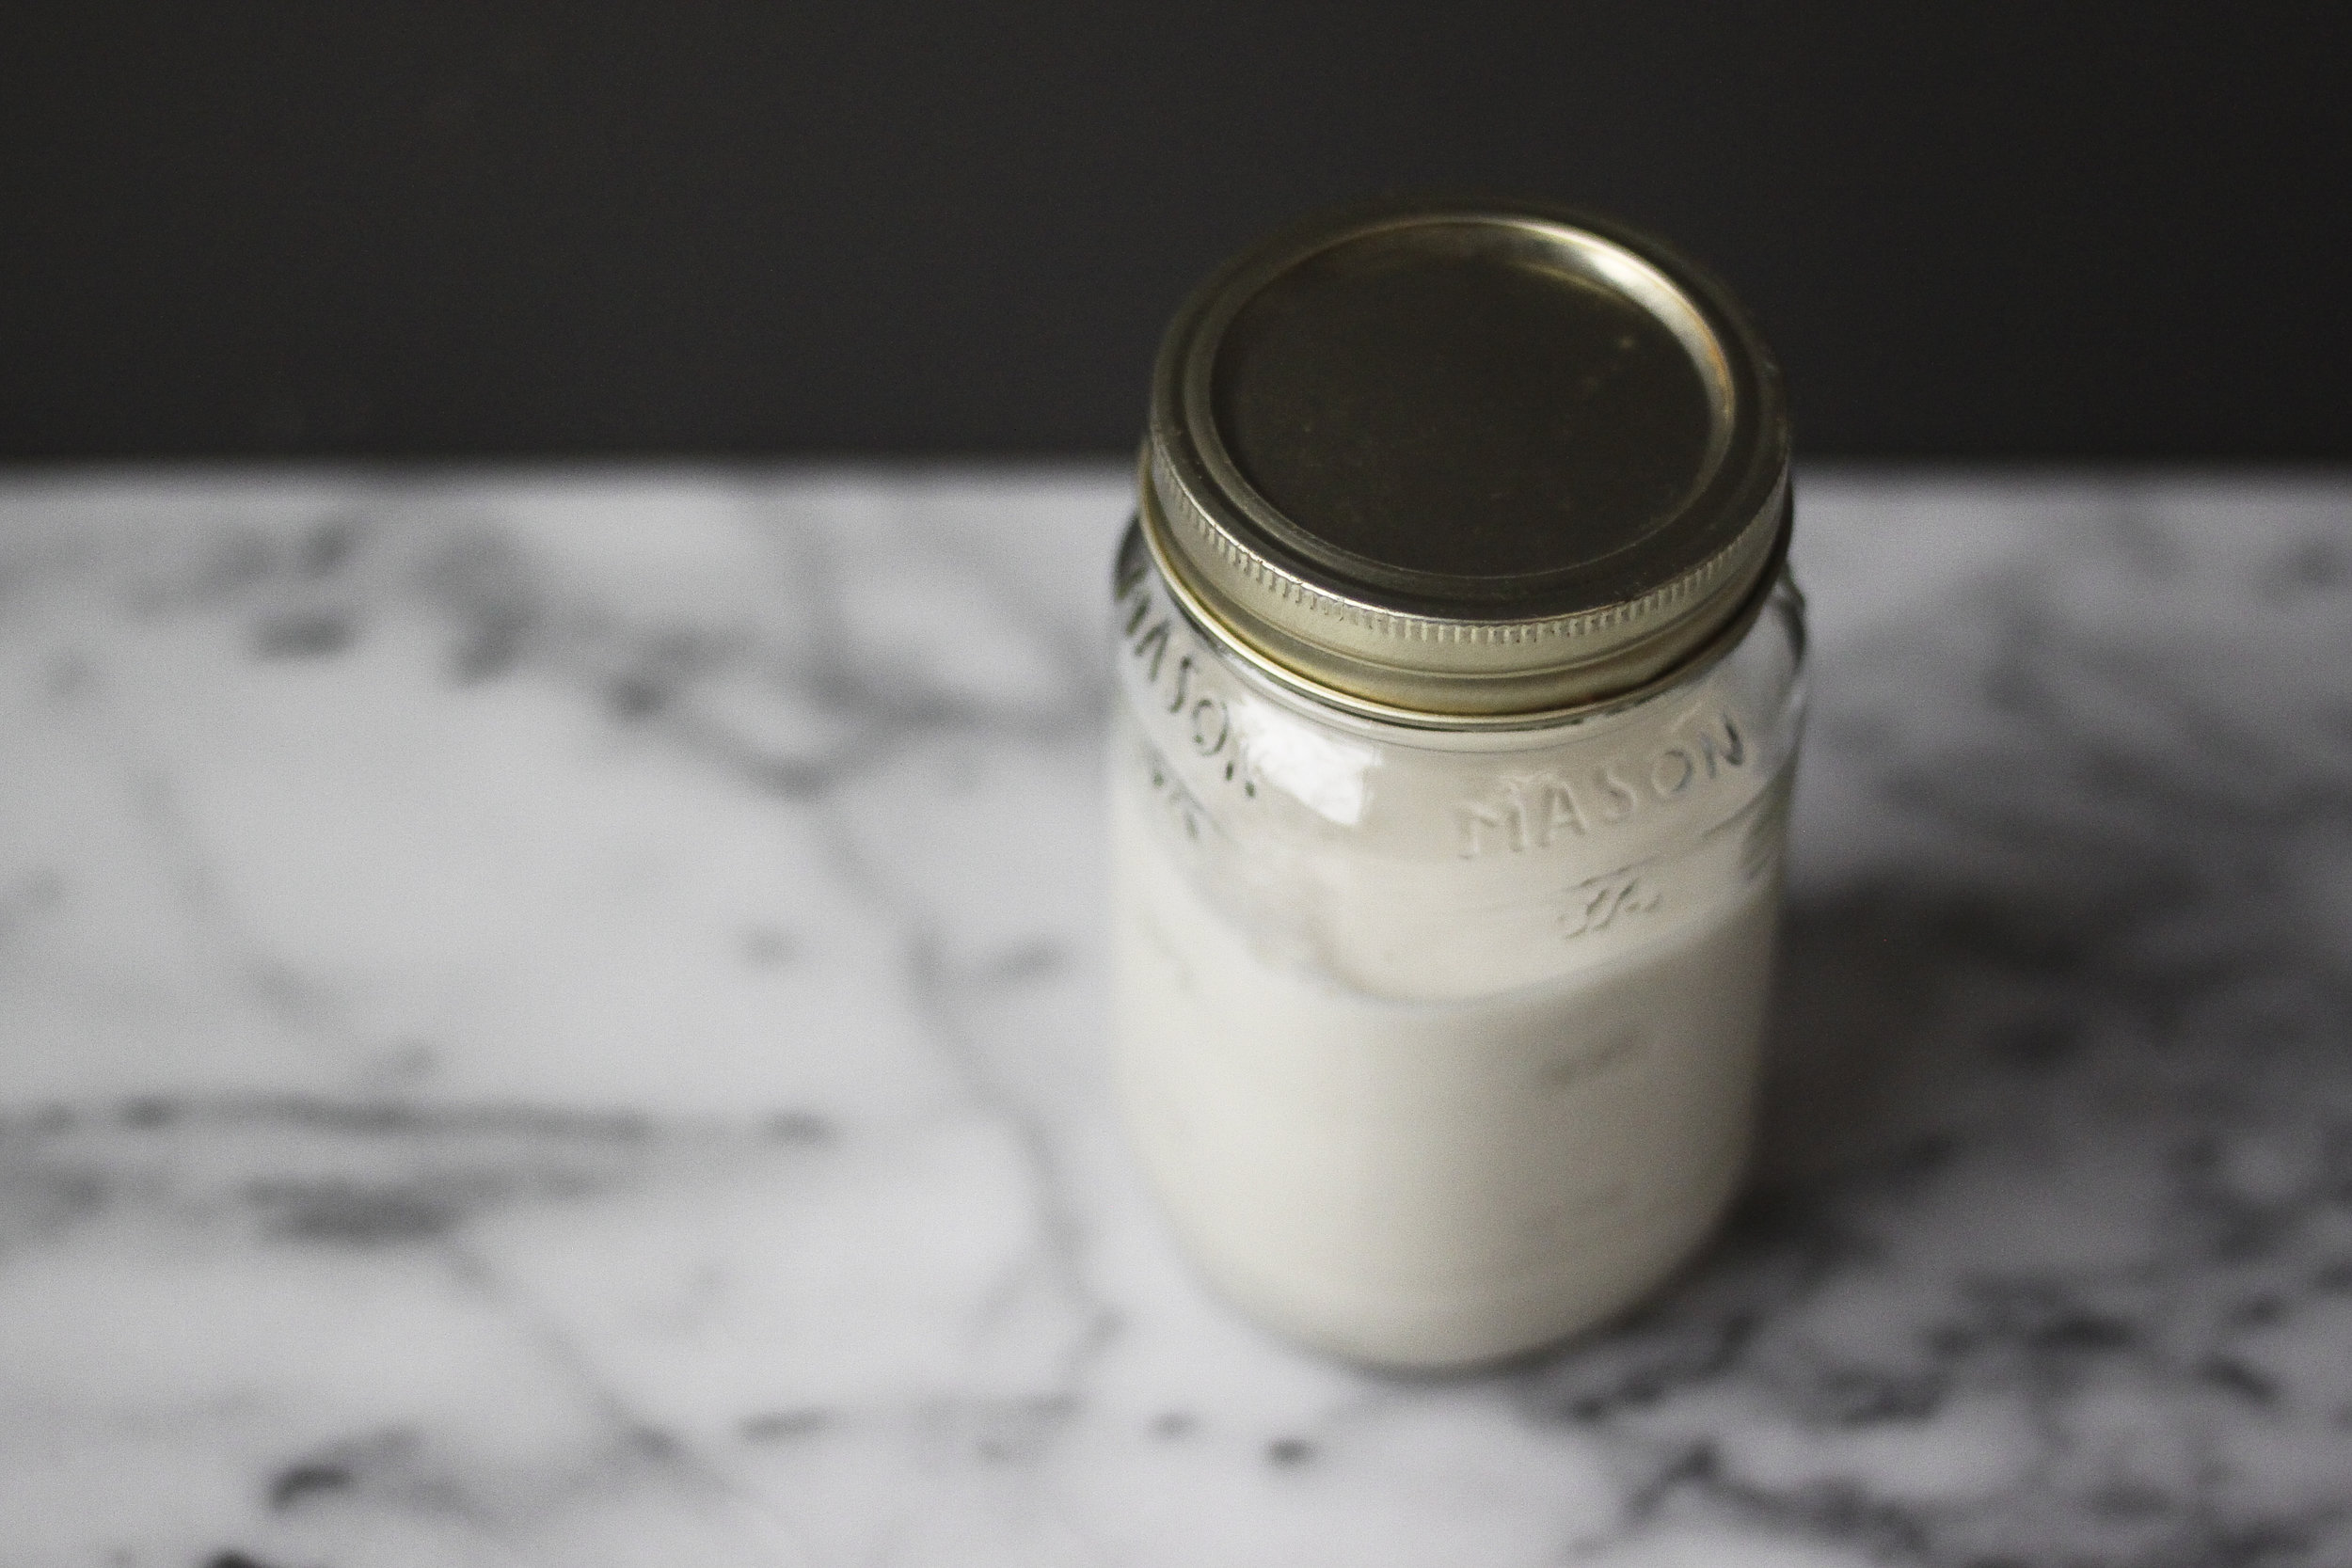
*I used homemade cashew milk for this, which is super easy to make! Simply soak 1/2 cup raw cashews for 4-8 hours; rinse; put in a blender with 2 1/2 cups water, a pinch of salt, a dash of cinnamon and some raw honey if desired, and blend on high until smooth. Keeps for 5-7 days.