This is a guest post written by Jill Hammond.

One of my favorite weekend activities is going to the nursery and loading up my arms with new plants and pots and unnecessary tools while I dream up ambitious backyard plans and projects.
I’m a dreadful gardener, but I've recently discovered the joy of faking it. As with every craft, there are endless rules and techniques to plant care. Since I'm generally intimidated by new things and I have a serious aversion to rules, I generally attempt to rein in my outlandish ideas and stick to simple projects. I'm in it purely for the therapeutic side effects and elements of surprise. If I fail and everything withers away, there's no harm in scrapping it and learning from my own amateur mistakes.
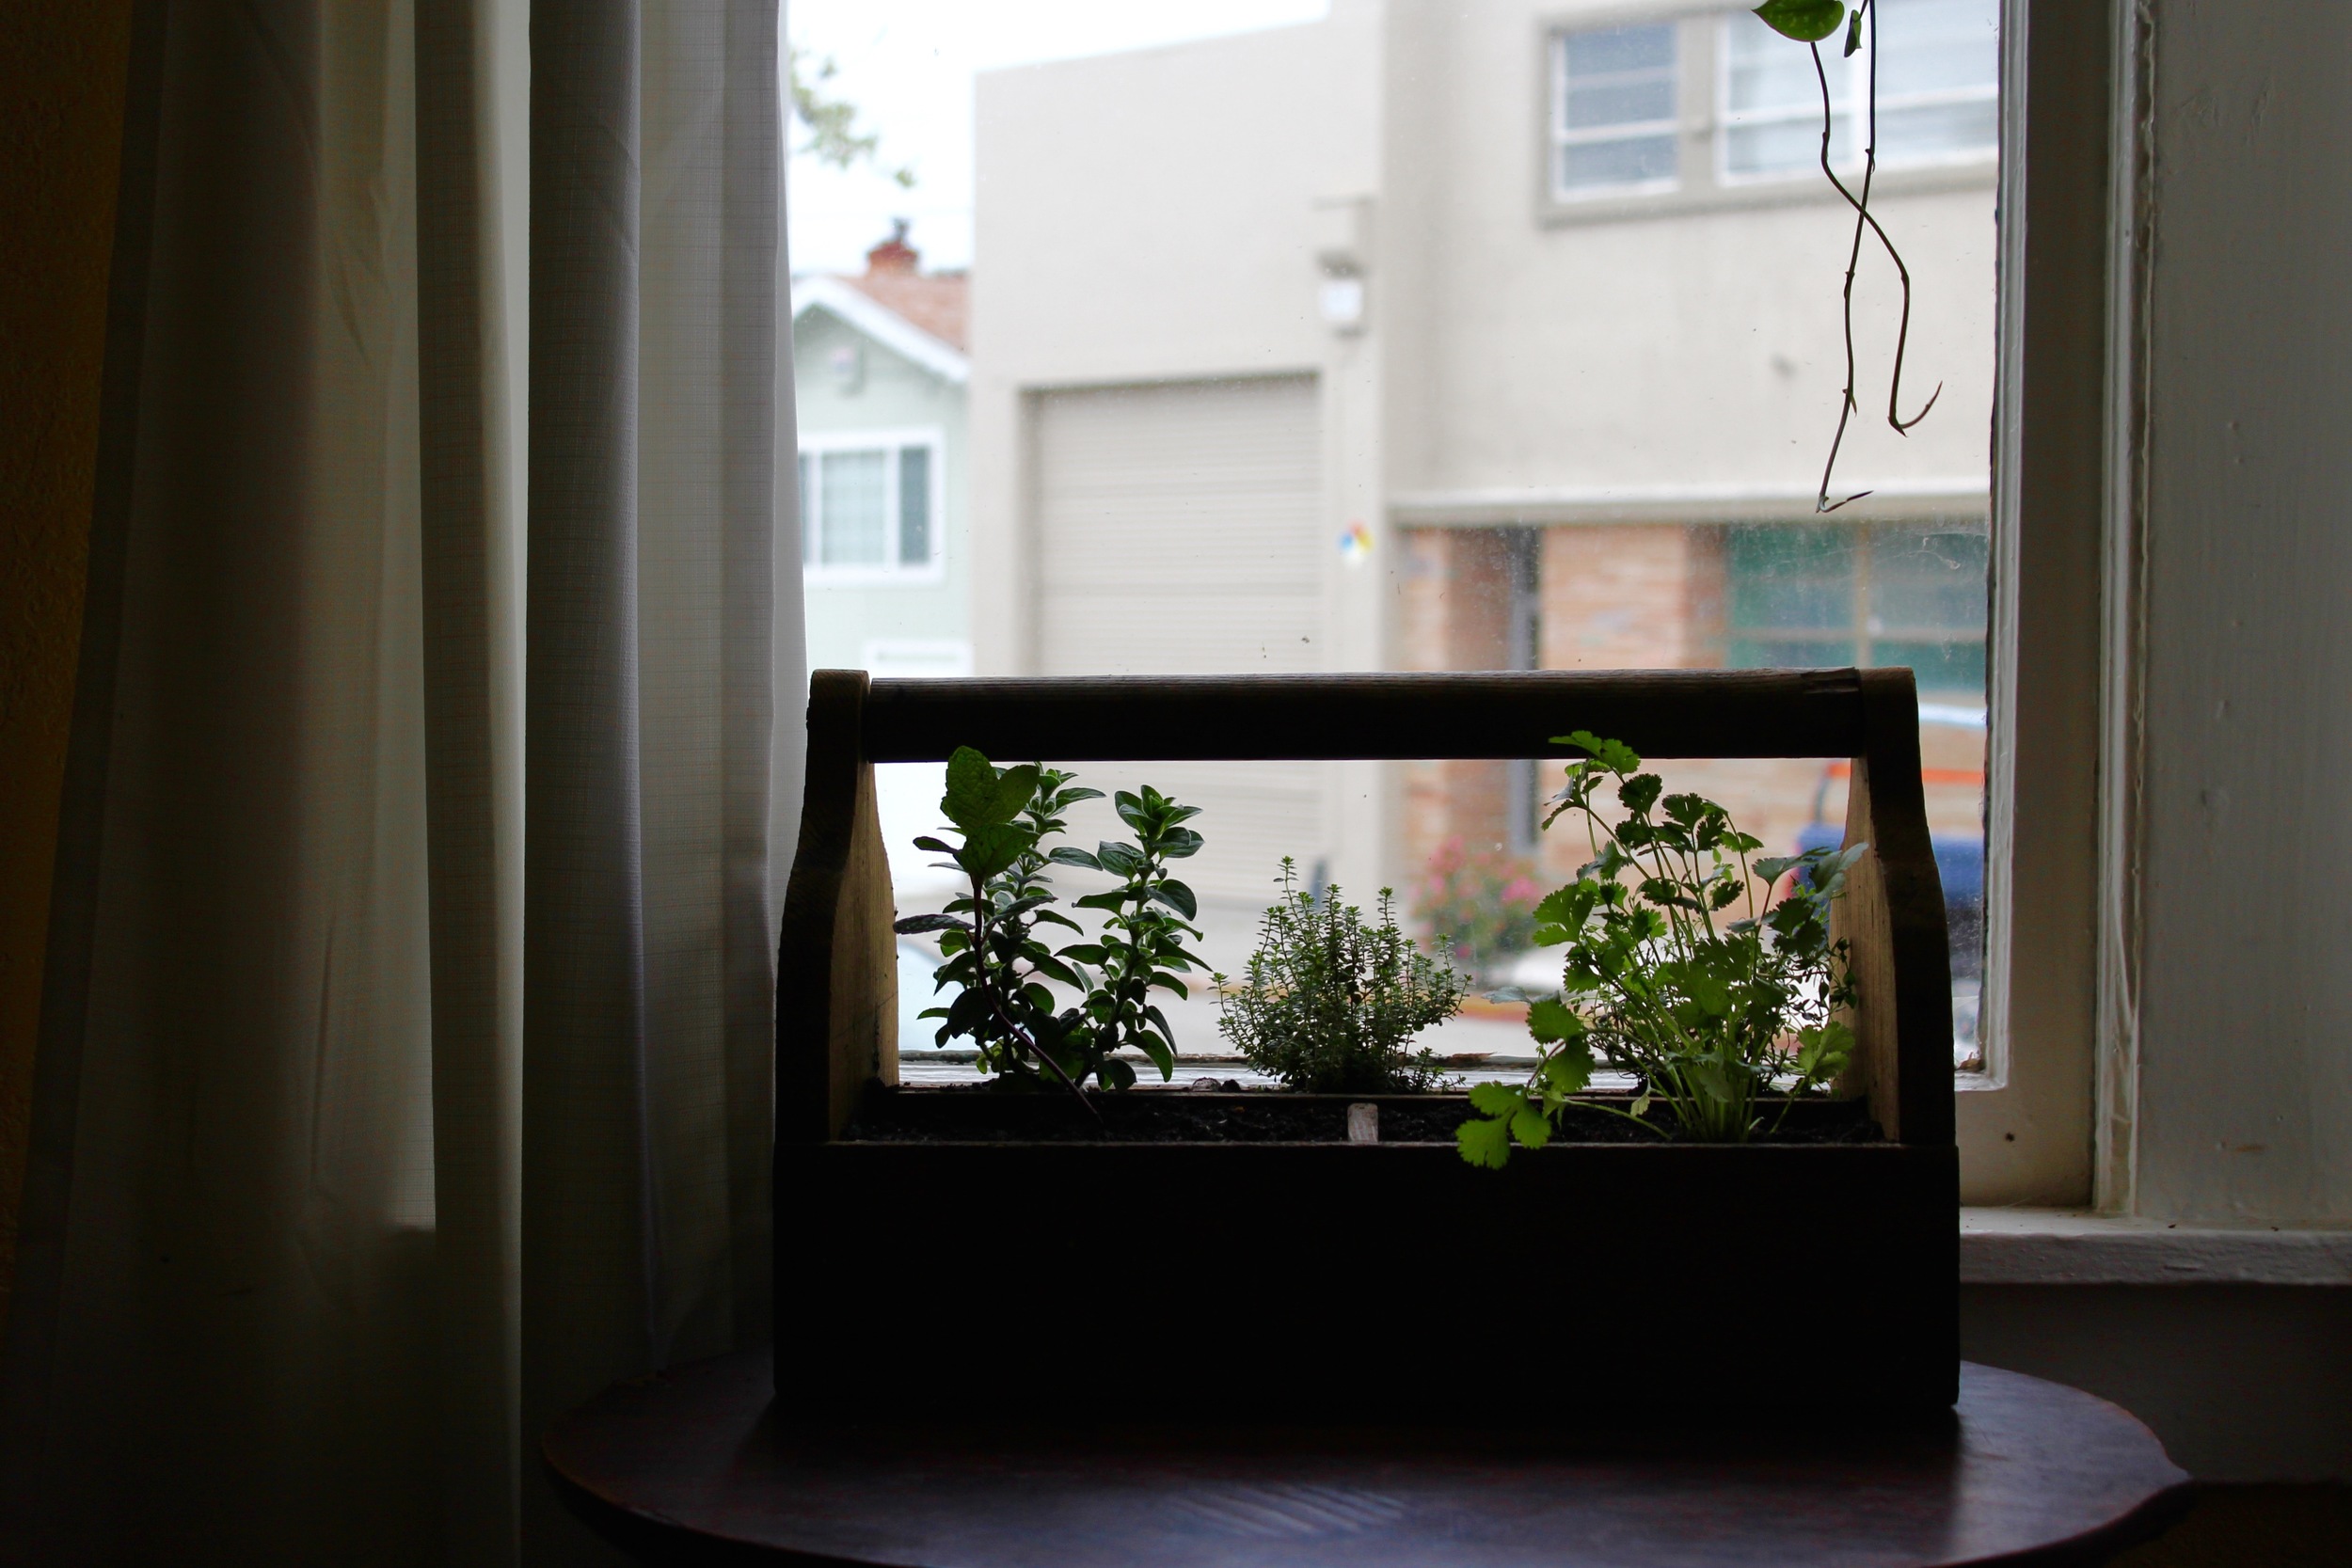
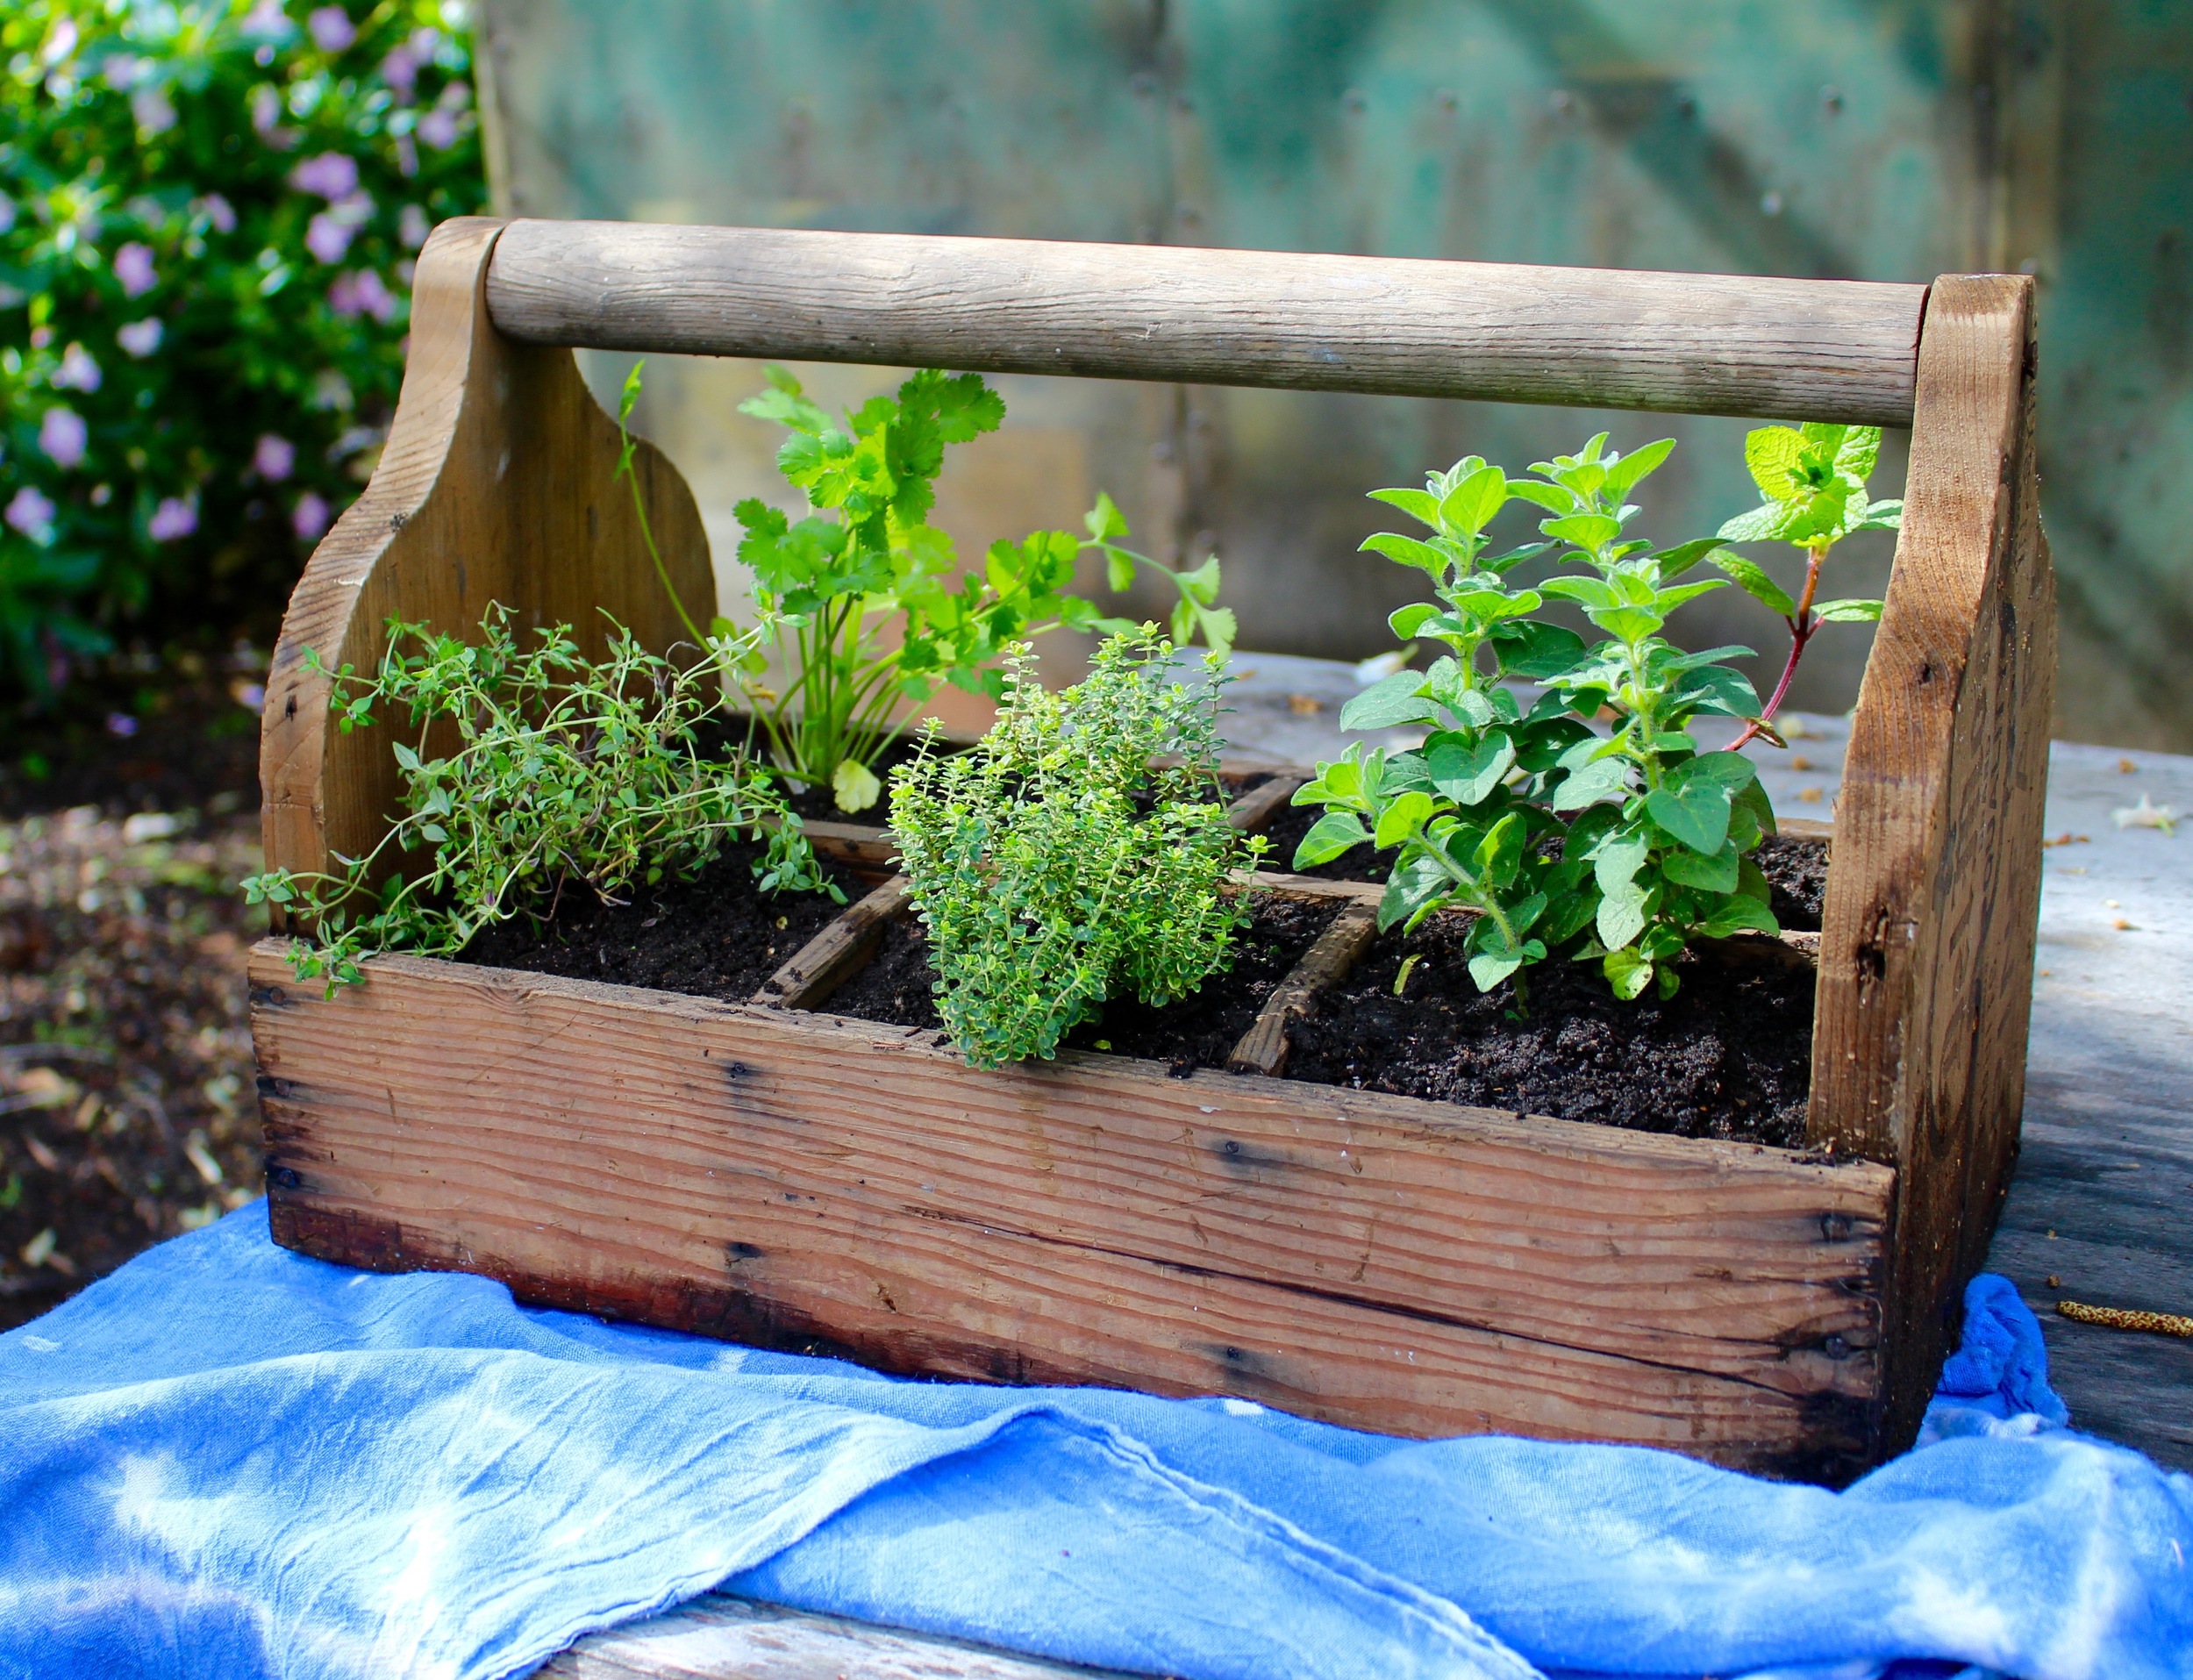
This planter box is a great start for other terrible gardeners out there. The beauty is that it will get you outside, you'll get your hands dirty and you'll walk away feeling like you’ve made something that will continue to pay off (which it will!). It’s easy as ever to maintain and you can swap out your herbs at any time. If the maintenance is overwhelming and your herbs bite the dust, don't stress about it; just plop in a few succulents in their place! (Although having fresh herbs at your disposal is a great way to enhance your culinary efforts and is way more cost effective than buying herbs at the market, to boot.)


Materials
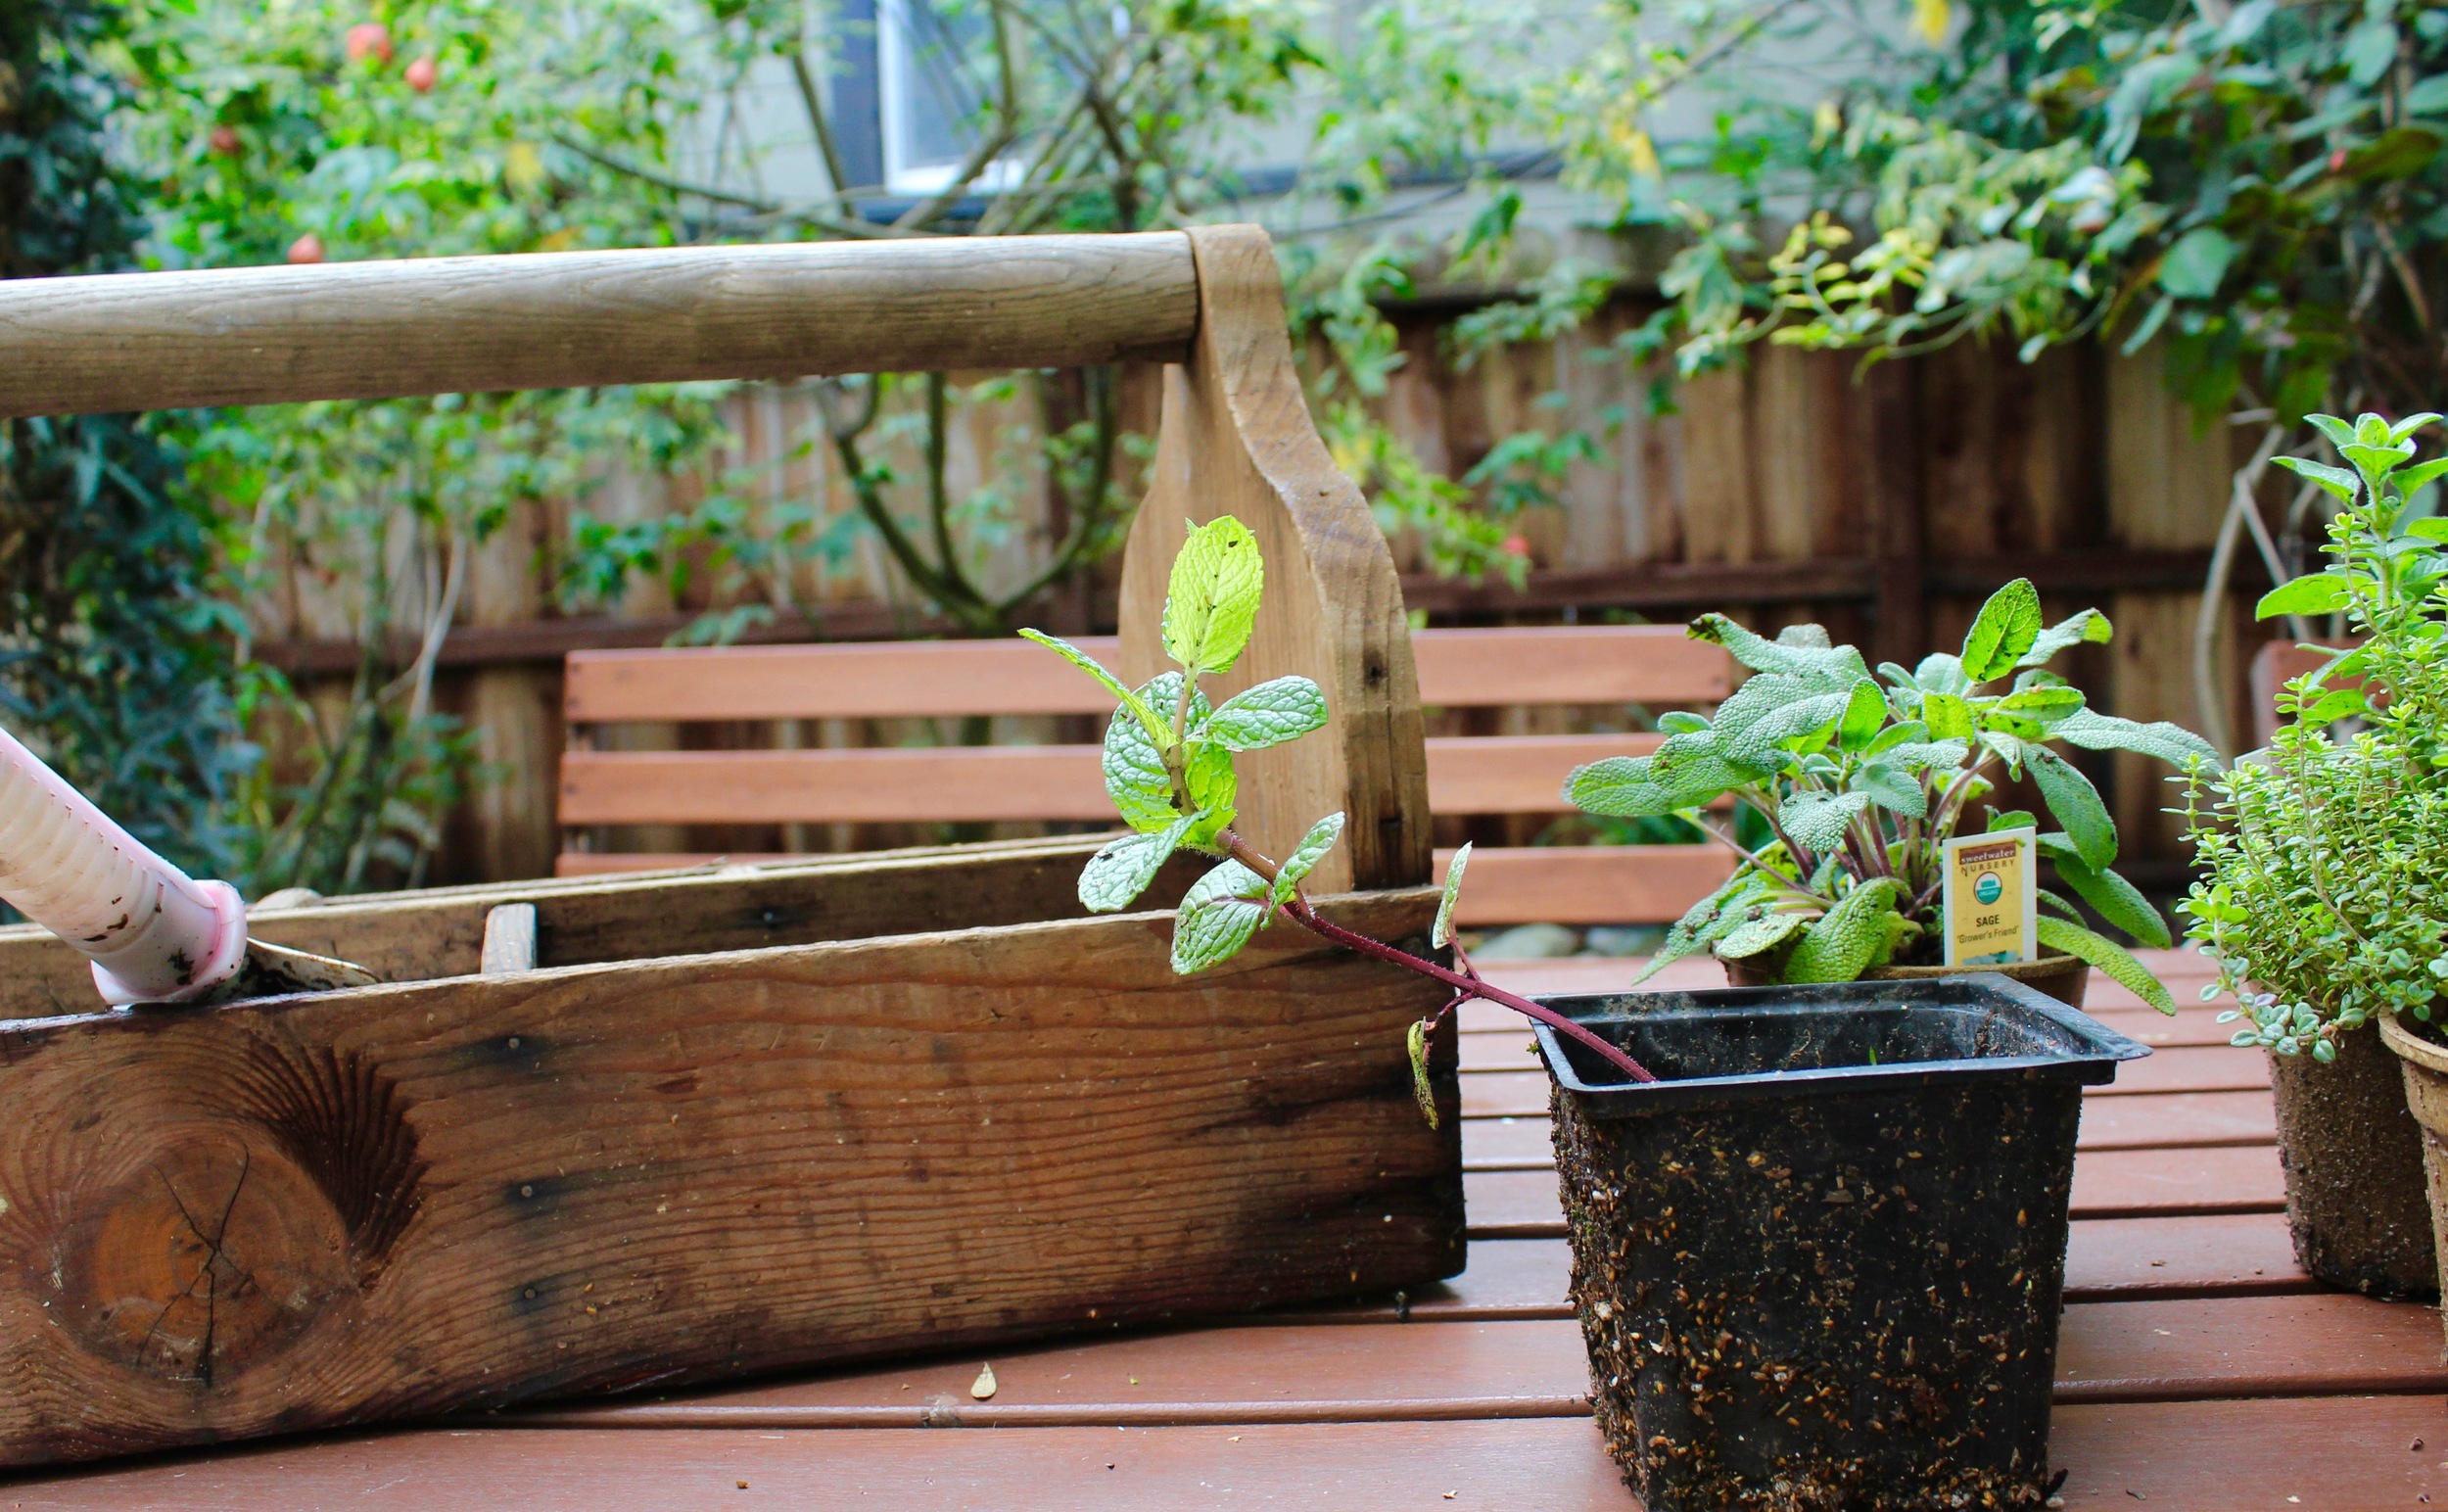
A crate or box (I found this old, divided crate at a flea market for less than ten dollars)
Herb seedlings (the ones I bought were about two dollars a pop)
Drill
Potting Soil (a small bag costs about $5)
Small shovel (or just use your hands)
How To
1. Drill some holes in the bottom of the crate—two holes per plant should be plenty. This is necessary to prevent water from sitting and rotting out the bottom of the crate.
2. Add at least an inch of potting soil to the bottom of the crate/container. Take the plants out of their plastic containers and nestle them on top of the soil. Use some more potting soil around them until firmly packed with at least an inch of soil in every direction around the transferred seedling. You want to make sure each plant has enough space to spread its roots without getting too cramped.
3. When you're ready to harvest your herbs, trim them with a sharp knife or clippers near their base and enjoy!